Mastering Site Prep and Grading for Durable Asphalt Surfaces
Published on: April 16, 2026 | Last Updated: April 14, 2025
Written By: George Voss
Site preparation and grading form the foundation of durable asphalt surfaces. This process involves seven key steps: soil testing, vegetation removal, utility marking, slope creation, subgrade compaction, base installation, and final checks. Unlike concrete projects, asphalt requires specific attention to thermal expansion and flexible base layers. Proper drainage slopes of 1-2% prevent water damage, while 95% compaction density ensures stability.
This guide covers asphalt-specific grading methods, equipment choices, and cost factors. Learn how to identify soft spots in subgrades, select optimal base materials like crushed aggregate, and meet stormwater regulations. We’ll detail laser-guided grading techniques, discuss safety protocols for heavy machinery, and provide checklists for project verification.
Contents
- Understanding Asphalt-specific Grading and Site Preparation
- Essential Steps for Asphalt Site Preparation
- Specialized Tools for Asphalt Site Preparation
- Asphalt-focused Site Prep Tricks
- Safety Protocols for Asphalt Site Work
- Common Asphalt-specific Preparation Challenges
- Environmental Considerations for Asphalt Projects
- Cost Factors in Asphalt Site Preparation
- FAQs: Asphalt Site Preparation and Grading
- Final Words
- Useful References for You:
Understanding Asphalt-specific Grading and Site Preparation
Good site prep sets asphalt up for success. The right grade keeps water off the surface and gives the pavement a strong base. Let’s break down what makes asphalt grading unique.
Why Proper Grading is Critical for Asphalt Longevity
Asphalt lives or dies by its slope. A 2% cross-slope – 1/4 inch per foot – lets water run off fast. Without this tilt, pools form. Water seeps into cracks, softens the base, and cuts pavement life by half. Cold areas face freeze-thaw cycles that buckle poorly graded surfaces. Fixes cost 40% more than getting the grade right first time.
Key Differences in Site Prep for Asphalt Vs. Other Materials
Asphalt bends where concrete cracks. This flexibility needs a rock-solid base. A 6-inch gravel layer under asphalt beats the 4-inch base for concrete pads. Compaction hits 95% Proctor density – 5% higher than for brick patios. Drainage also varies: asphalt needs more slope than pavers but less than loose gravel.
| Factor | Asphalt | Concrete |
|---|---|---|
| Base Thickness | 6″ minimum | 4″ typical |
| Slope | 2% cross-slope | 1% crown |
| Compaction | 95% Proctor | 90% Proctor |
Next up: The seven key site prep steps that turn dirt into a pave-ready slab. From soil tests to final checks, each phase builds the asphalt’s backbone.
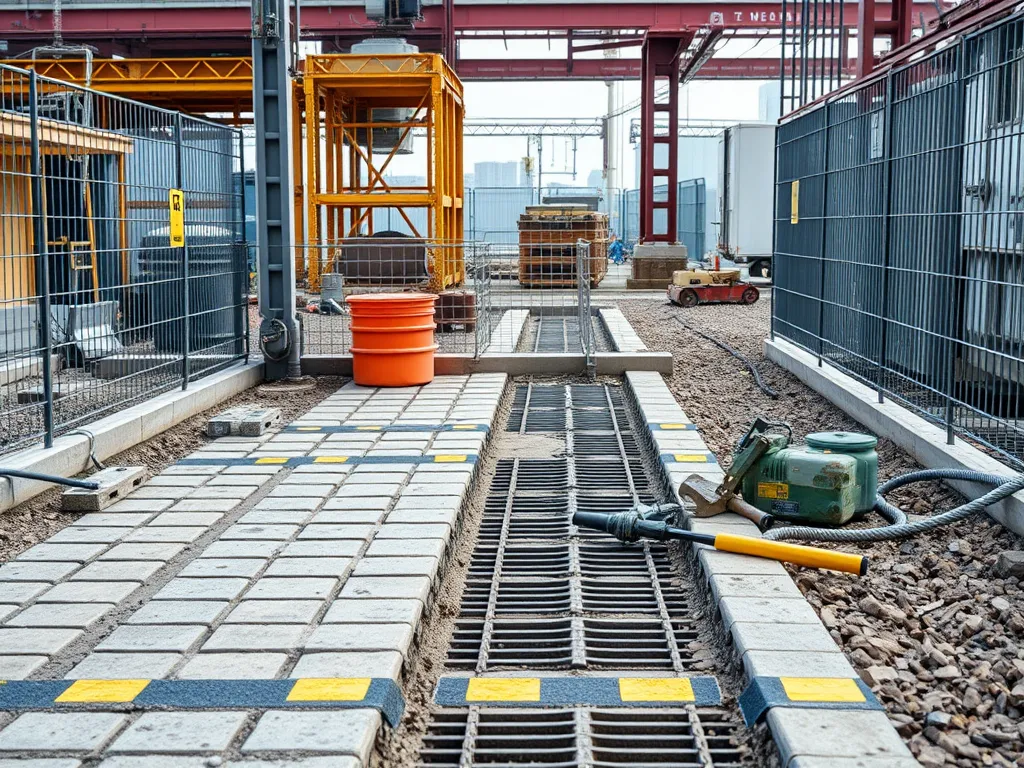
Essential Steps for Asphalt Site Preparation
Proper site prep grades determine asphalt pavement performance. Follow these construction site preparation steps to create a stable foundation.
Step 1: Soil Testing and Stabilization
Begin with geotechnical analysis of the subgrade. Test California Bearing Ratio (CBR) values – asphalt requires minimum 20 CBR for residential areas, 30+ for commercial lots. Stabilize weak soils with 6-8% lime or cement additives.
Evaluating Load-Bearing Capacity for Asphalt Surfaces
Use dynamic cone penetrometers to measure soil resistance. Target 95% Standard Proctor density for clay soils. Install geogrid reinforcement if deflection exceeds 0.1 inches under 300 psi loads.
Step 2: Vegetation Removal and Debris Clearing
Remove all organic matter within 12″ of surface. Grind stumps 6″ below final grade. Apply non-selective herbicide (3% glyphosate solution) to prevent regrowth. This prevents voids in base layers.
Step 3: Utility Line Identification and Protection
Mark all underground utilities using electromagnetic locators. Maintain 18″ clearance around marked lines. Install warning tapes 12″ above buried pipes during site prep phases.
Step 4: Establishing Base Slope and Drainage Design
Create crown heights of ¼” per foot for asphalt surfaces. Slope parking areas 2% toward drains. Install edge drains every 40 feet in high-water table areas.
Optimal Slope Requirements for Asphalt Pavement Drainage
Follow ASTM D3385-18 standards: 1.5% minimum cross slope, 0.5% longitudinal grade. Use laser levels to verify 0.3% tolerance. Integrate catch basins every 300 SF in commercial sites.
Step 5: Subgrade Compaction and Leveling
Compact soil in 6″ lifts using 10-ton vibratory rollers. Achieve 92-95% density for clay subgrades. Laser-grade to ±0.15″ elevation tolerance across the site.
Achieving Proper Density for Asphalt Base Layers
Conduct nuclear density tests every 500 SF. For aggregate bases, target 100% Modified Proctor density. Repair soft spots with 6″ DGABC layers compacted to 98%.
Step 6: Aggregate Base Installation
Spread 4-6″ crushed stone base (¾” minus aggregate). Compact in 3″ layers at 8-10% moisture content. Ensure 95% compaction before asphalt placement.
Step 7: Final Grade Verification
Confirm elevations match engineering plans within ¼” tolerance. Use 3D GPS grading systems for large sites. Check cross slopes with digital inclinometers – maintain 0.2% deviation maximum.
With the subgrade fully prepared, the next phase involves selecting specialized equipment tailored for asphalt installation…
Specialized Tools for Asphalt Site Preparation
Proper site prep requires tools designed for asphalt’s unique demands. From heavy machinery to precision instruments, each plays a role in creating stable bases that meet strict asphalt specifications.
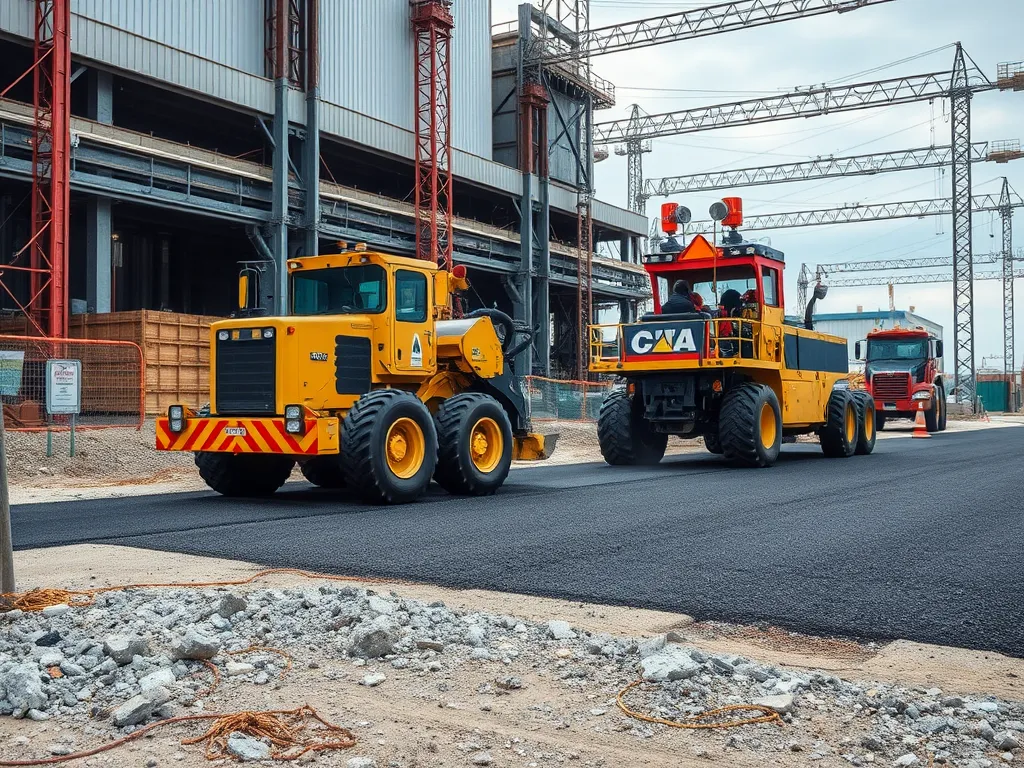
Heavy Equipment for Asphalt Projects
Asphalt projects demand machinery capable of handling dense materials and achieving exact grades. These machines work in tandem to create a uniform base layer critical for pavement performance.
Compactors, Graders, and Asphalt-Specific Machinery
Vibratory compactors apply 300-400 PSI to achieve 95% density in base layers. Motor graders shape subgrades within 1/4-inch accuracy, while asphalt pavers lay mix at temperatures above 290°F. Tracked skid steers handle tight spaces during final grade adjustments.
| Equipment Type | Key Function | Asphalt-Specific Feature |
|---|---|---|
| Padfoot Compactor | Clay soil compression | Prevents base layer shifting |
| Laser-Guided Grader | Slope creation | Maintains 2% cross-slope minimum |
| Asphalt Recycler | Material reuse | Heats RAP to 325°F |
Precision Measuring Instruments
Accurate measurements separate functional asphalt surfaces from failed installations. Modern tools verify compliance with asphalt’s strict engineering tolerances.
Laser Levels and Slope Gauges for Asphalt Surfaces
Rotary lasers check elevation variations under 3mm across 100-foot spans. Digital slope gauges measure pitch to 0.1-degree accuracy – critical for meeting asphalt’s 1-2% drainage slope requirements. Nuclear density gauges test base compaction rapidly, providing instant feedback during grading.
Proper tool selection directly impacts pavement lifespan. Next, we’ll examine techniques that leverage these tools to address asphalt’s unique installation challenges.
Also See: Easy and Effective Ways to Get Asphalt Off Your Skin
Asphalt-focused Site Prep Tricks
Cut-and-fill Tricks for Strong Bases
Cut-and-fill work shapes land for asphalt bases. Crews move soil from high spots (cut zones) to low areas (fill zones) using graders or dozers. This method saves $3-$5 per sq yard vs hauling new dirt. Key goal: Create firm base with ≤3% slope for proper runoff. Always test fill dirt for 95% Proctor density to stop future sinking.
Drainage Plans Built for Asphalt
Asphalt needs smart water control. Install French drains 18-24″ deep along edges with 2-4″ washed rock. Shape crown heights at 2% slope – 1/4″ drop per foot for parking lots, 1.5% for driveways. Use laser levels to set drain inlets every 30-40 feet. These steps cut water harm by 60% vs flat paving.
Edge Lock-down Steps
Strong edges keep asphalt from crumbling. Dig 6″ trench along pave lines. Fill with Class 2 AB stone, then add steel plates or concrete curbs. Compact edges at 92% density – 5% higher than center zones. For curves, use flexi-borders that bend up to 45 degrees. Proper edging adds 7-12 years to pave life.
With base, drains, and edges set, crews can focus on safe gear use. Next steps cover gear checks and worker shields during pave work.
Solid site prep forms the base for safe paving work. Up next: gear checks and crew shields during asphalt ops.
Safety Protocols for Asphalt Site Work
Safe site work keeps crews safe and projects on track. For asphalt jobs, mix heat, heavy gear, and tight deadlines. Smart plans cut risks.
Equipment Safety Checks
Test all gear daily before use. Check compactors, rollers, and graders for leaks, worn belts, or bad hydraulics. Fix 90% of gear fails with daily checks. Use GPS-guided tools to cut human error by 40% in grade work. Tag faulty gear red until fixed.
Worker Protection During Grading Operations
Require hard hats, steel-toe boots, and high-vis vests. Limit noise exposure with ear plugs near loud gear (over 85 dB). Control dust with water spray or additives – keep silica under 25 microns. Train all crews on hand signs, gear limits, and escape routes. OSHA rules say 10 hours of safety training per worker.
Nail down safety? Time to tackle common asphalt prep snags head-on. Even smooth sites hit bumps – soft spots, water woes, or heat shifts. Next up: fixing issues before pave day.
Common Asphalt-specific Preparation Challenges
Even with proper execution of site preparation steps, unique hurdles emerge when working with bituminous mixes. Three frequent issues require targeted solutions during grading site prep to ensure lasting pavement performance.
Addressing Soft Spots in Subgrade
Undetected soft zones beneath compacted soil cause uneven settling in asphalt layers. Proctors with dynamic cone penetrometers identify weak zones below 95% density thresholds. Solutions include undercutting (removing 12-36″ of unstable soil) or installing geotextile fabric between subgrade and base layers. Stabilizing lime slurry injections boost bearing capacity by up to 40% in clay-heavy soils.
Preventing Water Infiltration in Base Layers
Moisture penetration degrades 90% of failed pavements. Site prep grades must integrate cross-slopes exceeding 2% toward drainage swales. Install dense-graded aggregate bases with ≤0.5% voids – tested using nuclear density gauges. Edge drains with perforated PVC pipes (4-6″ diameter) at 10-foot intervals divert subsurface water from vulnerable zones.
Managing Thermal Expansion Requirements
Bitumen contracts 0.00055 inches per °F temperature drop. Site preparation process steps must include expansion joint planning: • Install isolation joints every 60-100 linear feet • Leave ¾” gaps between fixed structures • Use PG (Performance Grade) binders matching regional climate extremes Compressible foam joint fillers allow 25-30% movement without cracking adjacent pavement.
With these grading preparation challenges resolved, focus shifts to meeting ecological standards during subsequent phases. Proper erosion controls now prevent costly delays…
Environmental Considerations for Asphalt Projects
Site prep grades shape both project success and eco-impact. Proper steps cut harm to land, water, and air while meeting strict rules.
Erosion Control During Preparation
Soil shifts during grading site prep can wash away topsoil. Use these steps:
- Silt fences along slopes over 5% grade
- Straw mulch on bare soil at 2 tons per acre
- Hydroseed with grass mix (80% cover in 14 days)
Track rain forecasts. Delay work if storms hit 2+ inches per day. Check barriers weekly.
Recycling Existing Asphalt Materials
Old pavement need not waste space. Recycle 95% of milled asphalt in new base layers. Steps:
- Test old mix for oil or chemical stains
- Mill to 2-4 inch chunks using cold planers
- Blend 30% RAP (Recycled Asphalt Pavement) with fresh aggregate
This cuts cost by $15-$50 per ton vs new hot mix. Reduces truck trips by 40%.
Stormwater Management Compliance
EPA rules demand clean runoff from site prep phases. Key tactics:
- Slope paved zones to catch basins (1/4″ per foot min)
- Install oil-water separators near fuel zones
- Use permeable asphalt for 50%+ of parking edges
Test runoff pH monthly. Keep between 6-8.5 to avoid fines up to $37,500 per day.
Smart site prep steps balance build needs with nature’s limits. Next, see how these choices affect project budgets and long-term costs.
Cost Factors in Asphalt Site Preparation
Smart budgeting for asphalt projects starts with knowing what impacts pricing during grading and site work. Three factors shape initial outlay and ongoing costs: materials, labor choices, and forward-looking planning.
Calculating Base Material Requirements
Figuring out how much rock or aggregate you’ll need starts with math. Multiply your paving area’s length by width and depth (in inches), then split by 324 to find cubic yards. For a 100’x50′ lot needing 6″ of base: (100x50x0.5)/27 = 92.6 cubic yards. Soil class matters too – clay soils might call for 30% more subbase to stop frost heave. Always add 10-15% extra for compaction loss.
Labor Vs. Equipment Cost Balancing
Skid-steers rent for $235/day but trim manual work by half. A 5-person crew costs $75/hr but handles tight spots machinery can’t. For sites over 5,000 sq ft, using a vibratory roller ($420/day) cuts labor hours by 40% compared to hand tamping. Mix gear and workers based on timeline: tight deadlines favor more machines, limited budgets might pick partial automation.
Long-term Maintenance Cost Projections
Proper grading slashes future fixes. A 2% slope instead of 1.5% boosts drainage, cutting crack repairs by 30% in cold zones. Investing $1,200 in laser-guided grading now can save $4,800 over 8 years by stopping potholes. Subpar compaction (below 95% Proctor density) leads to rutting, adding $3.50/sq yd in fixes within two winters.
Factoring in all costs from rock to rollers forms a full financial plan. Now, let’s tackle common queries about asphalt grading do’s and don’ts.
FAQs: Asphalt Site Preparation and Grading
What Are the 7 Essential Steps for Asphalt Site Preparation?
The essential steps for asphalt site preparation include: 1. Soil Testing and Stabilization2. Vegetation Removal and Debris Clearing3. Utility Line Identification and Protection4. Establishing Base Slope and Drainage Design5. Subgrade Compaction and Leveling6. Aggregate Base Installation7. Final Grade Verification.
How Does Grading Differ for Asphalt Vs. Concrete Surfaces?
Grading for asphalt typically requires a thicker base, higher compaction density, and steeper slopes for proper drainage compared to concrete. Asphalt’s flexibility necessitates a more robust substructure to prevent cracking and structural failure.
What Specialized Tools Are Needed for Asphalt Subgrade Preparation?
Specialized tools for asphalt subgrade preparation include vibratory compactors, motor graders, and laser-guided grading systems. Precision instruments such as nuclear density gauges and digital slope gauges help ensure compliance with specification standards.
What Should an Asphalt-specific Site Checklist Include?
An asphalt-specific site checklist should include points related to soil conditions, vegetation removal, utility protection, drainage design, and equipment readiness. It should outline all steps from preparation to final verification to ensure nothing is overlooked prior to laying asphalt.
How Does Soil Type Affect Asphalt Preparation Requirements?
Soil type significantly influences the required stabilization methods, base layer thickness, and compaction techniques. For example, clay soils may require additional treatment or reinforcement compared to sandy soils to achieve the necessary bearing capacity and prevent future settling.
What Are Critical Drainage Considerations for Asphalt Paving?
Critical drainage considerations for asphalt paving include establishing a minimum cross slope of 2%, ensuring proper grading to direct water away from the pavement, and integrating necessary drainage infrastructure like edge drains and catch basins to prevent water infiltration and damage.
How to Calculate Base Material Needs for Asphalt Projects?
To calculate base material needs for asphalt projects, measure the area to be paved (length x width) and multiply by the required depth (in feet). Convert the total cubic feet to cubic yards by dividing by 27. Adjust the figures as necessary based on soil type and expected compaction losses.
Final Words
Effective site preparation and grading are pivotal for any successful asphalt project. Each step, from soil testing to final grade verification, plays a crucial role in ensuring the durability and performance of asphalt surfaces. Proper grading minimizes the risk of issues like soft spots, water infiltration, and thermal expansion challenges, setting a solid foundation for long-term success.
Utilizing specialized tools and following stringent safety protocols further enhances project efficiency while complying with environmental regulations. Keep in mind that the right site preparation practices not only streamline construction but also reduce future maintenance costs.
For more detailed information on asphalt projects, visit Asphalt Calculator USA. Your resource for all things asphalt!

