Step-by-step Asphalt Patching: Fix Cracks and Potholes Like a Pro
Published on: April 16, 2026 | Last Updated: April 14, 2025
Written By: George Voss
A step-by-step patching guide breaks down asphalt repairs into clear, actionable stages using materials like cold-mix asphalt (ready for small fixes) or hot-mix asphalt (for larger jobs). Unlike temporary fixes, this method ensures lasting results by addressing root causes—water damage, poor compaction, or aging surfaces. You’ll need basic tools: a tamper for compressing material, a chisel for squaring edges, and sealant for weatherproofing. Follow the six core steps: assess damage, clean the area, apply mix, compact layers, cure properly, and seal edges.
This guide covers material selection (hot-mix vs cold-mix differences), tool recommendations like infrared heaters for seamless blending, and detailed repair stages. Learn pro techniques for avoiding common errors, like improper compaction or skipping sealant. Explore eco-friendly options, including recycled asphalt pavement (RAP), which cuts project costs by 20-30%. Whether fixing driveway cracks or parking lot potholes, these methods adapt to DIY skill levels.
Contents
Understanding Asphalt Patching
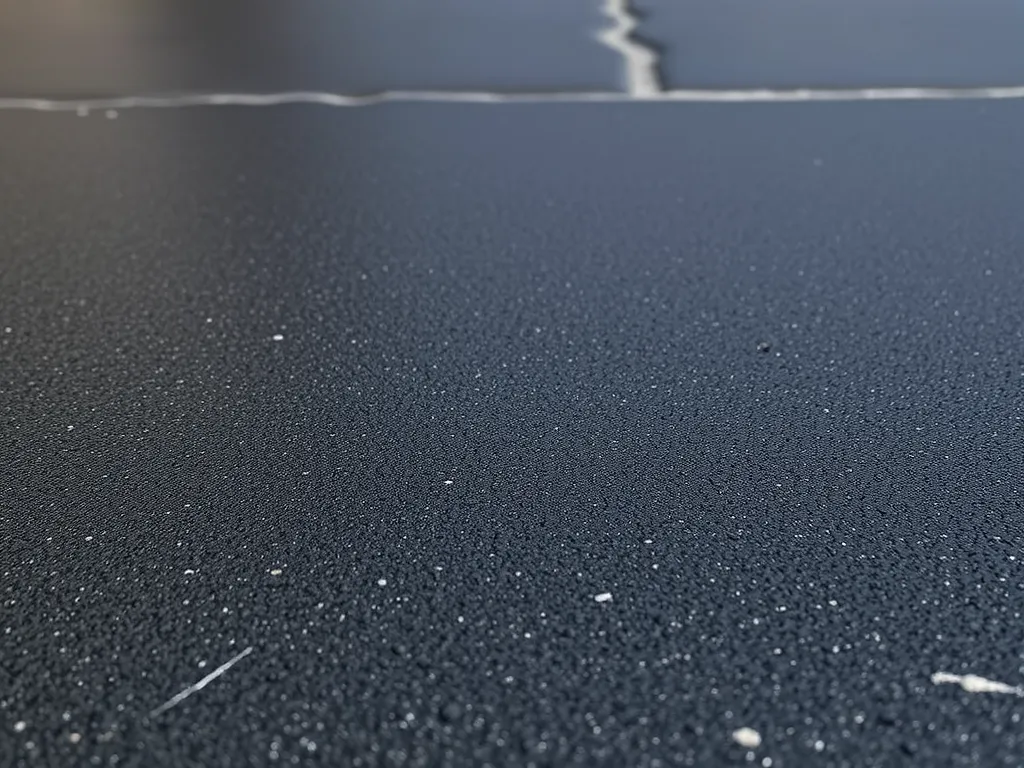
Asphalt patching is a fix for damaged spots on roads, parking lots, or driveways. It involves filling cracks, holes, or worn sections to bring back smoothness and structural integrity. This process stops minor flaws from growing into costly failures.
What is Asphalt Patching?
Asphalt patching is a fix using a mix of aggregates (crushed stone, sand) bound with bitumen. It targets flaws like potholes, alligator cracks, or rutting. Fixes can vary from temporary cold-patch fills to infrared-heated repairs that bond old and new layers. This fix stops water from harming base layers and stops cracks from spreading.
Why Timely Asphalt Patching is Critical
Ignoring flaws cuts asphalt’s lifespan. Water soaks into cracks, washing away base materials. This weakens foundations, causing sinkholes or alligator cracking. A 1-inch crack can grow to 6 inches in six months if not fixed. Tripping hazards also rise—potholes cause 30% of slip-and-fall claims on commercial lots. Acting fast slashes long-term costs: fixing a 1-sq-ft pothole costs $30-$50, but replacing a full slab runs $1,000+.
Timely work also boosts safety. Smooth surfaces improve traction, cutting down on skid risks. Fixing flaws quickly adds 5-8 years to pavement life. With tools and know-how from this patching tutorial, you can tackle issues before they spiral.
Now that you know why timing counts, let’s look at what you’ll need to start your fix.
Asphalt Patching Materials & Tools
Pick the right gear to fix cracks right. This patching guide breaks down what you need.
Key Materials for Effective Patching
Use top-grade stuff to make repairs last. Skip weak mixes or thin sealants.
Hot-Mix vs. Cold-Mix Asphalt
Hot-mix needs heat (280°F+) for roads with heavy use. Cold-mix works in cold air for quick fixes—no heat tools. A 50-lb bag costs $5-$10.
Sealcoats and Liquid Asphalt Emulsions
Sealcoats shield patches from rain. Emulsions act as glue for layers. Apply 1 gallon per 40 sq ft.
Reinforcement Fabrics for Longevity
Fabrics stop cracks from spreading. Lay fiberglass mesh under fresh mix. Lasts 3x longer than plain patches.
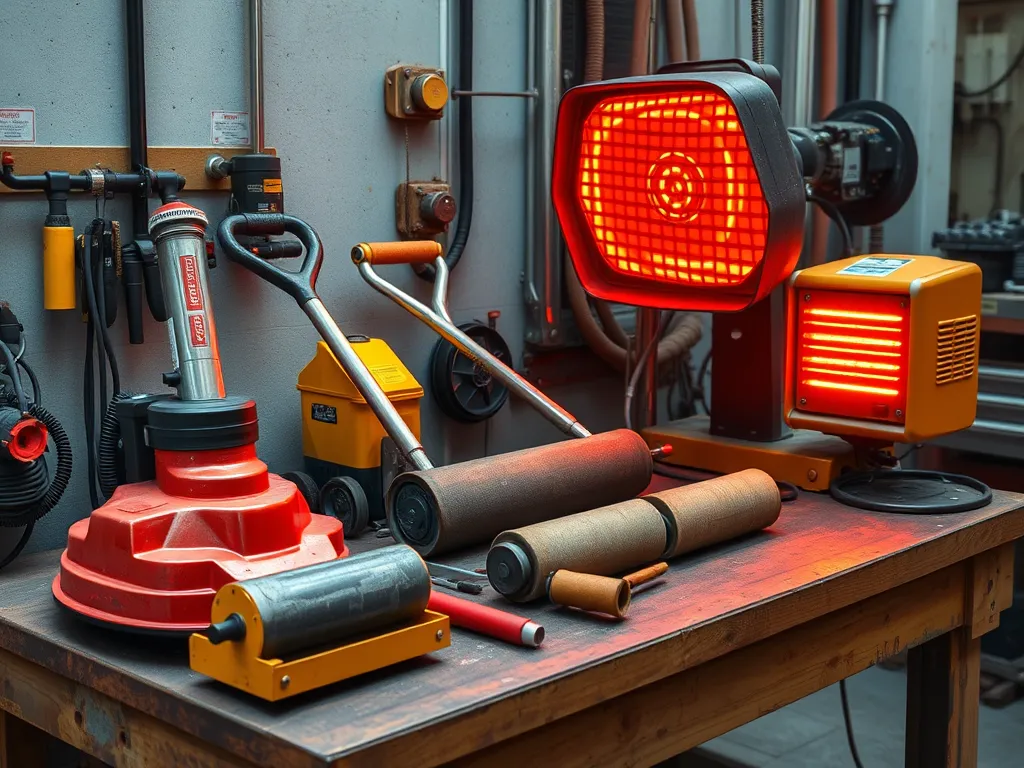
Essential Tools for Asphalt Repairs
Good tools cut work time in half. Rent or buy based on job size.
Tampers, Rollers, and Infrared Heaters
Hand tampers pack small holes. Rollers smooth big areas. Heaters bond old and new asphalt at 300°F.
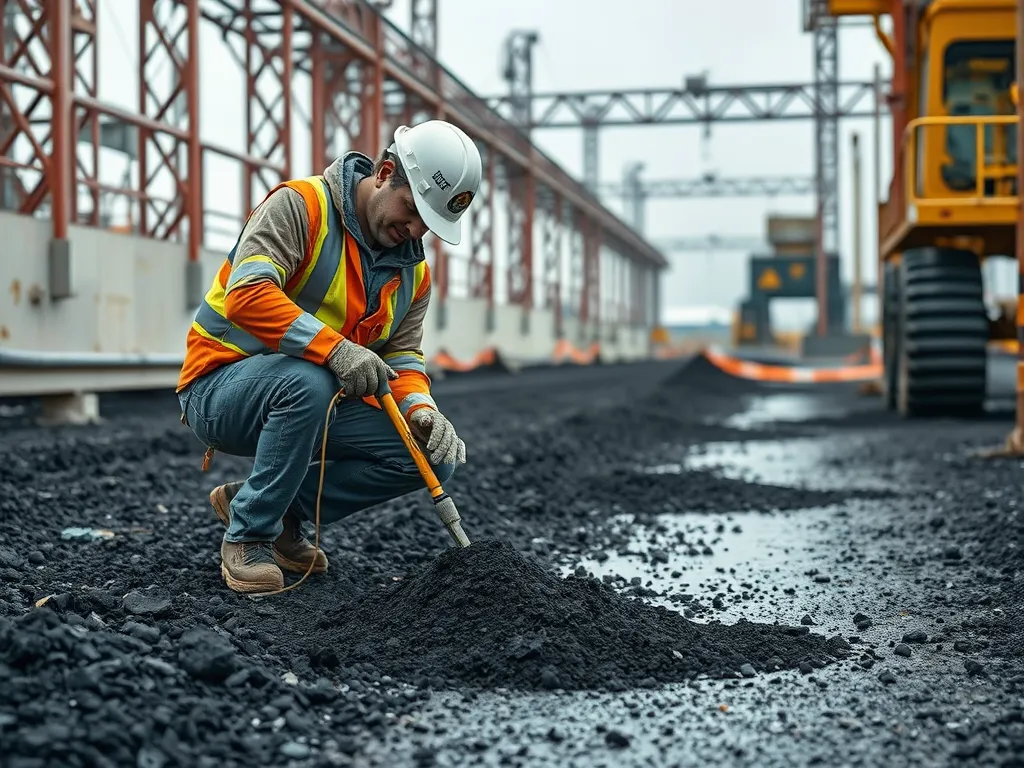
Safety Gear for DIY Patching
Wear thick gloves, steel-toe boots, and goggles. Use ear guards near loud tools like jackhammers (90+ decibels).
Now that you have the right tools, let’s walk through the full patching process.
Asphalt Patch Management Workflow
Fix asphalt right by nailing the workflow. Skip steps, and cracks come back fast. Stick to this patching guide for smooth, long-term results.
The 6-step Patch Management Process
Six moves make or break your patch job. Learn them, and you’ll dodge rookie errors that waste time and cash.
1. Assess Damage Severity
Check hole depth with a ruler. Small cracks under 1/4 inch? Surface seal works. Potholes deeper than 2 inches need full-depth repair. Mark edges with chalk to plan your attack.
2. Select Repair Method
Pick your fix: throw-and-roll for quick cold patches, spray-injection for wet spots, or infrared for seams. Use hot-mix (300°F+) if temps stay above 50°F. Cold-mix sticks below 40°F.
3. Prepare the Surface
Blast debris with an air hose. Cut ragged edges square using a saw. Scrub the base with a steel brush. Pour tack coat glue—1 gallon per 100 sq ft—to bind old and new asphalt.
4. Apply Patching Material
Shovel mix in 2-inch layers. Overfill holes by 1/4 inch to fight settling. Rake smooth before compaction. Hot-mix gives 20+ years; cold-mix lasts 3-5.
5. Compact and Level
Hit each layer with a plate compactor—3 passes minimum. Check slopes with a 4-foot level. Spray water to stop sticking. Aim for 92% density to match old pavement.
6. Cure and Seal
Let hot-mix cool for 24 hours. Cold-mix sets in 1-2 hours. Brush sealant over seams—1 gallon covers 50 sq ft. Block traffic for 48 hours to prevent dents.
Got the workflow down? Time to dive into hands-on patching steps—we’ll show you how to cut, fill, and finish like a pro.
Also See: Asphalt Applications in Renewable Energy Projects
Step-by-step Asphalt Patching Process
This patching tutorial walks through the exact methods professionals use to restore damaged asphalt. Follow these patching instructions precisely for repairs that last 5-10 years.
Step 1: Clean and Inspect the Damaged Area
Clear loose rocks, vegetation, and dirt with a stiff broom or air compressor. Check for hidden cracks or eroded base layers beneath the surface.
Removing Debris and Water
Use a wet/dry vacuum for standing water. Blow out crevices with 90-100 PSI air pressure. Moisture weakens bond strength by up to 40% if not removed.
Step 2: Cut and Square the Edges
Define repair boundaries with a circular saw or cold chisel. Angled edges prevent raveling and ensure compaction uniformity.
Creating Stable Repair Boundaries
Cut vertical edges 2-3 inches deep at 45-degree angles. Irregular shapes cause premature cracking—square or rectangular patches distribute weight evenly.
Step 3: Choose Your Asphalt Mix
Select materials based on hole size, weather, and traffic. Cold-patch (QPR®) works for DIY fixes under 4 sq ft. Hot-mix requires professional equipment but lasts 2x longer.
Cold-Patch vs. Hot-Patch Applications
Cold-patch binds at 50°F+, costs $15-$25 per 50lb bag. Hot-mix (300°F+) needs rollers, bonds tighter, and costs $80-$120/ton installed.
Step 4: Fill and Compact the Patch
Pour mix in 2-inch layers. Compact each with a hand tamper (small repairs) or plate compactor (large areas). Insufficient compaction causes 70% of DIY failures.
Proper Layering Techniques
Overfill by ½ inch to account for settling. Use back-and-forth passes with a 175-lb compactor. Check for low spots with a 4-ft level.
Step 5: Seal and Protect the Repair
Apply sealant after 24-48 hours curing. This patching how-to ends with defense against UV rays and freeze-thaw cycles.
Using Asphalt Sealant for Durability
Coal-tar emulsions (65% solids) outlast asphalt-based sealers. Spread ⅛-inch thick using a squeegee. Allow 4-6 hours drying before light traffic.
Mastering this patching guide step by step ensures repairs withstand heavy use. Yet material choice is just one factor—next, learn how weather and technique impact your patch’s lifespan.
Pro Tips for Long-lasting Asphalt Repairs
Follow these guidelines to boost the lifespan of your asphalt patches and prevent repeat repairs.
Optimal Weather Conditions for Patching
Successful asphalt repairs start with weather awareness. Aim for dry days with temperatures above 50°F for cold-mix applications. Hot-mix requires warmer ground temps – at least 40°F and rising. Humidity below 80% prevents moisture traps under patches. Avoid patching if rain is forecast within 24 hours. For infrared heater repairs, ambient temps below 90°F ensure proper bonding without mix oxidation.
- Cold-patch: 50°F minimum, dry surface
- Hot-patch: 40°F base temp, rising trend
- Infrared: Below 90°F air temp
Avoiding Common Compaction Mistakes
Poor compaction causes 60% of premature patch failures. Use plate compactors for small areas (150-300 lbs force) and rollers for larger zones. Compact in 2″ layers for depths exceeding 4 inches. Make 5-7 passes per layer at 1-2 mph. Check for “springy” spots indicating air pockets. Never skip edge compaction – this prevents water infiltration along repair boundaries.
Key density targets: 92-96% proctor density for lasting results. Test with nuclear gauges or sand cone methods. For cold-mix, add 5% extra material to account for settlement during curing.
With your repair solidly in place, let’s examine eco-friendly practices that protect both your pavement and the planet.
Environmental Considerations
While following your patching tutorial, account for sustainability. Asphalt repairs generate waste – but smart choices minimize ecological harm.
Eco-friendly Asphalt Recycling Methods
Recycled asphalt pavement (RAP) cuts landfill contributions by 95%. During your patching process, consider these green options:
- Cold-in-place recycling: Reuse 100% of milled asphalt onsite with emulsion binders
- Hot-mix RAP: Blend 20-30% recycled material into new asphalt at 300°F
- Full-depth reclamation: Mix existing asphalt/base layers into stabilized subgrade
Contractors report 25% cost savings using RAP mixes meeting AASHTO M323 specs. Check local availability of recycled asphalt shingles (RAS) for binder enhancement.
Safe Disposal Of Old Asphalt Materials
Unrecycled asphalt requires proper handling. Follow EPA guidelines during your patching how-to:
- Test removed material for hazardous contaminants
- Use licensed facilities charging $15-$40/ton for asphalt disposal
- Document waste manifests for regulatory compliance
Crushed asphalt makes excellent base material – many landfills waive fees for clean loads under 2″ pieces.
Next up: Get answers to common questions about mix selection, compaction, and professional repair thresholds in our FAQ section.
FAQs: Asphalt Patching Essentials
What Are the Best Practices for Maintaining Paved Surfaces After Patching?
After patching, it’s essential to maintain the surface for longevity. Regularly inspect the area for new signs of wear, debris, and standing water. Implement a sealcoating schedule, typically every 2-3 years, to protect against UV damage and moisture infiltration. Keeping the surface clean from leaves, dirt, and other debris helps prevent cracks from forming.
How Can I Identify When My Asphalt Needs Patching?
Watch for visible signs including cracks, potholes, or significant wear. If you notice puddles forming after rain, it’s likely that the asphalt has developed dips or hollows. Additionally, if the surface appears rough or there are frequent loose stones, it’s a good indication that patching may be necessary to restore integrity and safety.
What Tools Can I Rent for Asphalt Patching?
You can rent various tools to assist with asphalt patching from most equipment rental stores. Look for items such as plate compactors, asphalt rollers, and infrared heaters. For smaller repairs, hand tools like tamper and chisel are often available as well. Renting these tools can be a cost-effective way to ensure you have the right equipment without a large upfront purchase.
Is Professional Help Necessary for Large Repairs?
While smaller patch jobs can often be handled as DIY projects, larger repairs, especially those involving significant structural issues or extensive areas of asphalt, may require professional intervention. Pros utilize specialized equipment and expertise to ensure the repair is done effectively and safely, ultimately extending the lifespan of your asphalt surface.
Can I Patch Over an Existing Asphalt Layer?
Yes, but proper preparation is key to ensure a good bond. The existing layer should be cleaned and roughened to promote adhesion between the old and new material. If the underlying layer is severely damaged, full removal may be necessary to achieve a lasting repair.
Closing Thoughts
Asphalt patching is a vital skill for maintaining the integrity of paved surfaces. Following the step-by-step process outlined above ensures effective repairs and extends the lifespan of your asphalt. Proper tools, quality materials, and an understanding of techniques are the cornerstones of successful patch management.
Remember, timely intervention prevents minor issues from escalating into costly repairs. Regular maintenance is key—schedule inspections to identify wear and tear before it becomes problematic.
For more information and resources related to asphalt patching and to stay updated with the latest in asphalt care, visit Asphalt Calculator USA.
Additional Resources for You:
- Lavin, P. (2003). Asphalt Pavements: A Practical Guide to Design, Production, and Maintenance for Engineers and Architects. London: Taylor & Francis.
- A step-by-step guide for patching software vulnerabilities – Help Net Security
- Patch Management Process: A Step-by-Step Guide | NinjaOne
- Guide to Patching Games on Steam: A Step-by-Step Tutorial – The Giants of the Gaming Industry
- Oracle Database 19c RU Patching Step-by-Step Guide – DBA Discovery

