How to Fill Cracks in an Asphalt Driveway: A Simple Step-by-step Fix
Published on: January 28, 2026 | Last Updated: April 14, 2025
Written By: George Voss
Filling cracks in an asphalt driveway requires cleaning debris, choosing materials like rubberized asphalt-emulsion or cold-pour sealant, and applying them with basic tools like a wire brush and caulking gun. This process stops water from seeping into the base, prevents costly damage, and extends your driveway’s life. For cracks under ½ inch wide, DIY repairs cost $0.50–$2 per linear foot using store-bought fillers. Larger cracks may need asphalt patches or professional help.
This guide explains how to fix every type of crack—from hairline splits to alligator cracks—using the right materials and methods. Learn which fillers work best for your climate, how to prep surfaces properly, and when to tackle repairs yourself. We’ll break down tool lists, curing times, and cost comparisons between DIY and pro services. Follow our 6-step method to seal cracks effectively and protect your driveway for years.
Contents
- Why Repairing Asphalt Driveway Cracks is Essential
- Common Types Of Asphalt Driveway Cracks
- Materials for Filling Asphalt Driveway Cracks
- Tools Needed to Fix Cracks in Asphalt Driveways
- Step-by-step Guide to Filling Asphalt Driveway Cracks
- How to Repair Large Cracks in Asphalt Driveways
- Cost Considerations for Asphalt Driveway Crack Repair
- Environmental Considerations for Asphalt Repair
- Best Practices for Long-lasting Results
- FAQs About Filling Asphalt Driveway Cracks
- Closing Thoughts
- Useful References for You:
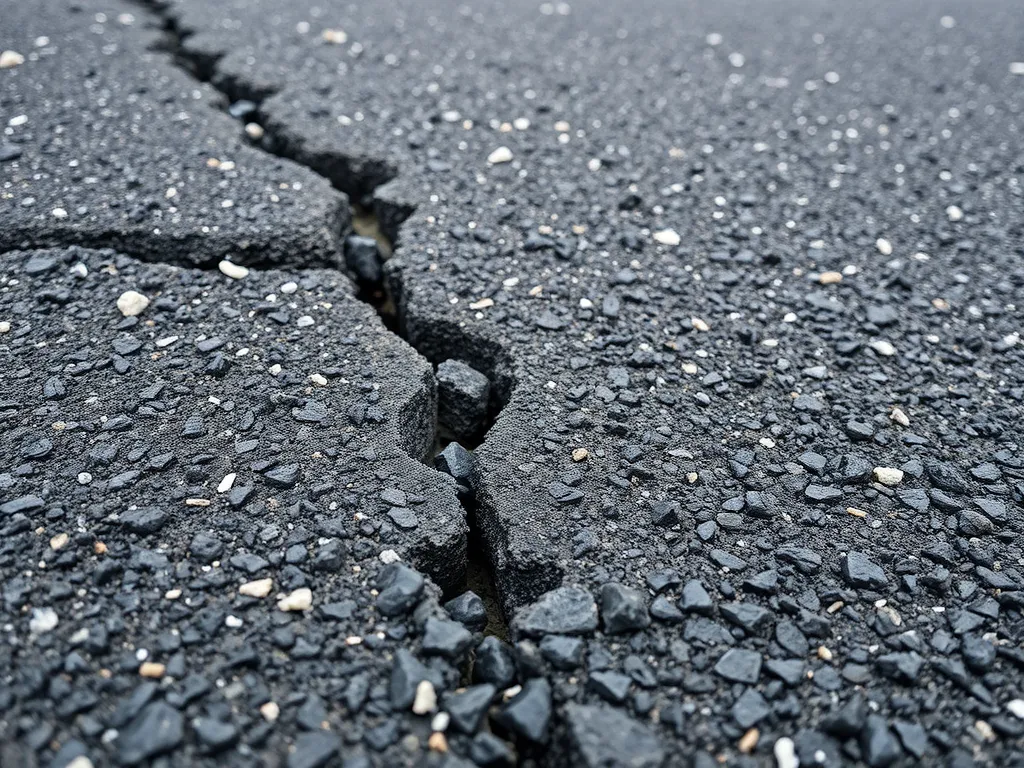
Why Repairing Asphalt Driveway Cracks is Essential
Small cracks in your asphalt drive may seem harmless. Left unchecked, they turn into big problems fast. Fixing cracks early keeps your drive strong and saves cash over time.
Preventing Water Damage and Erosion
Water slips into cracks and eats at the base under your drive. Freeze-thaw cycles make it worse – ice pushes cracks wider each winter. Filled cracks block water from washing out the gravel base. This stops dips, sink spots, and full breaks in the slab.
Maintaining Structural Integrity
Open cracks let heavy loads chip away at edges. A ¼-inch gap can grow to 2 inches in one season. Sealed joints keep the mat tight so cars and trucks don’t peel layers apart. This keeps the drive flat and stops potholes from forming.
Avoiding Costly Future Repairs
Fixing 10 feet of cracks costs $3 with DIY filler. Let them grow? You’ll pay $500+ to cut out bad spots or $3,000+ for new blacktop. Proper fills add 5-7 years to your drive’s life. That beats shelling out for full replacement every 8-12 years.
Ready to tackle those cracks? Next, we’ll break down the main types of splits you might find in your drive.
Common Types Of Asphalt Driveway Cracks
Identifying crack patterns determines repair methods. Different asphalt driveway crack types demand specific materials and techniques for lasting results. Let’s break down the four most common forms.
Hairline Cracks
Thin cracks under ¼ inch wide often appear within 1-2 years of installation. Caused by minor shrinkage during asphalt curing, these fissures let water seep into the base layer. Use liquid crack fillers like asphalt emulsion or rubberized sealant. For filling asphalt driveway cracks this small, a pour-and-sweep application works best.
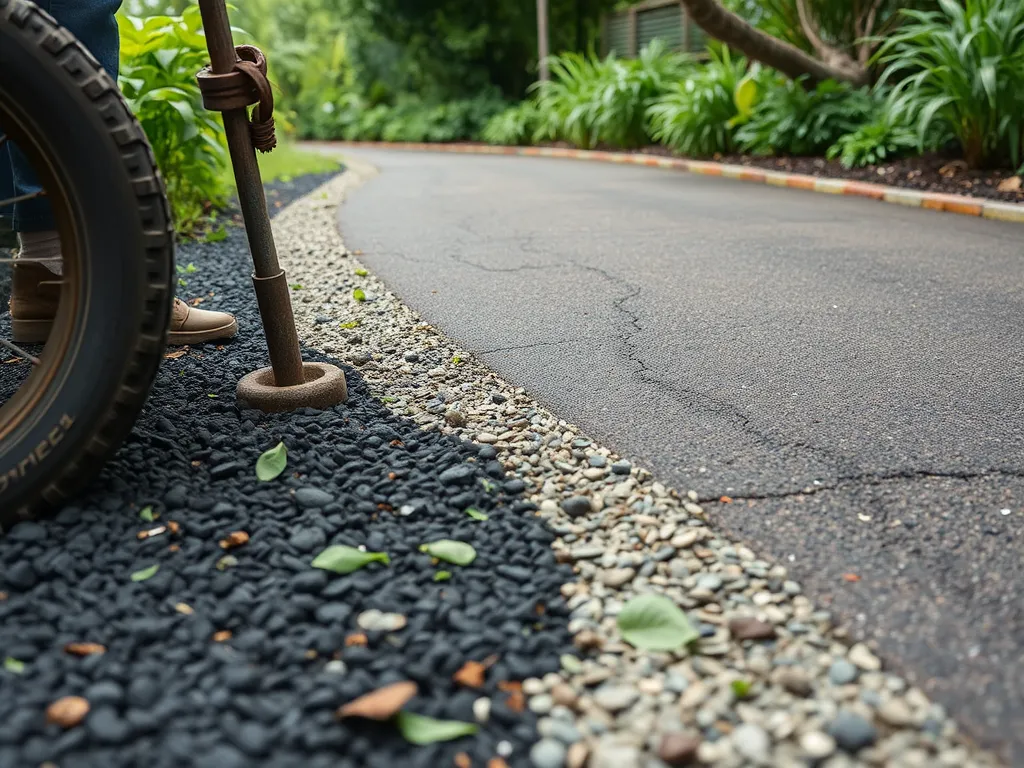
Edge Cracks
Parallel splits along driveway edges signal poor drainage or unstable soil. Heavy vehicles parking near edges worsen these gaps. Clear vegetation and debris first. Pack gravel into voids deeper than ½ inch, then apply hot-pour asphalt filler. Edge cracks in asphalt driveway repair require extra compaction to prevent recurrence.
Alligator Cracks
Interconnected cracks resembling reptile skin indicate structural failure. Subbase erosion or freeze-thaw cycles cause this damage. Alligator cracks under 2 inches deep can be filled with cold-mix asphalt patches. Larger areas need full-depth repair: remove damaged sections, replace base materials, and overlay with fresh asphalt.
Longitudinal Cracks
Straight-line splits running lengthwise often stem from poor joint construction or thermal expansion. For cracks up to ¾ inch wide, use polymer-modified asphalt sealant. Wider longitudinal cracks require backer rod foam strips before applying rubberized filler. These asphalt driveway crack repairs need annual monitoring to track spreading.
Matching crack types to repair methods ensures durable fixes. Next, we’ll explore the best materials for filling driveway cracks, from budget-friendly emulsions to industrial-grade polyurethanes.
Materials for Filling Asphalt Driveway Cracks
Choosing the right material determines how long your asphalt driveway crack repair lasts. Four options dominate the market – each with specific uses based on crack size, weather, and durability needs.
Rubberized Asphalt-emulsion Crack Filler
Rubberized asphalt-emulsion blends crushed stone particles with flexible polymers. This driveway asphalt crack filler bonds tightly to existing pavement, expanding with temperature swings (-20°F to 120°F). Apply it with a caulk gun into cracks up to 1″ wide. Costs $0.50-$1.10 per linear foot. Ideal for filling asphalt driveway cracks in regions with freeze-thaw cycles.
Cold-pour Asphalt Crack Sealant
Cold-pour sealants come premixed in bottles or buckets for DIY asphalt driveway repair cracks. These water-based compounds require no heating – just pour into cleaned cracks under ½” wide. Dries tack-free in 2-4 hours. Budget-friendly at $0.30-$0.60 per foot. Use them for quick filling cracks in asphalt driveway edges or hairline splits.
Hot-pour Asphalt Filler
Contractors melt hot-pour fillers to 350°F-400°F for deep penetration into wide cracks. This method uses industrial-grade asphalt cement mixed with polymers, achieving 5-8 year lifespans. Requires specialized equipment like oil-jacketed melters. Costs $1.20-$2.50 per foot but handles alligator cracks up to 3″ wide. Best for repairing asphalt driveway cracks needing structural reinforcement.
Polyurethane-based Fillers
Polyurethane flexes 300% more than asphalt-based products. These two-part liquid resins cure into waterproof seals, perfect for active cracks that shift seasonally. Apply with a dual-cartridge caulk gun. Priced higher at $2.80-$4.20 per foot, but lasts 10+ years. Use for filling cracked asphalt driveway joints or areas with tree root movement.
With your material selected, let’s explore the tools that turn these products into lasting repairs.
Also See: Best Time Of Year to Pave Asphalt: Ideal Seasons
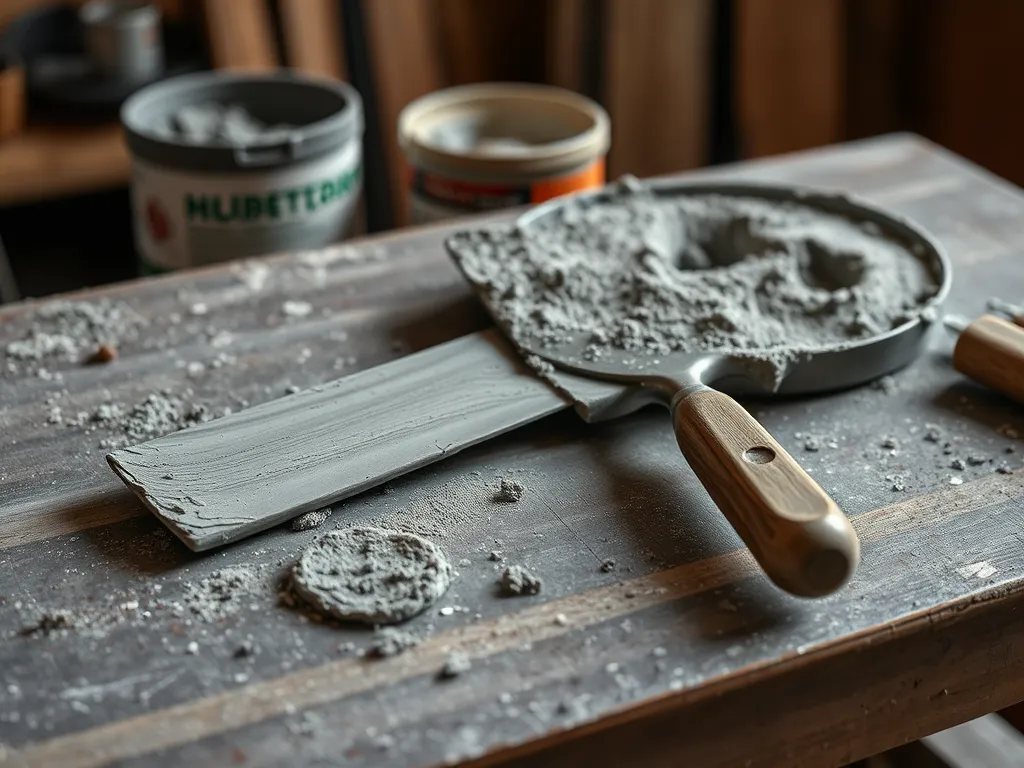
Tools Needed to Fix Cracks in Asphalt Driveways
Fix cracks right with the right gear. Each tool plays a key role in a smooth, long-lasting repair job.
Wire Brush or Stiff Bristle Brush
Scrub cracks clean with a wire brush. Remove dirt, moss, and old filler. Rough surfaces help new filler stick tight. Use firm strokes to clear gaps up to ½ inch wide.
Caulking Gun or Squeeze Bottle
Pick a squeeze bottle for thin fillers in hairline cracks. Choose a caulking gun for thick rubberized fillers in wider gaps. A steady hand keeps filler even and avoids spills.
Putty Knife or Trowel
Smooth filler flat with a putty knife. Press down to seal edges and stop water leaks. Metal blades work best for hot-pour fillers, while plastic suits cold mixes.
Safety Gear: Gloves and Eye Shield
Wear thick gloves to block skin burns from hot fillers. Use eye shields to stop splashes. Clean air masks guard lungs if grinding old asphalt.
With tools set, learn the step-by-step process to fill cracks like a pro.
Step-by-step Guide to Filling Asphalt Driveway Cracks
Proper technique ensures lasting results when fixing driveway asphalt cracks. Follow these steps for effective repairs.
Step 1: Inspect and Measure Crack Size
Check cracks with a ruler or crack gauge. Hairline cracks (under ¼”) need liquid fillers. Gaps over ½” require patching compounds. Note depth: surface-level repairs differ from cracks reaching the base layer.
Step 2: Clean Debris and Vegetation
Remove dirt, rocks, and weeds with a wire brush or air compressor. For roots in edge cracks, apply vegetation killer. Dry the area completely—moisture weakens bond strength by 30-40%.
Step 3: Apply Crack Primer (if Required)
Use primer for rubberized asphalt-emulsion fillers on cracks wider than ½”. Brush a thin coat into the gap. This boosts adhesion and prevents filler pull-out during temperature swings.
Step 4: Fill Cracks With Chosen Material
Load cold-pour sealant into a caulking gun (for cracks ¼”-½”) or pour hot-applied filler directly. Overfill by ⅛” to account for settling. For alligator cracks, use polyurethane-based fillers that flex under pressure.
Step 5: Smooth and Level the Surface
Drag a putty knife diagonally across the crack within 2 minutes of application. This removes excess material and blends the repair into existing pavement. Check for low spots—they trap water.
Step 6: Allow Proper Curing Time
Cold-pour sealants set in 3-6 hours. Hot-applied fillers harden faster (45-90 minutes). Avoid traffic for 24 hours. In temps below 50°F, double curing time.
With small cracks sealed, attention shifts to major gaps needing advanced methods.
How to Repair Large Cracks in Asphalt Driveways
Wide gaps exceeding ½ inch demand more than basic crack filling. These fractures often signal deeper base failures requiring structural repairs. Follow these steps to restore stability and prevent rapid deterioration.
Preparing the Base With Gravel or Sand
Start by clearing loose material from the crack with a shovel or air compressor. Measure depth—if exceeding 3 inches, apply crushed gravel (½-¾” angular aggregate works best). Compact the base layer in 2” lifts with a hand tamper. For cracks under 3” deep, employ coarse sand as a filler. This creates a solid foundation for patching material while improving drainage.
Applying Asphalt Patches for Gaps Over ½ Inch
Cold-patch asphalt (a premixed blend of aggregate and polymer-modified binder) suits DIY repairs. Cut the material bag open and pour directly into the crack. Overfill by ¼ inch to account for settling. Work the patch into crevices with a steel trowel, creating a slight crown. For multiple layers, compact each 1.5” layer with a vibratory plate compactor (rental cost: $75/day). Hot-mix asphalt patches last longer but require professional installation at 300°F+ temperatures.
| Patch Type | Max Crack Width | Curing Time | Cost per 50lb Bag |
|---|---|---|---|
| Cold-Patch | 2 inches | 24-48 hours | $12-$18 |
| Hot-Mix | 4 inches | Immediate | $45-$60 |
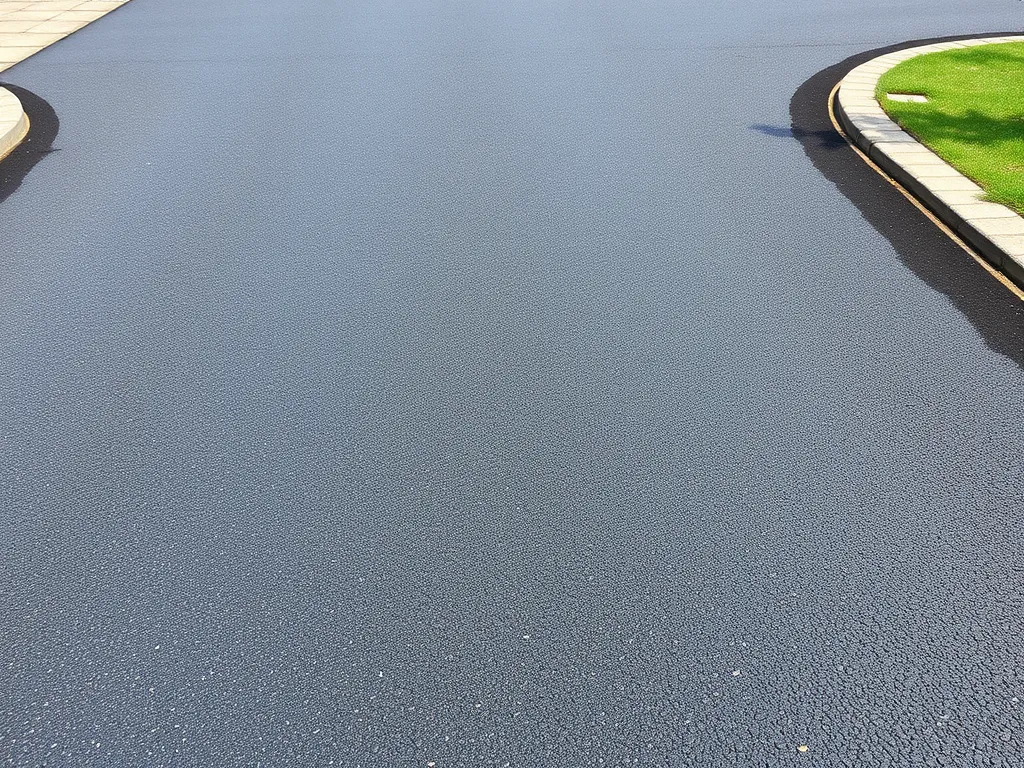
Compacting and Sealing After Repair
Run a plate compactor over the patch 3-5 times to achieve 92% density—critical for preventing sinkholes. Allow 24 hours before applying coal-tar or asphalt-based sealant at 0.25 gallons per square yard. Spread the sealant with a squeegee, feathering edges into existing pavement. Block traffic for 12-24 hours while curing. Annual resealing extends repair life from 2-3 years to 5-7 years.
Mastering these techniques ensures lasting results. Next, let’s examine how material choices and labor impact your budget for filling asphalt driveway cracks.
Cost Considerations for Asphalt Driveway Crack Repair
Repair costs vary based on crack severity, material choices, and labor. Plan your budget using these key factors.
Material Costs Per Linear Foot
Prices range from $0.30 to $8 per linear foot depending on product type:
- Rubberized asphalt-emulsion filler: $0.30-$1.50 (ideal for cracks up to ½ inch)
- Cold-pour sealant: $0.50-$2 (no heating required)
- Hot-pour asphalt filler: $2-$4 (needs specialized melting equipment)
- Polyurethane-based fillers: $4-$8 (flexible for temperature shifts)
A 50-foot driveway with moderate cracking typically costs $20-$150 for DIY materials.
DIY Vs Professional Service Expenses
Self-repair kits start at $20 for small projects. Professional services average $1-$8 per linear foot, plus a $100-$300 minimum charge. Key differences:
- DIY tools: $15 caulking gun, $10 wire brush, $5 putty knife
- Pro advantages: Infrared heaters for seamless blends, commercial-grade sealants
Choose DIY for cracks under ½ inch. Hire experts for alligator cracking or base failures.
Long-term Savings From Timely Repairs
Sealing ¼-inch cracks early costs under $50. Ignoring them leads to:
- Pothole formation: $300+ per repair
- Base erosion: $1,500+ for partial replacement
Annual maintenance extends driveway lifespan by 5-10 years, delaying full resurfacing ($3-$7 per square foot).
Balancing upfront costs with durability matters – especially when choosing eco-friendly options next.
Environmental Considerations for Asphalt Repair
Choosing repair methods that protect both your driveway and the planet requires smart material selection and waste management. Weatherproofing cracks prevents contaminants from entering groundwater while reducing resource waste.
Eco-friendly Filler Options
Rubberized asphalt-emulsion fillers contain 20-40% recycled tire rubber, sealing gaps without petroleum-based additives. Low-VOC (volatile organic compound) cold-pour sealants minimize air pollution during application. For cracks under ½ inch, plant-based fillers like soy-modified binders offer a carbon-neutral alternative. These options match traditional fillers in durability, with some lasting 5-7 years before reapplication.
Proper Disposal Of Old Materials
Scrape away loose asphalt debris during cleaning and collect it in sealed containers. Over 90% of asphalt can be recycled through local road construction programs or asphalt plants. Check municipal guidelines – many areas ban asphalt waste in landfills. Leftover filler tubes or cans require disposal at hazardous waste facilities if labeled “flammable” or “petroleum-based.”
Pairing green materials with responsible cleanup keeps driveways functional while cutting landfill contributions. Now let’s explore techniques to make repairs last through freezing winters and scorching summers.
Best Practices for Long-lasting Results
Proper technique matters, but environmental factors and upkeep determine how well your asphalt driveway crack repairs hold up. Follow these guidelines to extend the life of your repairs by 3-5 years.
Optimal Temperature and Weather Conditions
Work when temperatures stay between 50°F and 85°F for optimal adhesion. Cold-pour sealants struggle below 50°F, becoming brittle. Rubberized emulsion fillers need warmer weather (above 60°F) to flow smoothly. Check forecasts—no rain for 48 hours post-application. High humidity above 80% can delay curing times by 30-50%.
Annual Checks and Maintenance Tips
Examine your driveway every spring after thaw cycles. Use a ruler to track crack widths—act fast when gaps exceed ¼ inch. Clear debris with a stiff brush or leaf blower. Apply fresh sealcoat every 2-3 years to protect against UV rays and oxidation. For areas with heavy tree cover, trim roots and remove fallen leaves promptly to prevent moisture buildup.
Proactive care cuts repair costs by up to 60% over a decade. Next, let’s break down how material choices and labor affect your budget.
FAQs About Filling Asphalt Driveway Cracks
What is the Best Material to Fill Cracks in an Asphalt Driveway?
The best material for filling cracks in an asphalt driveway depends on the size and type of the crack. For small hairline cracks, rubberized asphalt-emulsion or cold-pour sealants work well. For larger cracks, hot-pour asphalt fillers or polyurethane-based fillers are recommended as they offer better durability and flexibility.
Can You Put New Asphalt Over Old Cracked Asphalt?
Yes, you can apply new asphalt over old cracked asphalt, but it is essential to repair the cracks first. An overlay can help extend the lifespan of the driveway, but if significant structural issues are present, a full replacement may be necessary.
What is the Difference Between Crack Sealing and Filling?
Crack sealing is typically used for wider cracks and involves using a material that expands and contracts with temperature changes, providing a flexible solution. Filling generally applies to narrower cracks, where the goal is to fill gaps without allowing further water infiltration.
Is DIY Asphalt Crack Filling Cost-effective?
Yes, DIY asphalt crack filling can be cost-effective, especially for minor repairs. Material costs for DIY kits typically range from $0.30 to $2.00 per linear foot, depending on the type of filler used. However, more extensive damage may require professional intervention to ensure a long-lasting repair.
What is the Average Cost Of Sealing an Asphalt Driveway?
The average cost of sealing an asphalt driveway ranges from $0.10 to $0.25 per square foot for DIY applications. Professional sealing services can cost between $0.50 to $1.00 per square foot, depending on the size and condition of the driveway.
Closing Thoughts
Filling cracks in your asphalt driveway is not just a cosmetic fix; it’s a vital maintenance step. Proper crack filling prevents water infiltration, preserves structural integrity, and saves you from expensive repairs later on.
By using the right materials and following the outlined steps, you can extend the life of your driveway and enhance its appearance. Regular inspections and timely repairs ensure long-lasting results.
For more tips and detailed information on asphalt care, check out Asphalt Calculator USA. Protect your investment with smart maintenance choices!
Useful References for You:
- Huang, Y. H. (2004). Pavement Analysis and Design (2nd ed.). Upper Saddle River, NJ: Pearson/Prentice Hall.
- Can I fix cracks in my asphalt driveway on my own? – Quora
- large cracks in the driveway. Solution? – Bogleheads.org
- How to Repair Asphalt Driveway Cracks | Lowe’s
- What’s a good way to repair a crack in blacktop? | The Garage Journal

