How to Design an Asphalt Driveway: A Step-by-step Guide
Published on: January 26, 2026 | Last Updated: April 14, 2025
Written By: George Voss
Designing an asphalt driveway combines practical planning with technical specs, starting with site evaluation, thickness requirements (typically 2-3 inches for residential use), and material calculations. You’ll need to choose between basic layouts or curved designs, factor in slope grading for drainage, and decide on recycled asphalt (saves 20-35% in material costs) or traditional mixes. Proper sub-base preparation with crushed stone (6-8 inch depth) and soil compaction (95% density) ensures long-term durability against cracking and potholes.
This guide breaks down driveway design into seven key areas. Learn how to measure your space, calculate asphalt tonnage (plan for 145 lbs per square yard), and avoid common errors like inadequate drainage slopes (1-2% grade recommended). Explore cost comparisons ($3-$5 per square foot DIY vs $7-$13 professional), environmental options like permeable asphalt (0.5-1 inch voids for water flow), and FAQs about winter traction solutions. Follow these steps to create a driveway that lasts 15-20 years with minimal maintenance.
Contents
Planning Your Asphalt Driveway Design
Start your asphalt driveway design by mapping site needs and space use. Balance looks with long-term function to create a drive that lasts 15-20 years.
Assessing Site Requirements
Test soil and check land shape before paving. A poor base causes cracks and dips in 2-3 years.
Evaluating Ground Surface Readiness
Dig 12-18 inches to check soil type. Clay soils need 6-8 inches of gravel base for drainage. Compact soil to 95% density using a plate compactor. Add crown slopes (1-2% grade) to shed water off the drive.
Accounting for Climate and Usage Needs
In cold zones, use PG 64-22 binder to resist freeze-thaw damage. For heavy trucks or RVs, add 1-2 extra inches of base rock. Hot areas need finer aggregates to prevent rutting in 100°F+ heat.
Space and Layout Considerations
Mark property lines and check local codes first. Most towns need 10-15 foot setbacks from structures. Allow 3 feet on both sides for walk paths.
Measuring Available Area
Use a laser measure for exact length and width. A standard 24×12 foot drive fits 2 cars. For slopes, add 10% extra length to ease the grade. Note trees, poles, or pipes that block paving gear.
Turnaround Space Planning
Add a 20×20 foot pad for safe truck turns. Curved edges need 8-12 foot radii for plow trucks. Keep 14 feet clear height for RVs or boats stored onsite.
With site plans set, explore shape options to match your home’s style and land use needs.
Asphalt Driveway Design Options
Shape impacts function and curb appeal. Common designs range from simple rectangles to sweeping curves, each with unique installation needs. Slope management proves critical for properties with elevation changes.
Basic Rectangular Layouts
Straight-edge designs dominate 72% of residential projects. A standard 12-foot width accommodates most vehicles, while 18-24 foot widths suit multi-car homes. Rectangular asphalt driveway layouts require minimal grading, cutting material costs by 10-15% compared to complex shapes. Compact bases with 95% Proctor density prevent edge crumbling.
Curved and Circular Designs
Sweeping arcs boost visual interest but demand precise asphalt driveway planning. Maintain 30-foot minimum radii for smooth vehicle turns. Curved edges need 6-inch vertical joints to prevent raveling. Expect 15-20% more material waste during asphalt driveway installation due to angled cuts.
Sloped Driveway Solutions
Grades exceeding 12% require specialized asphalt driveway construction. Steeper slopes need 4-inch base layers instead of standard 6-inch bases to reduce sliding risks. Cross-slopes should never exceed 2% for proper drainage.
Grading Techniques for Inclines
Cut-and-fill methods balance elevation changes. Install geotextile fabric between subgrade and base on slopes above 8% – increases shear strength by 40%. Laser-guided grading equipment achieves precise 0.5% tolerance for water runoff control.
Improving Traction on Steep Surfaces
Apply polymer-modified asphalt mixes with 30% crushed quartz aggregate. These surfaces provide 0.68 friction coefficients versus standard asphalt’s 0.55. Chevron-pattern roller compaction creates micro-textures that reduce hydroplaning risks by 18%.
With your layout finalized, structural specifications determine longevity. Material thickness and layer composition form the foundation of any durable asphalt driveway plan.
Structural Specifications
Driveway longevity begins with precise structural planning. Proper thickness, layer composition, and material quantities determine how well your pavement handles vehicles, weather, and time.
Recommended Asphalt Thickness
Thickness requirements depend on use patterns and soil conditions. Get this wrong, and you’ll see cracks or ruts within months.
Residential vs. Heavy-Duty Requirements
For cars only, residential driveways need 2-3 inches of surface course over 6 inches of compacted base. Heavy-duty designs for RVs or trucks require 4 inches of surface over 8 inches of base. In freeze-thaw zones, increase base thickness by 1-2 inches to prevent frost heave.
Layer Composition (Base vs. Surface Course
The base layer uses crushed stone (1.5-3” angular aggregates) for drainage and load distribution. Surface layers mix smaller stones (3/4” down to fines) with PG binders—temperature-rated asphalt cement. Superpave mixes, common since the 1990s, optimize this blend for local climate.
Material Calculations
Accurate estimates prevent budget overruns. Measure twice, pour once.
Square Footage Formulas
For rectangular layouts: Length (ft) x Width (ft) = Total sq ft. Curved designs? Divide into smaller rectangles or triangles, calculate each, then sum. Add 5-7% extra for slopes or irregularities.
Tonnage Estimation Methods
Hot mix asphalt (HMA) weighs ~145 lbs per cubic foot. Convert cubic yards to tons: 1 cubic yard = 2.025 tons. Example: 20’x50’ driveway (3” thick). Cubic yards = (1,000 sq ft x 0.25 ft)/9 = 27.78. Tons needed: 27.78 x 2.025 ≈ 56.25 tons.
With structural specs finalized, focus shifts to sub-base prep—the foundation of lasting pavement.
Also See: Durability Of Asphalt Driveways: Tips for Longevity
Asphalt Driveway Construction Process
Turning your asphalt driveway design into reality demands precise execution. Proper construction determines longevity, appearance, and performance under daily use.
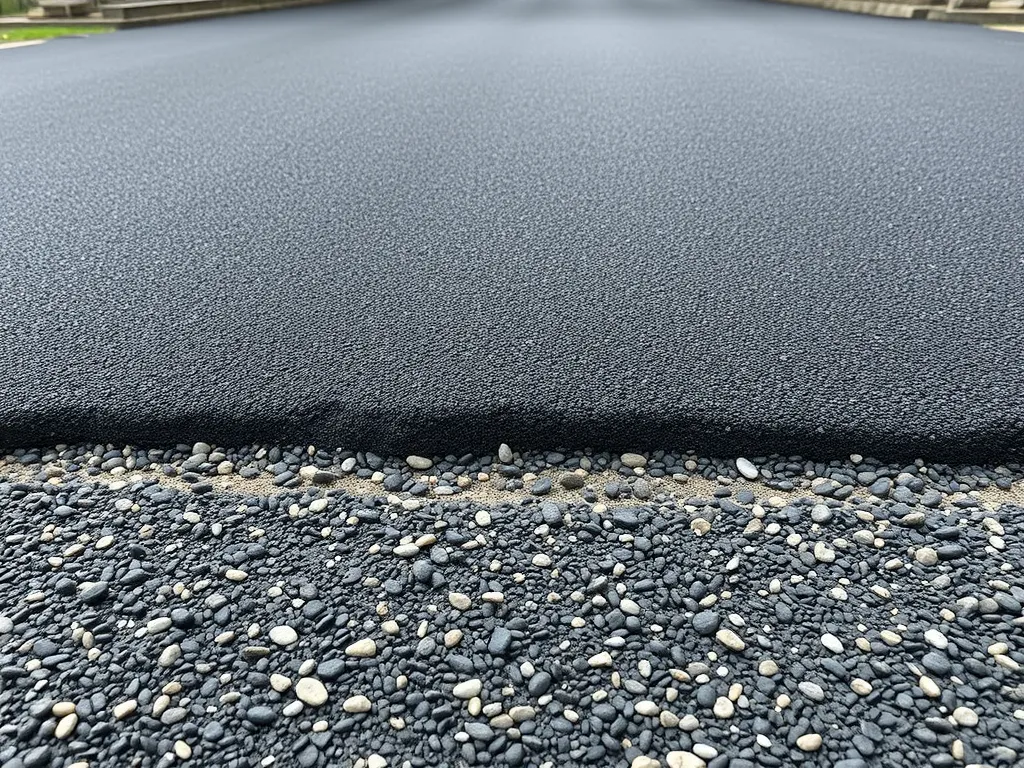
Sub-base Preparation
A stable sub-base prevents cracking and sinking. Start with 8-12 inches of crushed stone or gravel graded to support weight distribution. Remove vegetation and soft spots before laying materials.
Compaction Requirements
Compact the sub-base in 2-inch layers using a vibratory roller. Aim for 95% Proctor density—test with a nuclear density gauge. Inadequate compaction causes 80% of early pavement failures.
Drainage Considerations
Slope the sub-base at 2% minimum toward runoff areas. Install perforated drainage pipes beneath the base layer if groundwater rises above 6 inches. Prevent water pooling to avoid frost heave in cold climates.
Paving Techniques
Hot mix asphalt (HMA) remains the standard for driveways. Deliver HMA at 275-300°F for optimal workability. Maintain consistent thickness during placement.
Machine vs. Hand Installation
Use paving machines for driveways wider than 10 feet—they achieve uniform 2-3 inch layers. Hand tools work for small patches but risk uneven surfaces. Machine-laid asphalt lasts 3-5 years longer due to better density.
Temperature and Timing Factors
Apply HMA when ground temperatures exceed 50°F. Cooler conditions cause rapid heat loss, creating weak bonds. Schedule paving during dry weather—rain within 24 hours of installation washes away bitumen binders.
With the pavement in place, financial planning becomes critical for balancing upfront costs against decades of service.
Cost Analysis and Budgeting
Plan your asphalt drive with clear cost goals. Smart budget choices keep projects on track and prevent overspend.
Price Calculation Methods
Break down costs in two parts: goods and work. Use local price data for exact estimates.
Material Cost Per Ton
Asphalt mix runs $100-$200 per ton. A 600 sq.ft. drive needs 3-5 tons. See sample costs:
| Drive Size | Tons Needed | Cost Range |
|---|---|---|
| Single car | 3-4 | $300-$800 |
| Double car | 5-7 | $500-$1,400 |
Labor Cost Estimations
Pros charge $2-$5 per sq.ft. for install. A 20×20 drive costs $800-$2,000 in work fees. Rates change with site slope or complex asphalt drive plans.
DIY Vs Professional Install
Weigh skill needs vs cash saved. Errors in base work or pave temps can hurt long-term value.
Equipment Rental Costs
Steel drum roller: $150/day. Plate compactor: $60/day. Paver box: $300/day. Add $200-$500 for tools and trucks.
Long-Term Value Comparison
Pro jobs last 15-20 years. DIY may crack in 5-8 years without proper grade or base work. Insured work has 2-5 year warranties.
Smart budget plans set up success. Next: learn key errors to skip during your asphalt drive design phase.
Common Design Mistakes to Avoid
Avoiding key errors saves time and money over your driveway’s lifespan. Let’s break down three frequent asphalt driveway design pitfalls.
Inadequate Base Preparation
Skimping on base materials creates instability. A proper asphalt driveway construction requires 6-8 inches of compacted aggregate (like crushed stone) beneath the pavement. Poor compaction below 95% Proctor density leads to cracks within 12-18 months. Fixing failed bases costs $3-$7 per square foot – often exceeding initial installation expenses.
Improper Slope Grading
Driveways need 2% minimum slope for drainage. Many asphalt driveway layouts fail to account for elevation changes, causing water pooling near garages or foundations. Use laser levels during planning: 1/4-inch drop per foot prevents hydroplaning risks while maintaining vehicle clearance. Steeper slopes exceeding 15% may require textured surfaces or check dams.
Underestimating Thickness Needs
Residential driveways demand 3 inches of hot mix asphalt over the base. Heavy vehicles (RVs/trucks) need 4-5 inches. The surface course should contain smaller aggregates (3/8-inch) for smoothness, while the binder layer uses 3/4-inch stone for load distribution. Thin sections develop ruts – repairs cost 40% more than doing it right initially.
Smart asphalt driveway planning prevents these issues. Next, let’s explore how design choices impact environmental sustainability.
Environmental Considerations
Smart asphalt driveway plans now factor in impacts on local habitats and resource use. Two options stand out for cutting a project’s footprint: reusing materials and improving water management.
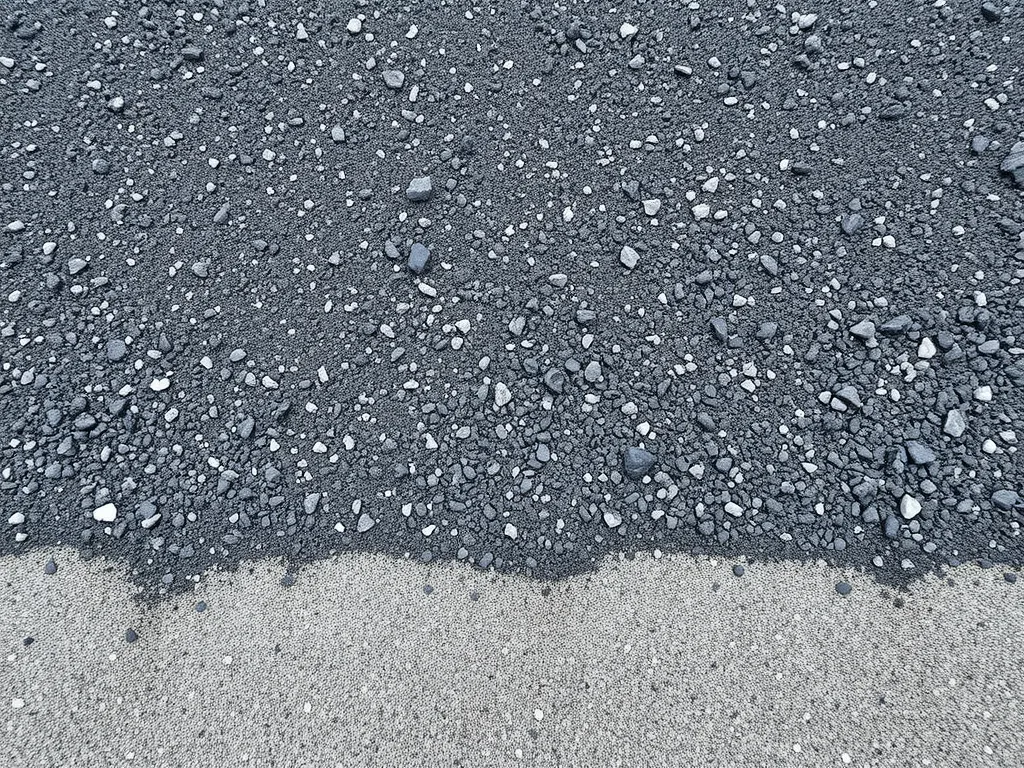
Recycled Asphalt Applications
Recycled Asphalt Pavement (RAP) mixes crushed old asphalt with fresh binder for new installations. Modern driveways can contain 20-30% RAP without losing quality. This approach cuts material costs by 15-25% and diverts waste from landfills. Key uses:
- Base layers: RAP forms stable foundations when compacted to 95% density
- Surface mixes: Blends with virgin aggregates for smooth top coats
- Pothole repairs: Cold-process RAP patches work in any weather
Contractors using RAP must adjust binder grades – PG 64-22 works best for most climates. Always verify local rules allow RAP percentages in your asphalt driveway design.
Permeable Pavement Options
Permeable asphalt systems let stormwater soak through voids in the surface, reducing runoff. Ideal for lots with 2-8% slopes, these installations require:
- Open-graded aggregates (1/2” to 3/4” stone)
- 6-12” crushed stone reservoir below pavement
- Geotextile fabric to prevent soil mixing
Typical infiltration rates reach 5-7 inches per hour – enough to handle most rainstorms. Pair with 2-4% cross slopes to direct excess water. Costs run 20-35% higher than standard asphalt driveways but may qualify for stormwater credits.
With sustainability factors addressed, focus shifts to practical details. Up next: cost breakdowns for different asphalt driveway layouts.
FAQs: Asphalt Driveway Design
What is the Ideal Thickness for Residential Driveways?
The recommended thickness for residential driveways is typically between 2 to 3 inches of asphalt over a properly prepared base. However, for driveways that will accommodate heavy vehicles, a thickness of 4 inches or more is advisable.
How to Calculate Materials for a 20×20 Driveway?
To calculate materials for a 20×20 driveway, first convert the dimensions to square footage: 20 feet x 20 feet = 400 square feet. If the asphalt layer is 3 inches thick, convert that to feet (3 inches = 0.25 feet). The volume in cubic feet is then 400 square feet x 0.25 feet = 100 cubic feet. Since there are 27 cubic feet in a cubic yard, divide 100 by 27, which gives approximately 3.7 cubic yards. Multiply this by 2.025 to convert to tons, resulting in about 7.5 tons of asphalt needed.
Best Practices for Sloped Installations?
For sloped installations, it’s crucial to ensure a proper grading of at least 2% to promote drainage away from the driveway. Use geotextiles to add stability and avoid erosion, and consider using a polymer-modified asphalt mix for better traction.
Cost Comparison: DIY Vs Professional Paving?
DIY installations can save money upfront, usually costing around $3-$5 per square foot for materials, but professional paving can range from $7-$13 per square foot, usually ensuring higher quality and durability. Additionally, consider the long-term value and warranties provided by professional services, which can span 2-5 years.
How to Use Asphalt Cost Calculators Effectively?
To effectively use asphalt cost calculators, first gather accurate measurements of your driveway area and determine the intended thickness of the asphalt and base. Input these values into the calculator along with local pricing for materials and labor to get a comprehensive cost estimate.
Closing Thoughts
Designing an asphalt driveway involves careful planning and consideration of various factors. From assessing site requirements to choosing the right design and materials, each step is crucial for a successful installation. Remember to account for the thickness needed based on usage and ensure proper drainage to maintain your driveway’s integrity over time.
Common mistakes, such as inadequate base preparation or poor slope grading, can lead to costly repairs down the line. By taking the time to plan and execute your design thoughtfully, you can create a durable, aesthetically pleasing asphalt driveway that meets your needs.
For more detailed insights and resources on asphalt driveways, check out Asphalt Calculator USA. This site provides valuable tools and information to help you every step of the way.

