How to Create a Custom Asphalt Pathway
Published on: January 25, 2026 | Last Updated: April 14, 2025
Written By: George Voss
Creating a custom asphalt pathway requires precise planning, proper material selection, and skilled installation. You’ll need asphalt mix (a blend of aggregates and bitumen), base materials like crushed stone, compaction tools, and safety gear. Hot mix asphalt (HMA) offers durability for high-traffic paths, while cold mix works for small repairs. DIY costs average $3–$7 per square foot, depending on materials and thickness. Always wear gloves, goggles, and sturdy boots during installation.
This guide walks through every step: designing your layout, prepping the site with excavation and grading, building a stable base layer, applying asphalt correctly, and compacting it for smoothness. Learn how to add edging for stability, apply sealant, and maintain your pathway. We’ll break down costs, safety practices, and eco-friendly options like recycled asphalt pavement (RAP). Get answers to FAQs about thickness requirements, curing times, and regional tips for areas like California.
Contents
- Planning Your Custom Asphalt Pathway
- Preparing the Site for Installation
- Building a Strong Base Layer
- Step-by-step Asphalt Application Process
- Compacting and Smoothing the Asphalt Surface
- Adding Edging and Borders for Stability
- 7. Sealing and Curing the Asphalt Pathway
- Maintenance Tips for Long-lasting Asphalt Pathways
- Cost Considerations for DIY Asphalt Pathways
- Safety Precautions During Installation
- Environmental Impact Of Asphalt Pathways
- Frequently Asked Questions (FAQ)
- Closing Thoughts
- Additional Resources for You:
Planning Your Custom Asphalt Pathway
A solid plan turns vision into reality. This phase sets up your project for smooth installation and long-term durability. Focus on three critical tasks: sizing up your space, picking materials, and mapping out your design.
Measuring the Pathway Area
Start by marking your path’s boundaries with stakes and string. Record its length, width, and depth using a measuring tool. Multiply these to find cubic yards (Formula: Length x Width x Depth ÷ 27). Aim for 2-3 inches of asphalt thickness. Accurate math stops material shortages or surplus. For irregular shapes, split into parts and add totals.
Selecting Asphalt Materials (Hot Mix Vs. Cold Mix)
Hot mix asphalt (HMA) works for big jobs needing a pro’s touch. It requires heating to 300°F and quick placement. Cold mix asphalt (CMA) suits small DIY paths; it’s bagged, stored cold, and laid at 40°F or higher. HMA lasts 15-20 years, CMA 5-10. Costs vary: HMA runs $100-$200 per ton, CMA $50-$100 per bag. Match your pick to local climate and project size.
Designing the Pathway Layout
Sketch your path on graph paper or use a digital tool. Add curves for visual flair or stick to straight lines for simplicity. Plan a 2% slope to drain rain. Include borders—steel or concrete curbs boost stability. Check local codes for width rules (most paths span 36-48 inches). If adding lighting or plants, mark those spots now.
With a plan in hand, it’s time to transform your yard. Up next: shaping the land to hold your new pathway.
Preparing the Site for Installation
Proper site preparation lays the foundation for a stable custom asphalt path. Neglecting this phase leads to cracks, uneven surfaces, and drainage issues. Follow these steps to transform raw ground into a workable base.
Clearing and Excavating the Ground
Start by marking the pathway boundaries with stakes and string. Remove all organic matter—grass, roots, rocks—within the marked area. Excavate soil to a depth of 8-12 inches using a shovel or mini-excavator. This allows space for sub-base layers and asphalt. Check local utility maps before digging to avoid underground lines.
Leveling and Grading the Surface
Use a laser level or transit to create a 2% slope away from structures for drainage. Fill low spots with gravel and tamp with a plate compactor (3,000-5,000 lbs force). Aim for a flat, stable surface free of soft spots. Test by walking the area—footprints deeper than ½ inch signal uneven compaction.
Installing Sub-base Materials
Spread 4-6 inches of crushed stone (¾” aggregate) across the graded surface. Compact in 2” layers with a vibrating plate compactor. Add geotextile fabric over expansive soils to prevent shifting. The sub-base must support 95% compaction density—test with a nuclear density gauge or proctor test kit for accuracy.
With the site prepped and base materials set, the next phase focuses on constructing a load-bearing foundation for your asphalt pathway DIY project.
Building a Strong Base Layer
A stable base layer determines whether your custom asphalt path lasts 5 years or 25. Without proper support, even premium asphalt mix will crack under weight shifts or freeze-thaw cycles. Let’s break down the two critical steps.
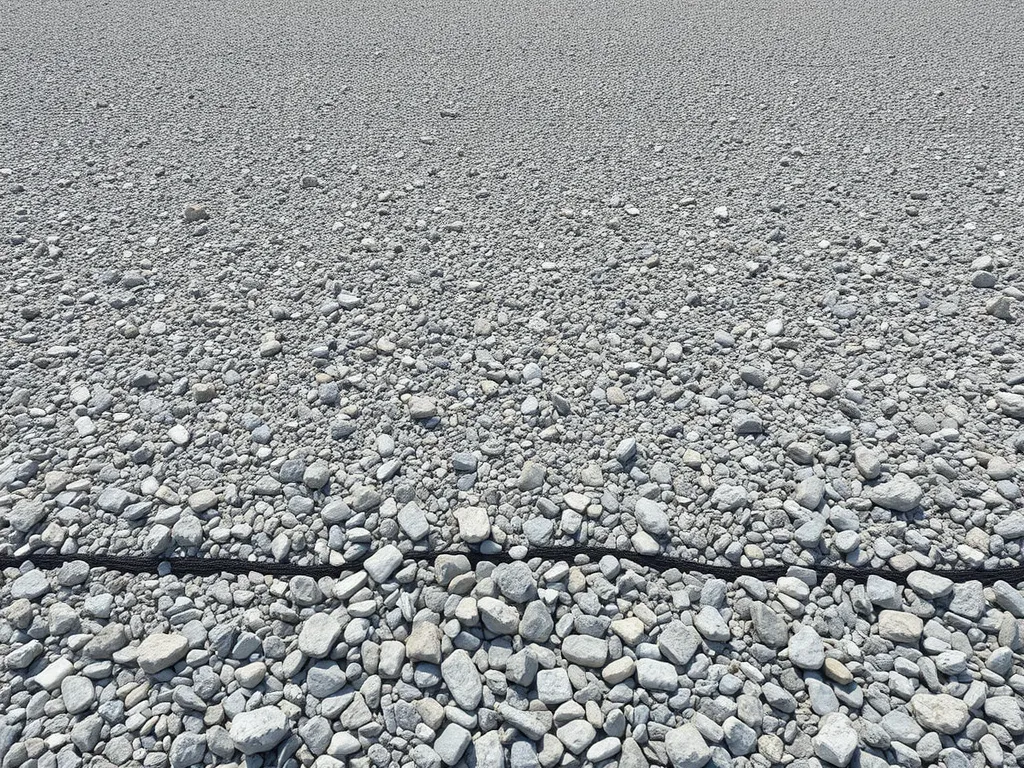
Choosing the Right Base Material
Crushed stone (like Class 5 gravel) works best for asphalt pathway DIY projects. Opt for angular ¾” aggregate with fines – jagged edges lock together when compacted, forming a non-shifting layer. Avoid rounded river rock or pea gravel. For high-traffic paths, add a geotextile fabric ($0.15-$0.30/sq ft) under the gravel to block weeds and improve drainage. Budget options include recycled concrete aggregate (RCA) at $10-$18/ton versus virgin gravel at $15-$30/ton.
- Base Depth: 4-6 inches for foot traffic, 8+ inches for service vehicles
- Key Specs: 95% Proctor density (standard compaction measure)
- Slope: 1-2% grade away from structures
Spreading and Compacting the Base Layer
Use a skid-steer loader or hand tamper for small areas. Spread gravel in 2” lifts (layers) to prevent uneven settling. Compact each lift with a vibratory plate compactor (rental: $75/day) until no visible movement occurs. Check density with a nuclear gauge or simpler “boot test” – no footprints should remain after walking on the surface. For frost-prone areas like Minnesota or Colorado, increase base depth by 20% to prevent heaving.
Pro Tip: Spray water lightly during compaction. Moisture helps particles bind without creating muddy gaps.
With your rock-solid base ready, you’re set to tackle the asphalt application – where timing and temperature become your new focus.
Also See: Global Trends in Asphalt Recycling: Focus on Sustainability
Step-by-step Asphalt Application Process
With your base layer set, focus shifts to asphalt placement. Temperature control, material handling, and precise execution define success.
Mixing Asphalt (Hot/cold Mix Preparation)
Hot mix asphalt (HMA) requires heating to 300°F at plants for optimal workability. Use truck-mounted spreaders for large projects. For asphalt pathway DIY jobs under 100 sq ft, cold mix (available in bags) stays pliable without heating. Blend aggregates (crushed stone/sand) with 5% bitumen binder by weight. Add polymer modifiers for freeze-thaw resistance in colder zones.
- Hot mix: $90-$120/ton, lasts 20+ years
- Cold mix: $25-$40 per 50lb bag, sets within 72 hours
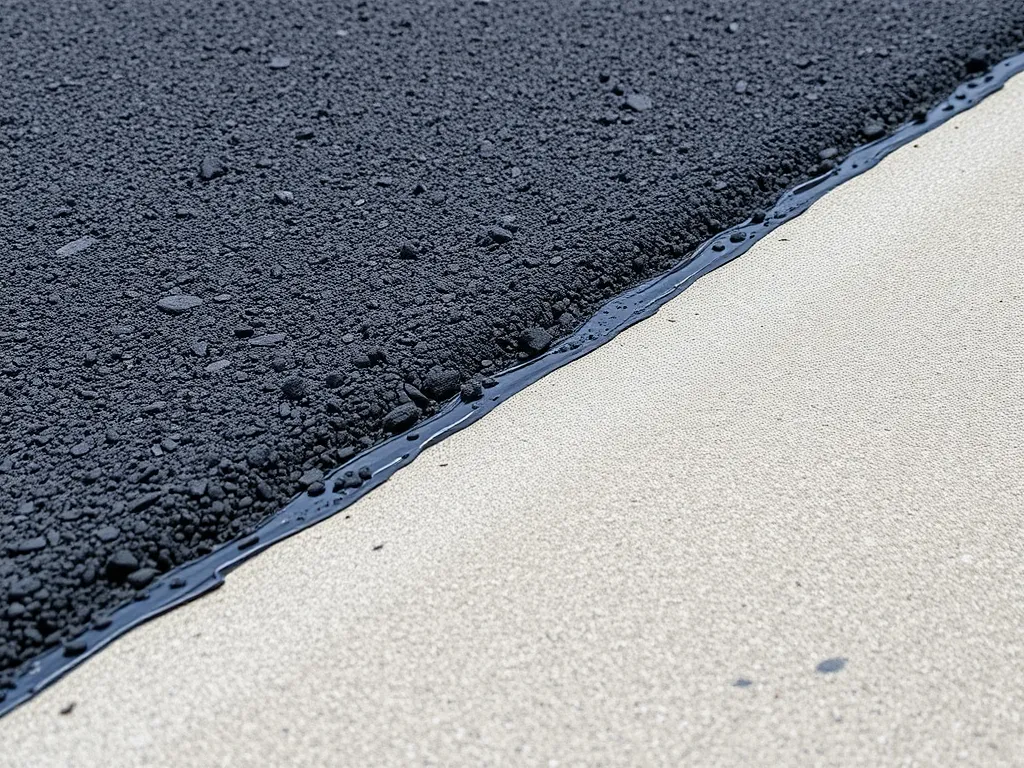
Pouring and Spreading Asphalt Evenly
Dump mix onto the base within 15 minutes of heating for HMA. Rake with asphalt lutes (long-handled tools) to fill all voids. Maintain 2” thickness minimum. Edge forms keep shapes sharp. For curved custom asphalt paths, use flexible metal screeds. Slope surfaces 2% away from structures for drainage.
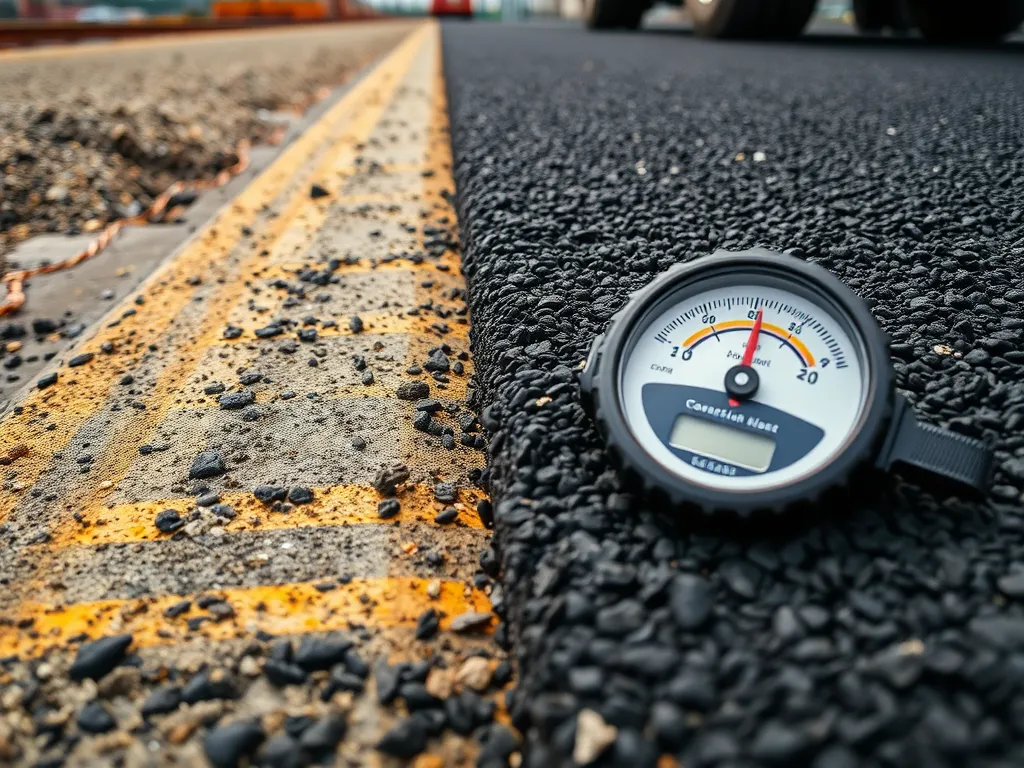
Achieving Proper Thickness for Durability
Residential walkways need 2”-3” compacted layers. Compact each lift (layer) with 10-ton rollers. Test with a density gauge – aim for 92%-96% compaction. Thinner sections crack under foot traffic; thicker ones waste material. For drive-over paths, increase to 4” with 6” granular base.
- Spread 2.5” loose layer
- Compact to 2” final thickness
- Check grade every 3 feet
With the asphalt laid, the next phase locks in structural integrity. Proper compaction turns loose aggregate into a unified surface ready for decades of use.
Compacting and Smoothing the Asphalt Surface
Proper compaction transforms loose asphalt into a solid, weather-resistant surface. This step prevents cracks, improves load-bearing capacity, and ensures water drains correctly. Missing this stage risks premature damage – even small air pockets can weaken the path over time.
Using the Right Compaction Equipment
Choose tools based on pathway size and asphalt type. For DIY asphalt pathways, rent a plate compactor (1,500-3,000 lbs force) for areas under 500 sq ft. Large projects need a ride-on roller compactor. Cold mix requires 2-3 passes; hot mix needs compaction while temperatures stay above 175°F.
| Equipment | Best For | Compaction Force | Tips |
|---|---|---|---|
| Plate Compactor | Small paths, edges | 1,500-3,000 lbs | Overlap passes by 6″ |
| Roller Compactor | Paths wider than 4 ft | Up to 10,000 lbs | Keep speed below 3 mph |
Ensuring Even Surface and Slope
Slope the pathway 1-2% away from structures using a screed board or asphalt lute. Check grade with a 4-ft level – deviations over ¼” per foot cause pooling. Maintain 2-3″ thickness across the path. For curved designs, compact edges first to prevent asphalt spillage.
Seal joints between new and existing surfaces with asphalt emulsion. Test drainage by sprinkling water – it should flow freely within 10 seconds. Address low spots immediately by adding fresh mix and recompacting.
With the surface fully compacted, focus shifts to reinforcing the pathway’s edges for lasting stability.
Adding Edging and Borders for Stability
Edging locks your asphalt pathway in place. It stops cracks from spreading and keeps the structure intact under foot traffic or weather changes. Without proper borders, edges can crumble within months.
Types Of Edging Materials (Steel, Concrete)
Galvanized steel (zinc-coated to resist rust) and poured concrete are top choices. Steel edging costs $4-$8 per linear foot and bends easily around curves. Concrete borders run $6-$12 per linear foot but last 20+ years with minimal upkeep. Plastic or brick options exist but lack the rigidity needed for asphalt’s weight.
| Material | Durability | Cost/LF | Installation Notes |
|---|---|---|---|
| Steel | 15-25 years | $4-$8 | Bendable; stake every 24″ |
| Concrete | 20-30 years | $6-$12 | Requires forms; cure 48 hrs |
Securing Edges to Prevent Cracking
Anchor steel edging with 12″ spikes driven at 45-degree angles. For concrete, embed rebar rods 18″ deep into the soil. Compact the asphalt tightly against the edging using a hand tamper – this eliminates air gaps that cause crumbling. Slope borders ¼” per foot away from the path to divert water.
Edge failures often start at joints. Seal steel seams with asphalt emulsion and fill concrete expansion gaps with backer rod and caulk. Check alignment yearly – shifts over ½” require immediate adjustment.
With borders locked in place, your pathway can now handle the final weatherproofing steps.
7. Sealing and Curing the Asphalt Pathway
After shaping and compacting your custom asphalt path, focus shifts to protection. Sealing and curing lock in strength and guard against wear.
7.1 Applying Sealant for Longevity
Sealcoat acts as a shield. It blocks UV rays, water, and oil stains. Use coal-tar or asphalt-based sealants for best results. Wait 30 days after paving to apply. Clean the path first—sweep dirt, fix cracks. Pour sealant in strips. Spread with a squeegee or brush. Aim for two thin coats, not one thick layer. Let the first coat dry 4-6 hours before adding the second. A gallon covers 50-60 sq ft. Cost runs $0.15-$0.25 per sq ft. Seal every 2-3 years for lasting use.
7.2 Curing Time and Traffic Restrictions
Asphalt needs time to harden fully. Though dry to touch in 24-48 hours, full cure takes 6-12 months. Keep cars, bikes, and heavy loads off for at least 72 hours. Use cones or tape to block access. Light foot traffic is safe after three days. Avoid sharp objects (chair legs, tools) for 30 days. In hot weather (over 70°F), curing speeds up. Cold temps below 50°F? Extend wait times by 50%.
With your path sealed and cured, it’s time to learn how upkeep keeps it looking sharp for years. Next up: maintenance tips to fight cracks and wear.
Maintenance Tips for Long-lasting Asphalt Pathways
Proper care keeps your custom asphalt pathway looking fresh while preventing costly repairs. Follow these proven methods to extend its lifespan beyond 15-20 years.
Regular Cleaning and Inspection
Clear leaves, dirt, or standing water weekly using stiff brooms or leaf blowers. Check for pooling water – it weakens the base layer. Inspect every three months for new cracks (1/8”+ wide) or surface oxidation. Spot oil stains quickly: sprinkle powdered laundry detergent, scrub with stiff brush, then rinse. Use infrared thermometers to monitor surface temps during summer – temps above 160°F soften the binder.
Repairing Cracks and Surface Damage
Fill hairline cracks (under 1/4”) with rubberized crack sealant ($12-$20 per gallon). For larger cracks or potholes, cut out damaged sections with circular saws, clean debris, then compact cold patch asphalt ($35-$50 per bag). Reseal the entire pathway every 2-3 years using coal-tar emulsion sealcoat ($0.15-$0.25 per sq.ft). For severe alligator cracking, consult pros – full-depth repairs might require removing 6-8” of base layers.
| Issue | Solution | Cost Range |
|---|---|---|
| Small cracks | Rubberized filler | $12-$20/gal |
| Potholes | Cold patch + compaction | $35-$50/bag |
| Surface wear | Sealcoating | $0.15-$0.25/sq.ft |
Pro tip: Apply polymer-modified sealants in temps between 50°F-85°F for best bonding. Let cure 24-48 hours before use.
Keeping your pathway in top shape requires minimal effort but yields maximum returns. Next, let’s break down what you’ll spend to build your dream path from start to finish.
Cost Considerations for DIY Asphalt Pathways
Building a custom asphalt path impacts your wallet in two ways: materials and tools. Planning ahead avoids surprises when laying your walkway.
Estimating Material and Equipment Costs
Hot mix asphalt runs $40-$70 per ton, cold patch $25-$50 per 50-lb bag. A 4-inch thick path spanning 100 sq. ft. needs roughly 1.5 tons of hot mix. Tools add up: compactor rentals hit $150 daily, tampers $30-$80. Don’t skip sub-base materials—crushed stone costs $15-$35 per cubic yard. Factor in tack coat ($20-$40 per gallon) and sealant ($25-$60 per 5-gallon pail) for lasting results.
Budgeting for Labor (if Needed)
DIY cuts labor costs by 50%, but hiring pros costs $3-$7 per sq. ft. for installation. If tackling grading or compaction solo feels daunting, partial hiring for specific tasks runs $45-$75 hourly. Always add a 10% buffer for material spillage or calculation gaps. Rental trucks for hot mix delivery add $100-$250 if batch plants won’t pour small loads.
With financials mapped, your path’s physical build demands focus on avoiding risks during construction.
Safety Precautions During Installation
Working with asphalt demands careful attention to safety. High temperatures, heavy equipment, and chemical exposure create risks that require proactive management.
Protective Gear and Equipment Handling
Wear heat-resistant gloves when handling hot mix asphalt (300°F+). Steel-toe boots protect against dropped tools. Use NIOSH-approved N95 respirators to avoid inhaling fumes. ANSI-rated safety goggles prevent splashes during pouring. For equipment:
- Check compactor brakes and roller guards before starting
- Keep hands/feet clear of vibrating plates during operation
- Store propane torches (used for edging) upright at 10+ feet from worksite
Keep a Class B fire extinguisher nearby when working with hot asphalt mixes.
Avoiding Common Installation Hazards
Hot mix asphalt retains 275°F heat for 15+ minutes after laying. Mark work zones with safety cones to prevent accidental contact. Three frequent risks when building a custom asphalt path:
- Burns: Never touch freshly poured surfaces without thermal gloves
- Slope instability: Compact soil bases to 95% density to prevent slides
- Fume buildup: Work upwind when applying sealants containing polycyclic aromatic hydrocarbons
For cold mix DIY asphalt pathways, avoid skin contact with cutback solvents. Store materials at 50°F minimum to prevent separation.
Proper safety measures let you focus on crafting durable custom asphalt paths. Next, explore how eco-friendly practices reduce environmental impact while maintaining pathway quality.

Environmental Impact Of Asphalt Pathways
Building a custom asphalt pathway requires balancing functionality with ecological responsibility. Modern methods and materials let you reduce environmental strain while maintaining durability.
Recycling and Eco-friendly Asphalt Options
Recycled asphalt pavement (RAP) mixes 30-50% reclaimed materials with new aggregates and bitumen. This slashes landfill waste by 90% per ton and cuts project costs by 15-25%. For small-scale projects like DIY asphalt pathways, cold mix asphalt containing RAP works without heating, trimming energy use by 40%. Warm-mix asphalt (WMA) technologies lower production temps to 250°F (121°C) versus 300°F (149°C) for traditional hot mix, reducing CO2 emissions by 30%.
- Permeable asphalt options allow 15-25% void space for stormwater absorption
- Bio-based binders like Gilsonite replace 20% of petroleum bitumen
- PG 64-22 performance-graded binders resist cracking in freeze-thaw zones
Minimizing Environmental Disruption
Site preparation for custom asphalt paths should prioritize existing ecosystems. Limit excavation depth to 8 inches for residential walkways to protect soil microbiomes. Use geotextile fabrics instead of chemical stabilizers to separate base layers from native soil. For tree-lined routes, install root barriers 18 inches deep to prevent damage during compaction.
- Opt for hand tampers over diesel compactors in sensitive areas
- Grade slopes at 2% minimum to prevent erosion without altering drainage patterns
- Source aggregates locally (within 30 miles) to cut transport emissions
When planning your asphalt pathway DIY project, always check local regulations—California’s Title 27 mandates 50% RAP use for public projects. Next, let’s explore common challenges through key questions in our FAQ section.
Frequently Asked Questions (FAQ)
How Do You Ensure Durability for a Custom Asphalt Pathway?
To ensure durability, it’s essential to use high-quality materials, maintain the correct thickness during application, and thoroughly compact the asphalt. Regular maintenance, including sealing every few years and promptly repairing any cracks, will also enhance the lifespan of your pathway.
What Are the Benefits Of Using Recycled Asphalt in Pathways?
Using recycled asphalt reduces landfill waste and conserves resources. It can lower construction costs and provide a durable option for pathways. Additionally, it requires less energy to produce compared to new asphalt, making it an eco-friendly choice.
Can I Build an Asphalt Pathway on a Slope?
Yes, you can build an asphalt pathway on a slope. It’s important to ensure that the slope is properly graded (generally 1-2% away from structures) to facilitate water drainage and to use adequate compaction to prevent slipping or erosion.
Is It Necessary to Hire Professionals for Asphalt Application?
While it’s possible to create a custom asphalt pathway as a DIY project, hiring professionals can ensure a higher-quality finish, especially for larger or more complex projects. Professional installers have the experience and equipment to handle challenges effectively.
What Maintenance Routine Should I Follow for My Asphalt Pathway?
Regular maintenance includes cleaning off debris, inspecting for cracks or damage, and sealing the surface every 2-3 years. Promptly addressing any cracks or surface damage will help prevent larger issues from developing.
Closing Thoughts
Creating a custom asphalt pathway is a rewarding project that enhances both functionality and aesthetics. By planning effectively, preparing the site properly, and executing each step with care, you can achieve a durable and attractive path. This guide has outlined key steps, from measuring and selecting materials to maintenance and safety precautions.
Regular upkeep is vital for longevity. Inspect your pathway, address any cracks, and keep surfaces clean. Cost considerations and environmental impact should also guide your decisions. Asphalt pathways, especially when recycled, contribute positively to eco-friendly initiatives.
For more details and resources on all things asphalt, visit Asphalt Calculator USA. Transform your outdoor space with a custom asphalt pathway that lasts!
Additional Resources for You:
- The Asphalt Institute (Technical Resources & Standards)
- Maintaining Asphalt Paths | Productive Parks
- DIY Project Idea: How To Make a Flagstone Pathway – Asphalt Materials
- How to Install a Durable Asphalt Driveway (DIY)
- Pavement Installation: The 9-Step Process Asphalt Paving Contractors Use | Bituminous Roadways Blog
Also See: How Thick Are Asphalt Driveways? Thickness Explained

