Layering Techniques for Effective Driveway Compaction
Published on: March 7, 2026 | Last Updated: April 14, 2025
Written By: George Voss
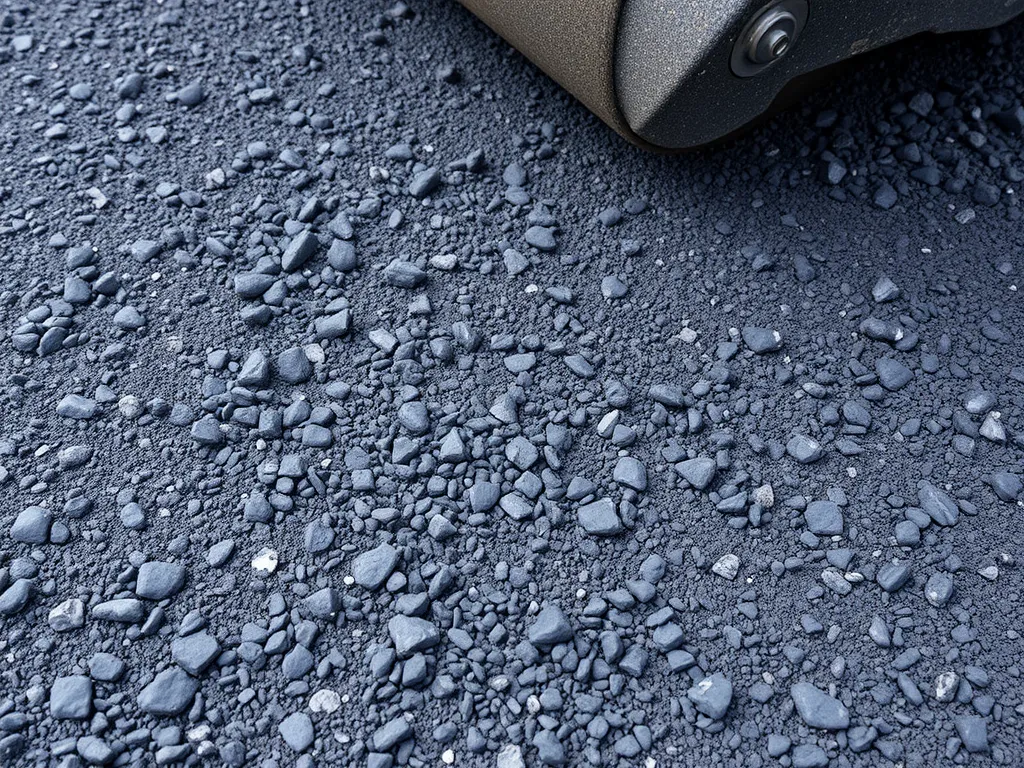
Layering techniques for effective driveway compaction involve stacking asphalt in multiple thin lifts and compressing each to 92-98% density. This differs from single-layer pours by allowing better air removal, even weight distribution, and reduced cracking risks. Proper layering requires specific lift thicknesses (typically 2-4 inches before compaction), targeted equipment use, and temperature control above 225°F for optimal binding.
This guide covers material selection, compaction methods like breakdown rolling, and density measurement tools. You’ll learn how to calculate thickness changes during compression, choose between vibratory plates (ideal for edges) and smooth drum rollers (for open areas), and avoid common errors like cold rolling. We’ll detail step-by-step layering processes for DIY projects and pro installations, including base preparation with crushed aggregate and final surface finishing.
Contents
Core Principles Of Asphalt Driveway Layering
Proper asphalt layering forms the backbone of lasting driveways. Strategic layer placement combined with precise driveway compaction techniques prevents premature cracks, rutting, and water damage. Each lift must achieve target density levels to support vehicle loads while resisting weather extremes.
Why Layering Matters for Asphalt Durability
Layered driveways distribute weight evenly across the base and surface. Without multiple lifts, concentrated pressure from tires creates weak zones. A 2023 study by the National Asphalt Pavement Association found driveways built with three compacted layers last 8-12 years longer than single-layer installations.
Relationship Between Layer Density and Longevity
Density directly impacts asphalt’s resistance to wear. Each lift should reach 92-96% density to minimize air voids. Higher density reduces water infiltration risks by 60%, per Federal Highway Administration data. Use nuclear density gauges or infrared scanners to verify results during the driveway packing process.
| Layer Density (%) | Expected Lifespan | Cost per Sq Ft |
|---|---|---|
| 85-89 | 7-10 years | $2.10-$2.80 |
| 90-93 | 12-15 years | $2.90-$3.50 |
| 94-96 | 18+ years | $3.60-$4.20 |
For best results, combine vibratory plate compaction for edge areas with smooth drum rollers on main surfaces. This layered pavement approach cuts long-term repair costs by up to 40% compared to basic driveway bruising methods.
Mastering these driveway compaction layering techniques sets the stage for tackling thickness specifications. Let’s examine how lift dimensions change before and after compacting.
Optimal Asphalt Layer Thickness Guidelines
Get layer depth right to build strong driveways. Thick lifts spread weight. Thin lifts crack fast. Balance is key for smooth rides and long life.
Recommended Thickness Before Compaction
Pour asphalt 1.5 times thicker than your target. For homes, aim for 3 inches loose. For heavy trucks, use 4-5 inches. This extra room lets rollers press mix tight.
| Driveway Type | Loose Thickness |
|---|---|
| Home use | 2.5-3 in |
| Shared roads | 3.5-4 in |
| Truck paths | 4-5 in |
Target Thickness After Compaction
Rollers must cut depth by 25-33%. Home drives drop to 2-2.25 inches. Check with a depth gauge every 10 feet. Keep layers even to stop water pools.
| Use Case | Final Thickness |
|---|---|
| Cars only | 1.75-2 in |
| Mixed traffic | 2.25-2.5 in |
| Heavy loads | 3-3.5 in |
Calculating Asphalt Compaction Percentage
Use this math: (Loose depth – Packed depth) ÷ Loose depth × 100. Example: 3 inches loose to 2.25 inches packed = 25% drop. That’s 92% density – the sweet spot for driveways.
Pro tip: Test with a nuclear density gauge. Hit 92-95% compaction. Below 90%? Weak spots form. Over 97%? Surface may bruise.
With layer depths set, next we’ll break down how to press asphalt right. Roller types and heat levels make or break your pack job.
Essential Driveway Compaction Methods
Properly pushing down layers during driveway construction determines pavement performance. Three primary driveway compaction techniques dominate modern projects: breakdown rolling, vibratory plate work, and smooth drum rolling. Each serves distinct purposes during layered driveway installation.
Breakdown Rolling Technique Explained
Breakdown rolling uses vibratory rollers weighing 8-15 tons to create initial density. Operators make 2-4 passes at 2-3 mph while mix temperatures stay between 275-300°F. This technique removes air voids through high-frequency vibrations (3,000-4,500 vpm) while maintaining surface texture for subsequent layers.
Vibratory Plate Compaction for Edge Areas
Walk-behind plates with 5000-6000 vpm handle tight spaces near curbs or structures. These 12-18” wide units generate 3,500-6,000 pounds of centrifugal force, reaching density targets within 3” of obstacles. Edge compaction prevents future crumbling where standard rollers can’t maneuver.
Smooth Drum Roller Applications
Static smooth drum rollers weighing 10-20 tons finalize surface smoothness during intermediate compaction phases. Operated at 3-5 mph on 175-200°F asphalt, their static weight redistributes fine aggregates without crushing larger stones. This method typically follows breakdown rolling to achieve 92-95% density.
Asphalt Temperature Requirements for Each Method
- Breakdown rolling: 275-300°F (optimal binder fluidity)
- Vibratory plates: 200-250°F (prevents edge tearing)
- Smooth drums: 175-200°F (prevents aggregate displacement)
Infrared thermometers verify temps every 15 minutes. Mixes below 175°F risk incomplete bonding between layers.
Precision temperature control separates successful pavement compaction techniques from failed installations. Next, we’ll examine measurable targets that define properly compacted driveways.
Also See: Effective Sealcoating Techniques for Durability
Critical Compaction Metrics
Precise measurement separates adequate compaction from lasting structural performance. Driveway professionals track three key metrics: achieved density, roller passes, and material response during compression.
Required Degree Of Compaction for Asphalt
Residential driveways require 92-95% compaction relative to maximum density (per ASTM D1557 or AASHTO T 180 proctor tests). This range balances load-bearing capacity with necessary 3-5% air voids for thermal expansion. Nuclear density gauges – devices using radioactive isotopes to measure material density – verify targets during roller passes. Projects using PG 64-22 binder or granite aggregates often demand 94% minimum due to higher traffic expectations.
Calculating Proper Number Of Roller Passes
Roller weight, asphalt temperature, and lift thickness determine optimal passes. Use this baseline table for vibratory rollers:
| Lift Thickness | Roller Weight | Typical Passes |
|---|---|---|
| 2″ | 1.5-2 tons | 3-5 |
| 3″ | 2.5-3 tons | 5-7 |
| 4″ | 4+ tons | 7-9 |
Overlap each pass by 6-12″ to prevent driveway bruising. For mixes below 275°F, add 2-3 extra passes to account for rapid cooling.
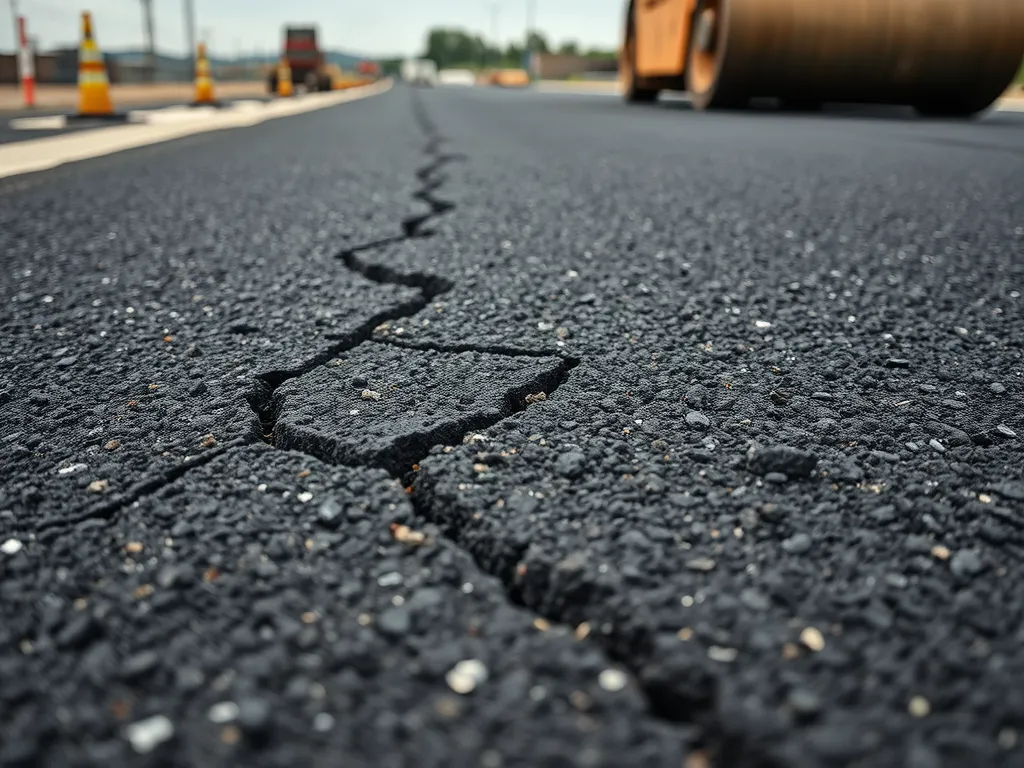
Signs of Over-Compaction to Avoid
Excessive force creates more harm than good. Watch for:
- Surface cracks forming within 2 hours of rolling
- Aggregate crushing (check for limestone powder at roller edges)
- Asphalt bleeding from reduced air voids below 3%
These issues demand immediate roller weight reduction or pass adjustments.
With metrics locked down, focus shifts to executing each phase of the layering process.
Step-by-step Layering Process
Preparing the Aggregate Base Layer
Start with a base of crushed stone or gravel. Use 3/4 inch rock for best results. Spread it 6-8 inches deep. Pack it tight with a plate compactor. This stops sinking later. Check for flatness with a laser level. Gaps over 1/4 inch harm the final layer.
Applying Initial Asphalt Lift
Pour hot mix asphalt (HMA) at 290-330°F. Lay it 3-4 inches thick. Use a breakdown roller fast. Roll in lines, overlapping by half. Aim for 2.5-3.5 inches after packing. Keep temps above 250°F to avoid cracks. Test density with a nuclear gauge (target 92-95%).
Intermediate Compaction Phase
Switch to a vibratory roller. Make 4-6 passes at 2-3 mph. Overlap each pass by one-third. Check for smooth joints between strips. Stop if asphalt sticks to rollers. Fix low spots with fresh mix. Let layers cool to 175°F before next steps.
Final Surface Finishing Techniques
Use a steel-wheel roller for a sleek top. Roll perpendicular to the last pass. Keep speed under 2 mph. Check slope with a 4-foot level (2% grade for drainage). Spray water to stop sticking. Seal edges with a hand tamper. Let cure 24 hours before use.
Proper layering sets the stage for lasting driveways. Next, we’ll explore how to keep your surface solid for years.
Best Practices for Long-lasting Results
Proper execution of driveway compaction techniques determines pavement performance. Follow these field-tested strategies to avoid driveway bruising and ensure structural integrity.
Equipment Selection Guide
Match machinery to layer depth and material type. Vibratory rollers (4-6 Hz frequency) work best for base layers, while static steel drum rollers handle surface courses. For edges near landscaping, use plate compactors with 8-12 kN centrifugal force.
Choosing Roller Weights for Asphalt Layers
Base layers need 8-10 ton rollers to achieve 92% density. Surface layers require lighter 5-7 ton rollers to prevent aggregate crushing. Track roller contact pressure should stay below 350 kPa for hot mix asphalt above 275°F.
Timing Considerations Between Layers
Allow 30-45 minutes between lifts for thermal bonding. Measure mat temperature with infrared guns – apply next layer when surface cools to 175-200°F. For cold weather (<50°F), extend intervals to 60 minutes.
Environmental Protection Measures
Install silt fences 6 feet from compaction zones. Use biodegradable hydraulic fluids in rollers. Keep stockpiles covered with tarps to prevent aggregate contamination from rainfall.
Managing Stormwater Runoff During Compaction
Slope compacted layers at 2% minimum grade toward catch basins. Place temporary berms every 40 feet using RAP (recycled asphalt pavement). These swales reduce erosion rates by 60% compared to uncompacted slopes.
With these driveway compaction methods dialed in, let’s examine common installation errors that sabotage pavement density.
Frequently Asked Questions
How Thick Should Asphalt Be Before/after Compaction?
The recommended thickness for asphalt before compaction typically ranges from 2.5 to 5 inches, depending on the usage type. After compaction, the thickness should be reduced by about 25-33%, leading to a final thickness of approximately 1.75 to 3.5 inches based on the specific application.
What Makes Breakdown Rolling Effective?
Breakdown rolling is effective because it uses heavy vibratory rollers that create high-frequency vibrations, allowing air voids to be eliminated. The technique is designed to provide the initial density necessary for subsequent layers while maintaining the texture of the surface.
What’s the Ideal Asphalt Compaction Percentage?
The ideal asphalt compaction percentage for durable driveways is between 92-95% of maximum density. Achieving this range helps ensure adequate load-bearing capacity while allowing for necessary air voids that facilitate thermal expansion.
How Many Passes Ensure Proper Compaction?
The number of passes required for effective compaction depends on various factors, including lift thickness and roller weight. Typically, a 2-inch lift may require 3-5 passes, while a 4-inch lift might need 7-9 passes. Ensure that the passes overlap by about 6-12 inches to prevent bruising.
Which Compaction Methods Work Best for Asphalt?
Breakdown rolling, vibratory plate compaction, and smooth drum rolling are the primary methods that work best for asphalt compaction. Each method targets specific areas of the driveway, maximizing density and ensuring a smooth finish.
What Defines Successful Layer Compaction?
Successful layer compaction is defined by achieving the target density of 92-95%, ensuring proper thermal bonding between layers, and preventing issues such as surface cracking, aggregate crushing, or asphalt bleeding. Monitoring these factors throughout the process is crucial.
How to Measure Compaction Degree Accurately?
Compaction degree can be measured accurately using nuclear density gauges or even non-nuclear methods like sand cone tests. Regular checks during the compaction process help ensure that the density criteria are met and maintained throughout the driveway installation.
Closing Thoughts
Layering techniques and effective compaction are critical for a durable asphalt driveway. Applying the right thickness, utilizing proper compaction methods, and following best practices can greatly enhance the longevity and performance of your driveway. Each layer matters, helping create a solid foundation that withstands heavy loads and weather conditions.
Keep in mind the degree of compaction required and signs of over-compaction to avoid potential damage. Use the right equipment and follow a structured layering process to achieve optimal results. Finally, always consider timing and environmental factors to ensure a successful installation.
For more expert insights and tools to assist in your asphalt projects, visit Asphalt Calculator USA.
Additional Resources for You:
- Yoder, E. J., & Witczak, M. W. (1975). Principles of Pavement Design (2nd ed.). New York, NY: Wiley.
- Driveway Sinking Repair: Proven Solutions for a Stable Surface – Waste Removal USA
- The Importance of Compaction for Installing a Paver Driveway – Revolutionary Gardens

