Installation Guide for Asphalt Walkways
Published on: March 4, 2026 | Last Updated: April 14, 2025
Written By: George Voss
An asphalt walkway installation guide provides step-by-step methods to build durable paths using hot mix asphalt and crushed stone bases. Unlike concrete, asphalt creates flexible surfaces that resist cracking in freeze-thaw cycles. You’ll need specific tools like plate compactors, asphalt lutes, and base materials (crushed stone recommended for drainage). Proper installation requires 2-3 inches of compacted asphalt mix over a 4-6 inch gravel base, costing $3-$7 per square foot for materials.
This guide covers planning path dimensions, selecting PG 64-22 asphalt binder for residential use, and avoiding common errors like poor soil compaction. Learn how to grade slopes (1-2% pitch for drainage), operate a vibratory roller (3 passes minimum), and apply sealcoat every 3 years. We’ll detail recycled asphalt options (RAP content up to 30%) and EPA-compliant practices to reduce runoff.
Contents
Introduction to Asphalt Walkway Installation
Creating a functional path with asphalt involves mixing rock, sand, and sticky bituminous binders. This part of our asphalt walkway installation guide breaks down what asphalt walkways are and why this material works for foot traffic.
What Are Asphalt Walkways?
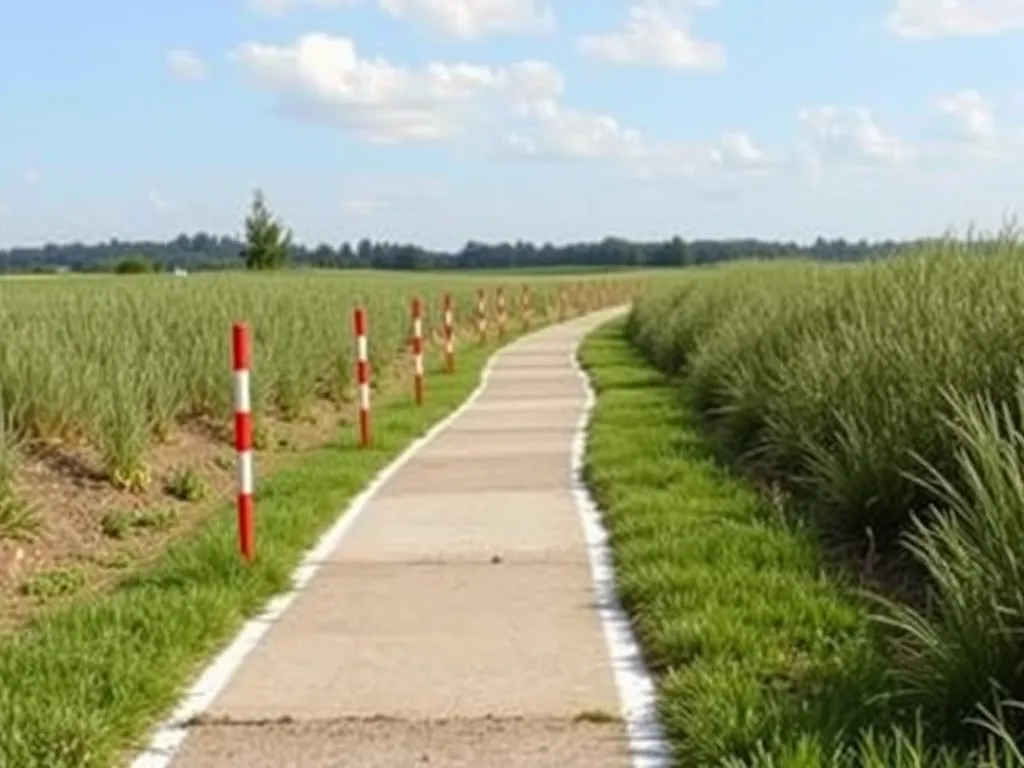
Asphalt walkways consist of 95% aggregates (crushed stone, gravel, sand) bound by 5% liquid asphalt cement. Built in layers, typical paths run 2-3 inches thick. PG 64-22 binders—common in North America—allow stability from -22°F to 150°F. Custom shapes (curved, straight) adapt to yards, parks, or commercial lots. Proper installation asphalt walkways last 15+ years with minimal cracks.
Key Benefits Of Asphalt Walkways
Beyond basic function, asphalt path installation brings practical upsides. Costs stay low at $3-$5 per sq.ft., and fresh paths handle foot traffic within 24 hours. Using 20-30% RAP (reclaimed asphalt pavement) cuts material costs by 18% and supports sustainable practices. Compact bases (4-6 inches of crushed stone) stop frost heave in cold zones. Annual crack filling and sealcoating every 3-5 years block water intrusion.
With basics in mind, focus shifts to planning your project—from sizing to local laws.
Planning Your Asphalt Walkway Project
Start with clear goals. Map your needs before breaking ground. This saves time and cuts costs.
Determining Walkway Purpose and Dimensions
Define how the walkway will be used. Foot traffic? Bikes? Wheelchairs? Each need shapes the design.
Assessing Traffic Needs and Walkway Length
Count daily users. More traffic means wider paths. Home paths work at 3-4 feet wide. Public paths need 5-6 feet. Measure total length using a tape or laser tool. Add 10% extra for curves or errors.
Choosing the Right Asphalt Thickness
Residential paths need 2 inches of hot mix asphalt (HMA). For heavy use, go to 3 inches. Use PG 64-22 binder (a performance-graded asphalt) in hot zones. Cold areas need PG 58-28. Thicker layers last 15-20 years.
Legal and Site Preparation Considerations
Skip legal headaches. Check rules early to avoid fines or rework.
Checking Local Permit Requirements
Call your city office. Most areas need permits for paths over 50 feet. Some ban asphalt near trees or property lines. Drainage plans may be required if slopes exceed 2%.
Marking the Path Layout
Spray paint or stakes mark edges. Keep 6 inches clear on both sides. Use a string line for straight paths. For curves, lay garden hose as a guide. Check slope with a line level—aim for 1/4 inch drop per foot for drainage.
Ready to dig? Next, we’ll break down the tools and materials for smooth asphalt walkway installation.
Essential Materials and Tools
Selecting the right components ensures your asphalt walkway installation meets durability standards while staying within budget.
Asphalt Mix Selection
Use Type F (fine-graded) or Type C (coarse-graded) hot mix asphalt for walkways. Type F contains 90-95% fine aggregates under 3/8”, ideal for smooth surfaces. Type C mixes include 35-50% coarse aggregates up to 3/4” for heavier foot traffic. Specify PG 64-22 binder for climates with winter lows above 20°F. Mixes should arrive at 275-300°F to ensure workability during asphalt walkway installation.
Base Materials: Crushed Stone Vs. Gravel
Crushed stone (angular edges) locks into a stable base, supporting 4” asphalt layers. Opt for #411 or #304 grades at $18-$30 per ton. Gravel ($12-$20 per ton) suits low-traffic paths but shifts under load. Install a 4-6” compacted base layer regardless of material. For freeze-thaw zones, pair 6” crushed stone with geotextile fabric to prevent frost heave.
Required Equipment
Proper tools streamline installing asphalt walkways while achieving 95% compaction density.
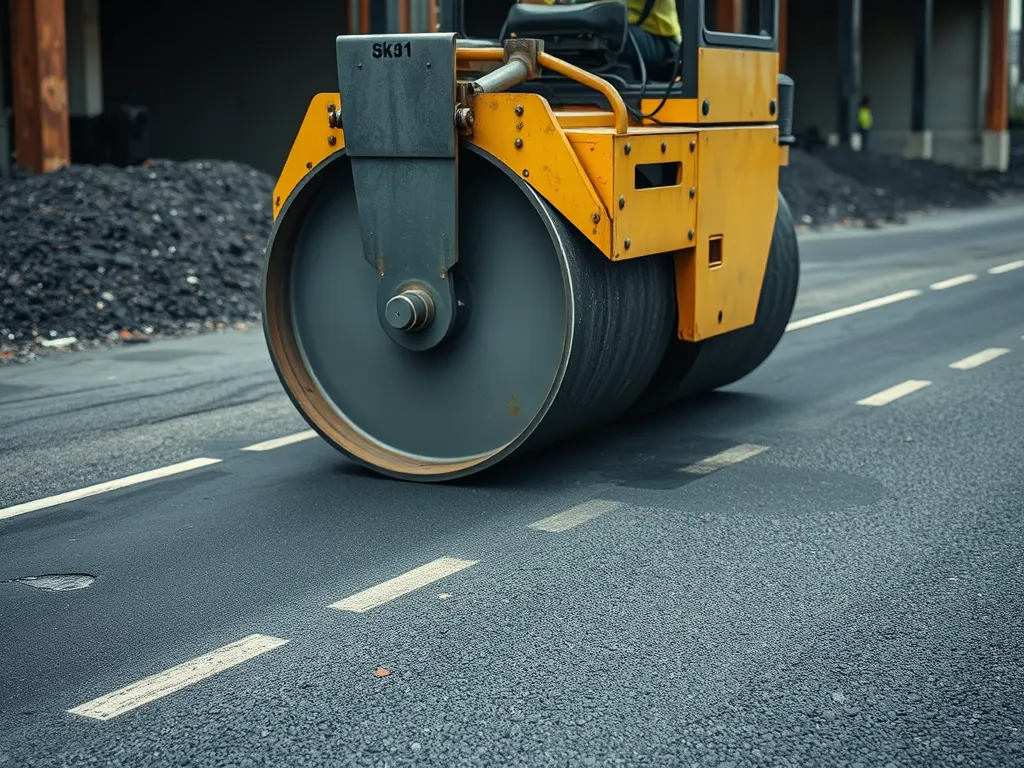
Compaction Tools (Roller/Plate Compactor)
- Vibratory plate compactor: 6,000-10,000 lbs force for edges and narrow paths
- Dual-drum roller: 1-3 tons for large areas; applies 150-350 psi
Compact base layers in 2” lifts. Final asphalt layers require 3-5 passes at 2-3 mph.
Shovels, Rakes, and Leveling Tools
- Square-point shovels: Spread asphalt mix evenly
- Asphalt lute: Adjustable 6-8’ blade for smoothing surfaces
- Magnesium screed: Create precise 2-4% slope for drainage
Proper tool handling prevents uneven surfaces – a common flaw in DIY asphalt path installation. Up next: preparing your site with exact excavation depths and compaction methods.
Also See: Best Practices for Snow and Ice Management on Asphalt
Step-by-step Asphalt Walkway Installation
Proper technique ensures your asphalt walkway lasts 15-20 years. Follow these steps to create a stable, smooth path.
Step 1: Ground Preparation
Start by preparing a solid foundation. Uneven soil causes cracks and dips in asphalt.
Excavating the Area
Dig 8-12 inches deep using a shovel or mini excavator. Remove roots, rocks, and debris. Slope sides at 2% grade for drainage. Use stakes and string to maintain straight edges.
| Excavation Spec | Requirement |
|---|---|
| Depth | 8-12 inches |
| Width | Path width + 6″ buffer |
| Slope | 2% away from structures |
Compacting the Soil Subbase
Compact soil with a plate compactor (3,000-5,000 PSI force). Achieve 95% compaction density. Spray water if soil is too dry – ideal moisture is 8-12%.
Step 2: Installing the Base Layer
A 4-6 inch crushed stone base prevents shifting and improves load-bearing capacity.
Laying and Leveling Crushed Stone
Spread CA6 or 3/4″ angular aggregate in 2-inch layers. Use a grading rake to level. Maintain 1/8″ per foot cross slope for runoff.
Proper Base Compaction Techniques
Compact each stone layer with a vibratory roller. Make 3-5 passes per layer. Check for gaps – add more stone if voids exceed 1/2 inch.
| Base Layer | Specs |
|---|---|
| Material | Crushed stone (CA6) |
| Thickness | 4-6 inches |
| Compaction | 98% Proctor density |
Step 3: Asphalt Application
Hot mix asphalt (HMA) applied at 275-300°F bonds best. Work quickly – mix cools 5°F per minute.
Mixing and Distributing Asphalt
Order HMA with PG 58-28 binder for walkways. Dump small batches via wheelbarrow. Spread piles with a lute within 10 minutes of delivery.
Leveling with a Squeegee or Lute
Pull asphalt toward edges using a 36″ lute. Maintain 2-3 inch thickness. Check slope with a 4-foot level – keep 1/4″ drop per foot.
Step 4: Final Compaction and Finishing
Compaction removes air pockets for a smooth surface. Start rolling when asphalt hits 185°F.
Using a Roller for Even Surface
Make 3-5 passes with a 1.5-ton steel drum roller. Overlap previous passes by 6 inches. Avoid stopping – it creates indentations.
Edging and Curb Integration
Shape edges with a hand tamper. For curbs, apply SS-1h tack coat to bonded surfaces. Seal joints with asphalt emulsion.
With your walkway compacted and edged, focus shifts to preserving its condition. Proper maintenance starts within 72 hours of installation.
Maintaining Your Asphalt Walkway
Proper care keeps asphalt walkways strong for 15-20 years. Focus on two areas: surface protection and weather-based upkeep.
Sealcoating and Crack Repair
Apply sealcoating every 2-3 years. This thin layer blocks water, UV rays, and oil spills. Use coal tar or asphalt-based sealants ($0.10-$0.25 per sq.ft). Spread with a squeegee or spray system for even coverage.
- Fix cracks under ¼” wide with liquid crack filler ($12-$20 per gallon)
- Cut out damaged areas deeper than 1″ and patch with hot-mix asphalt
- Work in dry weather above 50°F for best bonding
Seasonal Care Tips
Adjust care by season to fight wear from heat, cold, and moisture.
- Winter: Use sand or calcium chloride de-icer. Avoid metal shovels
- Spring: Clear debris with a stiff broom. Check for freeze-thaw damage
- Summer: Repair cracks before heat softens the surface
- Fall: Remove leaves to prevent trapped moisture
Consistent care cuts repair costs by 30-40% over the walkway’s life. Next, explore how eco-friendly methods boost your path’s green profile while saving cash.
Environmental Considerations
Building paths of asphalt requires balancing durability with environmental responsibility. Modern methods allow for reduced ecological impact without sacrificing performance. Explore options that align with green goals while meeting walkway needs.
Recycled Asphalt Options
Reclaimed Asphalt Pavement (RAP) mixes crushed old asphalt with fresh binder, creating sustainable surfaces. RAP accounts for 20-30% of material in most walkway projects, cutting costs by $8-$12 per ton compared to virgin asphalt. This approach keeps 90 million tons of waste from landfills annually nationwide. Contractors grade RAP into fine or coarse particles, blending them with PG 58-28 or PG 64-22 binders for optimal adhesion in pedestrian areas.
| RAP Content | Compressive Strength (PSI) | Cost Per Sq.Ft |
|---|---|---|
| 30% | 3,200 | $1.80 |
| 50% | 2,950 | $1.60 |
Eco-friendly Installation Practices
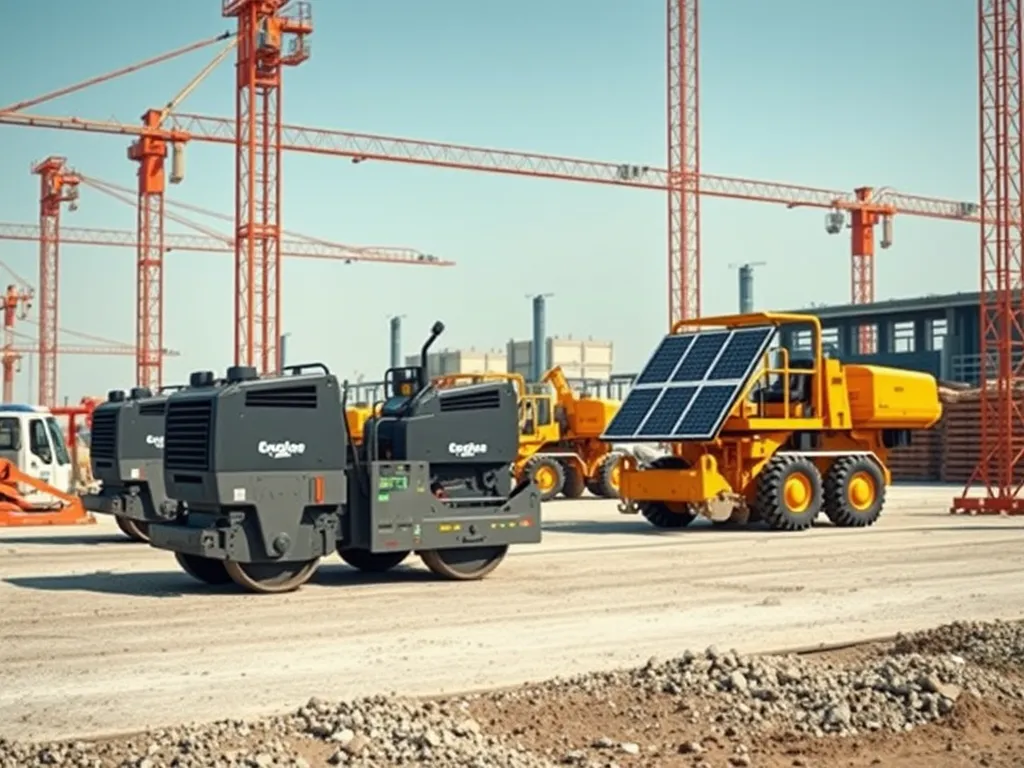
Porous asphalt systems reduce stormwater runoff by 50% through open-graded designs that allow water infiltration. Pair this with warm-mix asphalt (WMA), which lowers production temps to 250°F–275°F, slashing CO₂ emissions by 20%. Use local quarries for base materials like MDOT 22A crushed stone to trim transport-related carbon by 15%–25%. Bio-based sealants derived from soy or pine resin offer low-VOC protection against cracks and UV damage.
Proper equipment choices matter. Electric compactors produce zero onsite emissions during base layer compression. Solar-powered screeds ensure precise leveling while drawing renewable energy. These methods align with LEED certification standards for residential and commercial projects.
With environmental strategies in place, focus shifts to preserving your walkway’s function and appearance over time. Regular care extends service life while maintaining eco-benefits.
Asphalt Walkway Installation FAQs
How to Lay an Asphalt Path Properly?
To lay an asphalt path properly, start by preparing the ground to ensure a solid foundation. Clear the area of debris and excavate to the appropriate depth. Compact the soil and lay a crushed stone base, followed by the asphalt mix application. Ensure that the asphalt is leveled and compacted evenly for a smooth finish.
What Thickness is Ideal for Asphalt Walkways?
The ideal thickness for asphalt walkways typically ranges from 2 to 3 inches, depending on the expected foot traffic. For residential paths, 2 inches is usually sufficient, while commercial walkways may require up to 3 inches or more for added durability.
Why Use Crushed Stone Under Asphalt?
Crushed stone is used under asphalt because it provides a stable and durable base that supports the walkway’s weight. Its angular edges interlock to create a solid foundation, which helps prevent shifting and enhances load-bearing capacity, thereby extending the lifespan of the asphalt surface.
How to Prepare Soil for Asphalt Installation?
To prepare the soil for asphalt installation, excavate the area to a depth of 8-12 inches, removing any roots, rocks, or debris. Then, compact the soil thoroughly to achieve 95% density, ensuring there are no air pockets or voids that could lead to cracks or uneven settling in the asphalt.
Closing Thoughts
Creating an asphalt walkway can enhance both functionality and aesthetics in your outdoor spaces. With careful planning, the right materials, and proper installation techniques, you can achieve a durable and attractive path that lasts for years. Remember to assess site conditions and choose materials wisely for the best results.
Regular maintenance, such as sealcoating and crack repair, ensures your walkway remains in excellent condition, extending its lifespan. In addition, considering eco-friendly practices will contribute to sustainability without sacrificing quality.
For more detailed information on asphalt walkway installation and related tools, check out Asphalt Calculator USA.
Additional Resources for You:
- American Association of State Highway and Transportation Officials (AASHTO). (2008). Mechanistic-Empirical Pavement Design Guide (MEPDG). Washington, DC: AASHTO.
- How To Install an Asphalt Driveway (DIY Guide)
- The Complete 7-Step Process for Asphalt Pavement Installation
- Install Asphalt The Right Way In 7 (+1) Steps – Murphree Paving
- How to Build an Maintain an Asphalt Driveway for Your Home – This Old House

