How to Properly Pour Asphalt for Beginners: Your Step-by-step Guide
Published on: February 8, 2026 | Last Updated: April 14, 2025
Written By: George Voss
Pouring asphalt correctly requires precise ground preparation, choosing the right mix, and mastering spreading techniques to avoid cracks or uneven surfaces. Beginners should focus on three core steps: clearing/compacting the base, maintaining asphalt temperature above 275°F for hot mix, and using a plate compactor (rental cost: $75-$150/day) to achieve 92-98% density. Common mistakes like skipping edge support, uneven raking, or rushing compaction can cut pavement lifespan by 30-50%.
This guide covers ground preparation for driveways (6-8 inch base depth) versus walkways (4-6 inches), selecting between hot mix (durable but time-sensitive) and cold mix (easier for small patches), and cost-saving tips like renting tools from Home Depot. You’ll learn compaction methods using hand tampers or vibratory rollers, curing times (24-72 hours for foot traffic), and safety protocols for handling 300°F+ materials. We’ll also explain how proper slope grading (2% minimum) prevents water pooling.
Contents
- Introduction to Asphalt Pouring for Beginners
- Preparing the Ground for Asphalt
- Essential Tools and Materials
- Step-by-step Asphalt Pouring Process
- Curing and Initial Maintenance
- Safety Precautions for Asphalt Work
- Environmental Considerations
- Frequently Asked Questions (FAQs)
- Closing Thoughts
- Additional Resources for You:
Introduction to Asphalt Pouring for Beginners
Asphalt combines aggregates (crushed stone, sand) with a petroleum binder called bitumen. This mix creates durable road surfaces when poured correctly. For beginners, mastering basic techniques like temperature control (300-350°F for hot mix) and proper compaction ensures your project lasts. Modern asphalt uses PG (Performance Graded) binders rated for climate-specific durability. Superpave mixes, designed through rigorous testing, offer better resistance to cracking and rutting.
Why Proper Asphalt Pouring Matters
Improper pouring leads to cracks, potholes, and drainage issues within months. Uneven layers cause water pooling, which weakens the base. For driveways, inadequate compaction reduces load-bearing capacity – a critical factor for vehicles weighing 3,000+ lbs. Proper techniques extend pavement life to 15-20 years. Thermal contraction gaps left unaddressed can widen by 0.5 inches annually, accelerating structural failure.
Key Benefits Of DIY Asphalt Projects
DIY asphalt work costs 40-60% less than hiring pros. A 500 sq.ft driveway averages $1,500 self-poured vs. $3,500+ professionally. You control material choices: cold mix (ready-to-use, no heating) suits small repairs, while hot mix (higher density) works for driveways. Customize edges or add decorative borders. Recycling old asphalt cuts material costs by 25% – 95% of asphalt gets reused in new pavements. First-time projects build skills for future maintenance like crack sealing or patching.
With the basics covered, let’s break down how to prepare your site for asphalt installation.
Preparing the Ground for Asphalt
A solid foundation prevents cracks and extends pavement life. Skipping ground prep causes uneven surfaces and costly repairs within months.
Clearing the Area for Installation
Start with a clean slate. Remove all foreign objects that interfere with asphalt bonding.
Removing Debris and Vegetation
- Clear rocks, roots, and old pavement chunks with pry bars
- Kill grass/weeds using glyphosate herbicide (1.5% solution)
- Excavate topsoil to 6″ depth in organic-rich areas
Determining the Correct Digging Depth
Depth requirements vary by project type. Measure twice to avoid over-excavation.
Ideal Depth for Driveways vs. Walkways
- Driveways: 8″-12″ total depth (4″ asphalt + 4″-8″ base)
- Walkways: 4″-6″ total depth (2″ asphalt + 2″-4″ base)
Add 2″ extra depth for regions with freeze-thaw cycles.
Building a Stable Base Layer
The base layer carries 70% of pavement loads. Use angular materials that lock together.
Choosing Base Materials (Gravel/Crushed Stone)
- Gravel: $12-$18/ton, best for light traffic areas
- Crushed stone: $25-$30/ton, preferred for driveways (¾” angular grade)
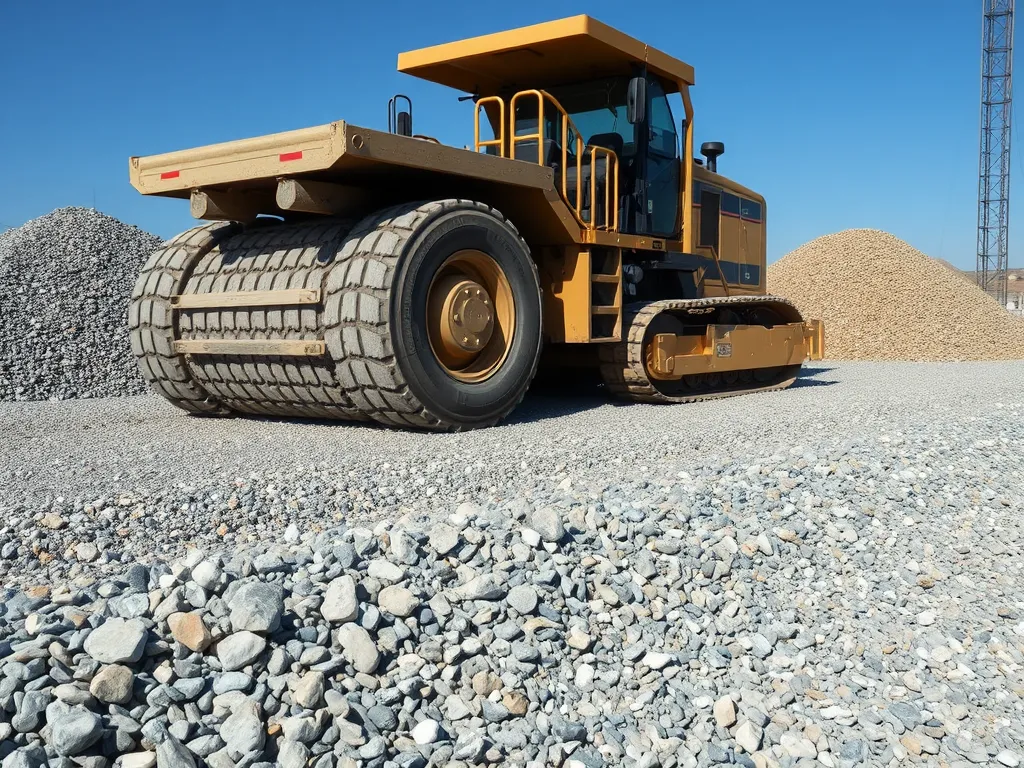
Compacting the Subgrade
- Rent plate compactors (3,000-5,000 lbs force)
- Compact in 2″ lifts at 95% Proctor density
- Check slope: 2% minimum grade for drainage
With the base locked in place, you’re ready to gather tools for the asphalt pour.
Essential Tools and Materials
Having proper gear makes asphalt work safer and faster. Skip the guesswork – use tools built for paving tasks. Let’s break down what you’ll need.
Must-have Asphalt Pouring Equipment
Basic tools handle spreading, moving, and packing asphalt. Choose items that match your project size.
Rakes, Shovels, and Wheelbarrows
Use a steel rake for quick asphalt leveling. Square-point shovels move mix without sticking. Wheelbarrows with wide tires carry 3-4 cubic feet per load. Rent heavy-duty models for large driveways.
Plate Compactors and Hand Tamper Tools
A plate compactor (100-200 lbs force) seals joints and removes air gaps. Hand tampers work for small patches under 10 sq ft. Rent compactors for $75-$150/day based on plate size.
Selecting the Right Asphalt Mix
Pick mixes based on weather, traffic, and skill level. Wrong choices lead to cracks or poor bonding.
Hot Mix vs. Cold Mix Asphalt for Beginners
Hot mix (300°F+) needs pros but lasts 15+ years. Cold mix (bagged, ready-use) suits DIY repairs under 2” thick. Cold sets in 24 hours vs hot mix’s 1-2 hour work window. Cold costs 30% less but wears faster in high-traffic zones.
With tools prepped and mix chosen, you’re ready to tackle the actual pour. Next up: laying asphalt like a pro.
Also See: How to Properly Store Asphalt Tools: Essential Tips
Step-by-step Asphalt Pouring Process
Pour asphalt right to build roads or driveways that last. Follow these steps for smooth results.
Mixing and Distributing the Asphalt
Hot mix asphalt works best for new jobs. Keep it warm (275-300°F) to stay soft. Cold mix suits small fixes but cracks faster.
Achieving Consistent Temperature and Texture
Check heat with a probe. Stir the mix to break clumps. Use a paddle mixer for small loads. Aim for a smooth, grit-free feel. Too dry? Add a bit of binder. Too wet? Mix in more stone.
Spreading and Leveling Techniques
Dump piles every 2-3 feet. Work fast before the mix cools. Push material with a rake from the center out. Keep edges thick to stop cracks.
Using Lutes for Even Distribution
A lute (long metal tool) spreads asphalt flat. Pull it toward you in arcs. Fill dips and knock down highs. Check depth with a stick—aim for 3 inches on driveways, 2 inches for paths.
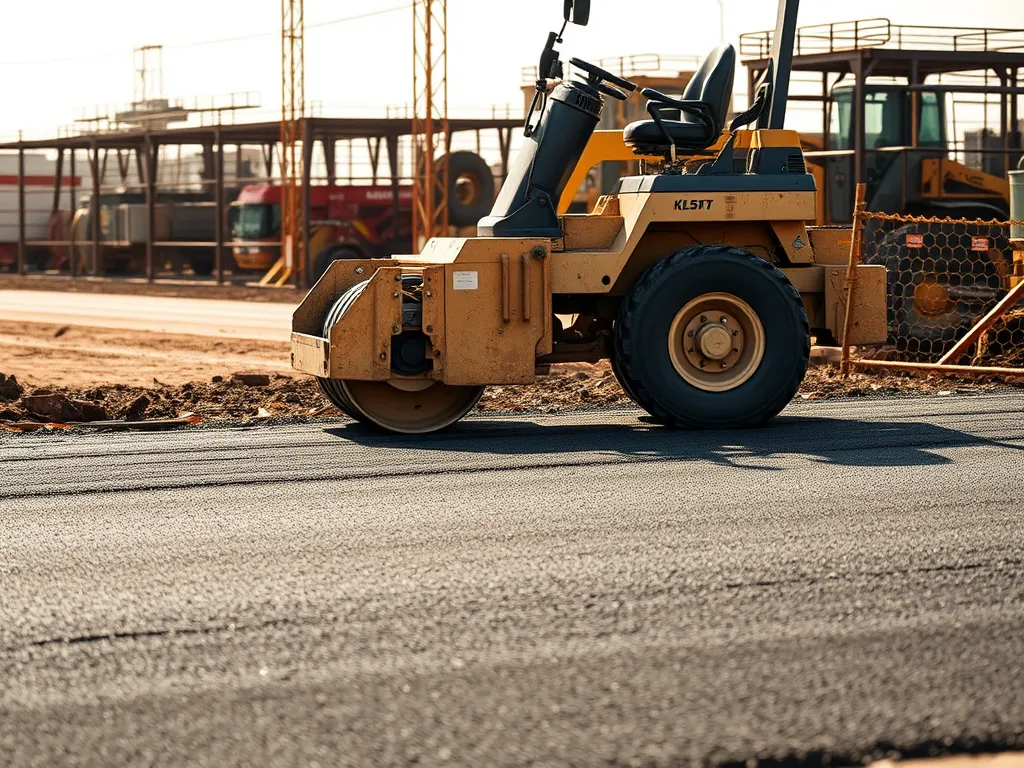
Compacting for Durability
Press the asphalt while warm. Start with a hand tamp for edges. Use a plate compactor (140+ lbs) for large areas. Roll in lines that overlap by half.
Proper Compaction Methods for Beginners
Make 3-5 passes per spot. Go slow—3-5 feet per second. Keep the plate wet to avoid sticking. Test firmness: no dent when stepped on. Missed spots? Add fresh mix and compact again.
Once pressed, your asphalt needs time to set. Next, learn how to shield it from rain, sun, and weight while it cures.
Curing and Initial Maintenance
Fresh asphalt needs careful attention after pouring. Proper curing ensures long-term durability and prevents premature cracks or deformations.
Understanding Asphalt Curing Times
Curing is the hardening process where asphalt gains strength. Hot mix asphalt (HMA) initially sets in 24-72 hours but requires 6-12 months to fully cure. Cold mix asphalt takes longer—up to 2 weeks for initial use. Ideal curing occurs at 70°F; temperatures below 50°F extend timelines by 30-50%.
Protecting Fresh Asphalt from Weather
Rain poses the biggest threat. Cover the surface with UV-stabilized polyethylene sheets if storms are forecast. Avoid standing water, which can create soft spots. In hot weather (above 85°F), lightly mist the surface with water to prevent rapid cooling of hot mix asphalt. Seal edges with sand to block water infiltration.
When to Allow Foot/car Traffic
Wait 24-48 hours for foot traffic on hot mix asphalt. Cold mix needs 72 hours. For vehicles, wait 3-5 days (hot mix) or 7 days (cold mix). Heavy trucks require at least 7 days. Test readiness by pressing a screwdriver into the edge—if it leaves no mark, it’s safe. Surface temperatures should stay below 140°F during initial use.
Now that your asphalt is curing, let’s explore safety measures to follow during future maintenance.
Safety Precautions for Asphalt Work
Safe work habits prevent harm. Follow these steps to guard yourself and others.
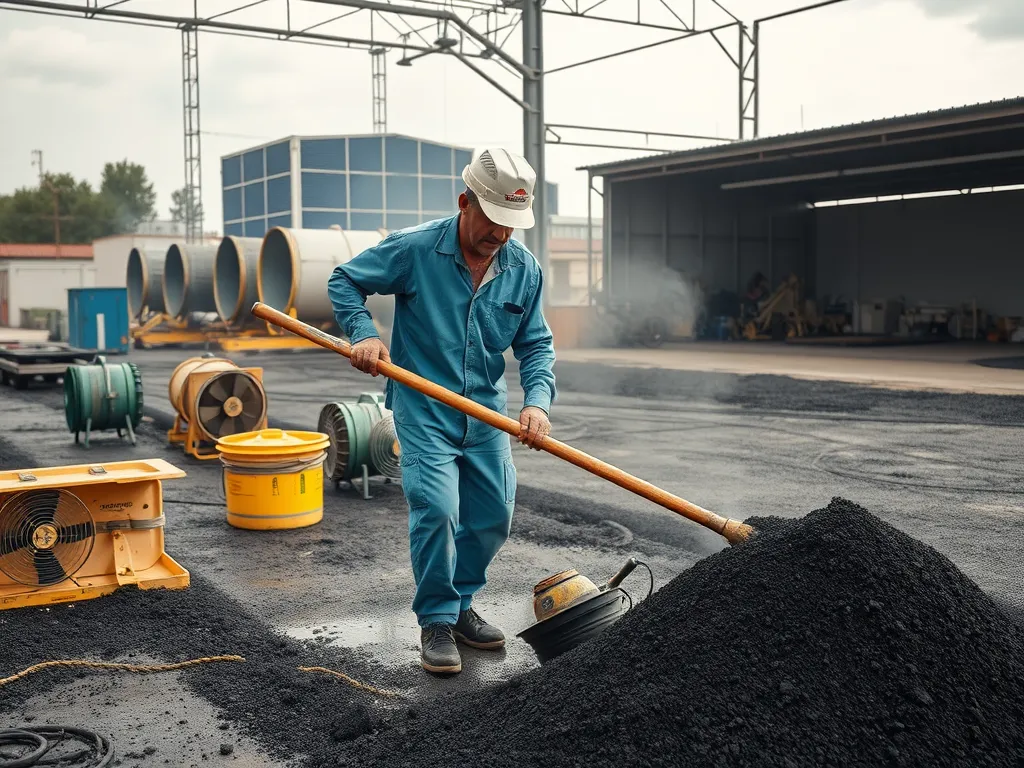
Protective Gear and Ventilation
Wear thick gloves, steel-toe boots, and eye cover. Hot mix fumes need air flow. Use a mask if mixing in closed spaces. Work in open zones or use fans to keep air fresh. Skin and lungs must stay safe from heat and dust.
Handling Hot Mix Asphalt Safely
Hot mix pours at 300°F. This high heat burns skin in seconds. Use long-handle tools like rakes. Keep a hose or pail of water near for quick burns care. Store hot mix in sealed drums till use. Let it cool fully before touch.
With safety steps set, focus shifts to earth-friendly steps for lasting results.
Environmental Considerations
Pouring asphalt impacts your yard and local ecosystem. Smart choices cut harm while keeping your project on track.
Eco-friendly Asphalt Practices
Use recycled asphalt (RAP) when possible. RAP mixes old pavement chunks into new hot or cold mixes. This cuts mining needs by up to 30% and lowers costs. Pick warm-mix asphalt (WMA) over hot mix. WMA pours at 250°F instead of 300°F, using less fuel and fumes.
- Recycle 95% of old asphalt for new jobs
- Choose plant-based binders over petroleum when local rules allow
- Use porous asphalt for driveways to drain rain into soil
Proper Disposal Of Excess Materials
Leftover hot mix hardens fast. Store extra in steel drums for patch jobs. Cold mix stays workable longer – seal bags tight. Never dump asphalt in trash or storm drains. Take waste to:
- Local recycling centers (call ahead for asphalt drop-off rules)
- Landfills with solid waste permits ($50-$100 per ton fees)
- Road repair programs that accept public donations
Check state laws – 38 states ban wet asphalt from landfills. Let hardened chunks cool fully before moving them.
Got your eco-plan set? Next up: answers to common first-timer questions in our FAQ section.
Frequently Asked Questions (FAQs)
How Deep Should You Dig for a Driveway?
The recommended digging depth for a driveway is 8-12 inches. This includes a 4-inch layer of asphalt along with a base layer that can vary from 4 to 8 inches, depending on your soil type and local climate conditions.
What Base Materials Work Best Under Asphalt?
Common and effective base materials include gravel and crushed stone. Gravel is suitable for lighter traffic areas, while crushed stone is preferred for driveways due to its angular shape that locks together for better stability.
Can Beginners Use Cold Mix Asphalt Effectively?
Yes, beginners can effectively use cold mix asphalt as it is user-friendly and doesn’t require heating. Cold mix is ideal for smaller repairs and can easily be applied without specialized equipment.
How Long Before Using Newly Poured Asphalt?
For hot mix asphalt, it’s best to wait 24-48 hours before allowing foot traffic and 3-5 days for vehicular traffic. Cold mix asphalt requires a longer waiting period of about 72 hours for foot traffic and up to 7 days for vehicles.
Closing Thoughts
Pouring asphalt may seem daunting for beginners, but with the right preparation and tools, you can achieve durable and professional-looking results. Remember, the foundation is key; a stable base ensures longevity. From selecting the right materials to knowing the proper curing time, each step plays a vital role in your project’s success.
Always prioritize safety by wearing protective gear and being mindful of ventilation when working with hot mix asphalt. Take your time to understand each phase of the process, and don’t hesitate to seek help if needed.
For more tips and calculations on your asphalt needs, visit Asphalt Calculator USA. Your journey to becoming proficient in asphalt pouring begins here!

