How to Patch Asphalt Driveway – Fix Cracks & Potholes Fast
Published on: February 4, 2026 | Last Updated: April 14, 2025
Written By: George Voss
Patching an asphalt driveway repairs cracks, fills potholes, and stops water damage using materials like cold mix asphalt (pre-mixed for easy use) or hot asphalt (for professional results). You’ll need a shovel, tamper, crack filler, and patching compound tailored to your damage type – from hairline cracks under ¼” to potholes deeper than 2”. Start by clearing debris, cutting clean edges around damaged areas, and choosing the right repair product for your climate and wear level.
This guide breaks down driveway repairs into five key steps: assessing damage severity, selecting materials, prepping surfaces, applying patches correctly, and sealing for longevity. We’ll compare DIY costs ($15-$80 for materials) versus hiring pros ($150-$700), show how to fix common issues like alligator cracking (web-like fractures), and explain when to use aggregate base layers for structural support. Get ready to restore your driveway in 3-6 hours with minimal tools.
Contents
- Assessing Your Asphalt Driveway Damage
- Essential Materials for Asphalt Driveway Patching
- Tools Required for Asphalt Driveway Repair
- Step-by-step Asphalt Driveway Patching Process
- Repairing Large Cracks in Asphalt Driveways
- Cost Considerations for Asphalt Repairs
- DIY Asphalt Patching Vs Hiring Professionals
- Proven Techniques for Long-lasting Repairs
- Maintaining Your Patched Asphalt Driveway
- Frequently Asked Questions (FAQ)
- Closing Thoughts
- Useful References for You:
Assessing Your Asphalt Driveway Damage
Spotting issues early stops small flaws from growing into costly fixes. Start by walking your driveway in daylight to check all parts. Look for color shifts, dips, or pooling water.
Identifying Common Issues
Three main culprits harm asphalt surfaces: cracks, voids, and drainage flaws. Allowing any to worsen risks structural harm, requiring full replacement if not handled.
Cracks (Hairline to Large Gaps)
Hairline splits under 1/4 inch wide need crack filler to block moisture. Gaps up to 2 inches demand rubberized asphalt emulsion. Anything wider might call for cutting out bad parts and using a cold mix. Ignoring splits lets rain wash out the aggregate base, causing potholes.
Potholes and Surface Deterioration
Pits form when cracks grow and traffic pounds loose chunks. Fix holes fast—unfilled voids can double in size within months. For voids up to 4 inches deep, apply coarse gravel as a base layer before adding patching asphalt. Crumbling surfaces with many small holes signal a failing top coat; plan for a full seal coat after fixing individual spots.
Drainage Problems and Standing Water
Pooling water softens asphalt and speeds cracking. Check if your driveway slopes at least 2% away from structures. If water sits in ruts, fill low spots with a leveling layer of hot mix. Add trench drains or channel systems along edges if runoff flows wrong.
With your driveway’s weak points mapped, it’s time to pick tools and materials for lasting fixes.
Transition Statement: Knowing what’s wrong sets you up to choose the right patching products and methods.
Essential Materials for Asphalt Driveway Patching
Pick the right stuff to fix your drive right. Each patch job needs specific tools and mix types. Let’s break down what works best.
Cold Mix Asphalt Vs. Hot Asphalt Mix
Cold mix asphalt comes in bags for DIY jobs. Use it in temps below 50°F. No heat needed – just pour, pack, and go. Costs $3-$5 per 50 lb bag. Hot mix needs pros with trucks to heat it to 300°F. Lasts longer but costs $100-$200 per ton. Pick cold for small holes. Hot for big fixes.
Quick Patch Asphalt Products
Pre-mixed options like EZ Street or Aquaphalt set fast. Apply in rain or sun. Sticks to wet cracks. One bag fills 6-8 potholes. Cure time: 1 hour for cars. Save 30% time vs regular cold mix. Keep 2-3 bags on hand for quick fixes.
Sealants and Crack Fillers
Stop water from wrecking your patch. Use rubber-based sealants for cracks up to 1/2 inch. Pour-in fillers like Latex-ite work for hairline gaps. For bigger splits, use backer rod and hot-applied crack goo. One gallon seals 100 sq ft. Apply every 2-3 years.
- Rubberized sealant: $25 per gallon
- Cold pour crack filler: $8 per tube
- Backer rod (1/4” to 1” sizes): $0.50 per foot
Aggregates for Base Repairs
Crushed stone gives strength under patches. Use #57 stone (1/2” to 3/4” chunks) for deep holes. Spread 2-4 inches thick under cold mix. Gravel costs $15-$40 per ton. Pack with a tamper – 95% compaction stops sink holes. Mix with sand for small gaps.
Got your patch gear ready? Next up: the tools that make the job fast and clean.
Tools Required for Asphalt Driveway Repair
Right tools make asphalt fixes last. Match your gear to the job size and damage type.
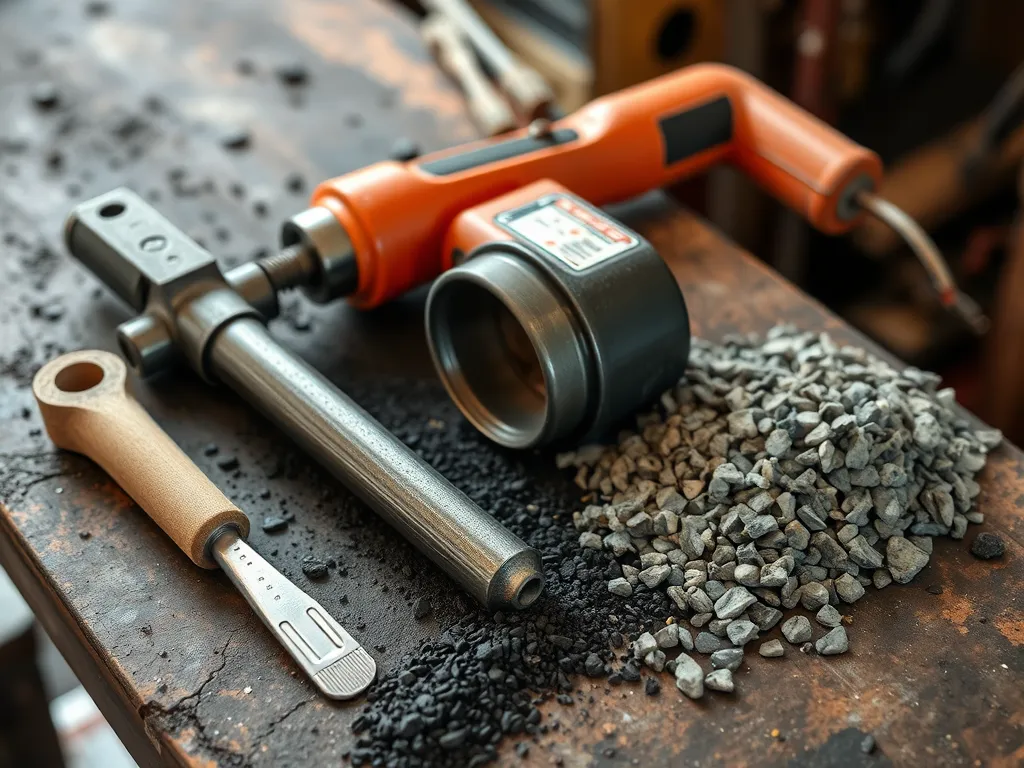
Preparation Tools: Chisel, Hammer, Shovel
Chisel, hammer, shovel form your core prep tools. Use a 3-pound hammer with a mason’s chisel to cut clean edges on cracks. A square shovel clears loose rocks and debris faster than round styles. Wear gloves – asphalt chunks can have sharp edges.
Application Tools: Trowel, Squeegee, Caulk Gun
A steel trowel spreads cold patch mix into gaps. Rubber squeegees work best for sealant on cracks under 1/2 inch. For bigger jobs, load crack filler into a caulk gun – it’s faster and cuts waste. Keep a bucket of sand nearby to test mix texture before applying.
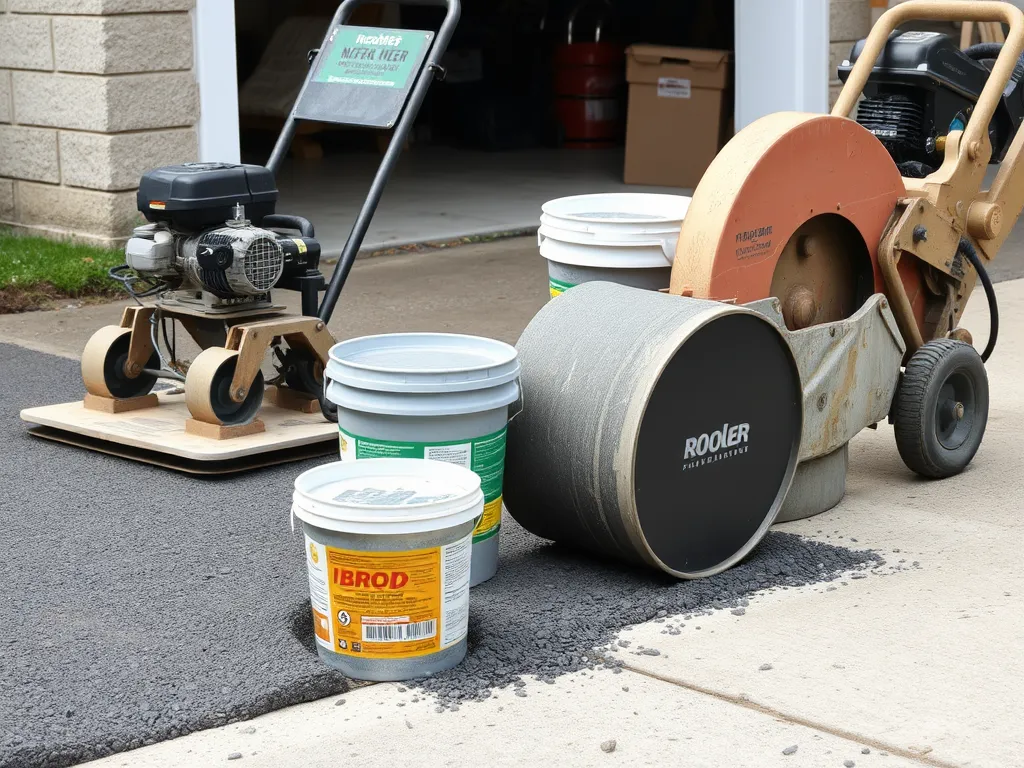
Compaction Equipment: Tamper or Plate Compactor
Hand tampers (10-15 lbs) work for small fixes. Rent a plate compactor (150-200 lbs) for patches over 2 square feet. These machines press mix 30% tighter than hand tools, stopping future dips. Run the compactor in circles, overlapping passes by 6 inches each time.
With your gear ready, let’s walk through the repair steps from prep to finish.
Also See: Asphalt Production Energy Efficiency: 5 Ways to Improve
Step-by-step Asphalt Driveway Patching Process
Follow this guide for lasting results on your asphalt driveway patch job. Work only on dry days with temps above 50°F for optimal material bonding.
Step 1: Clean and Prepare Damaged Area
Start with a broom and wire brush to sweep dirt from cracks or holes. For oil stains, scrub with a mix of trisodium phosphate (1 cup per gallon of water).
Removing Debris and Loose Material
Clear rocks, vegetation, and crumbling asphalt chunks. Use a vacuum for dust in cracks under 1/4″ wide. Missing this step causes poor adhesion – 80% of failed patches start here.
Cutting Clean Edges Around Damage
Shape repair zones with a masonry chisel or circular saw. Angled sides (45° outward) stop new material from pulling away. Make all cracks at least 1″ wide – narrow gaps can’t hold filler properly.
Step 2: Apply Base Material (for Deep Repairs)
Fill holes deeper than 2″ with crushed stone or Class II road base. Compact in 2″ layers using a hand tamper until 4″ below surface. This base layer prevents sinking – critical for spots with car traffic.
Step 3: Fill With Patching Material
Choose cold mix asphalt for DIY jobs (sets without heat) or hot mix for pros (requires 300°F application).
Techniques for Small Cracks
Push rubberized crack filler into gaps under 1″ wide using a caulk gun. Overfill by 1/4″ – it settles as it cures. For hairline cracks (under 1/8″), use liquid asphalt sealant with a pour spout.
Methods for Pothole Repairs
Shovel cold mix into holes in 3″ layers. Slope mix upward from center for water runoff. Overfill by 1/2″ – compaction shrinks material by 30%. Add aggregate binder sand to pothole edges for extra grip.
Step 4: Compact and Level Surface
Hit small patches with a 10-lb hand tamper 8-10 times. Rent a 110-lb plate compactor ($75/day) for areas larger than 2 sq ft. Check flatness with a 4-ft level – gaps over 1/4″ cause trip hazards.
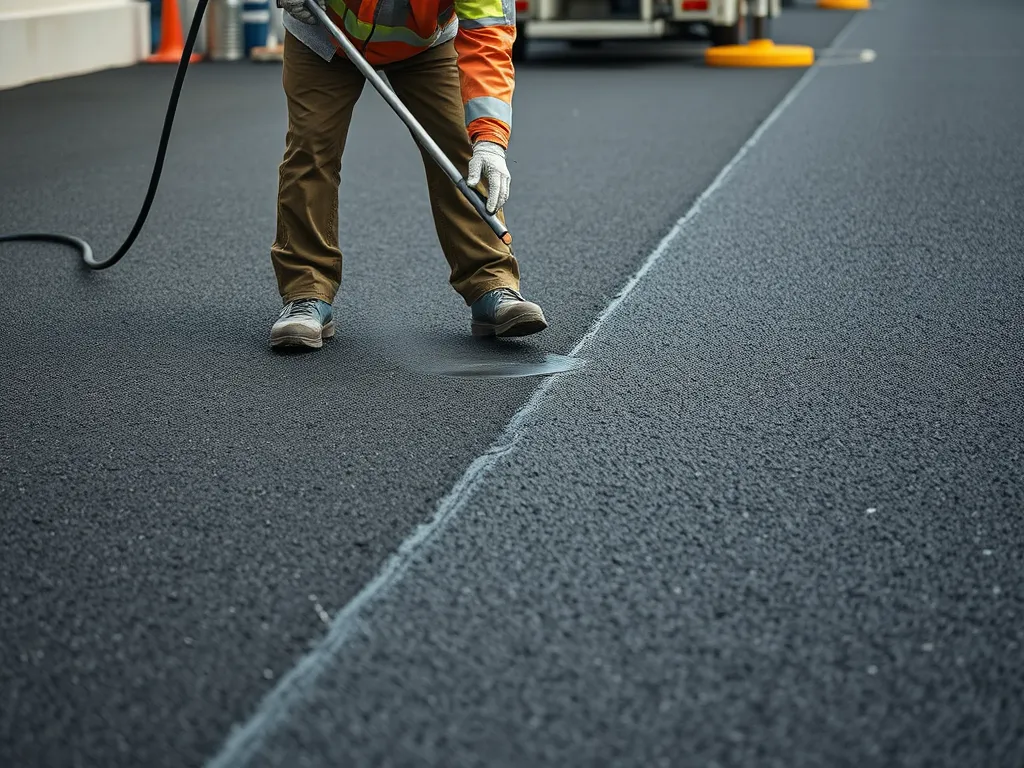
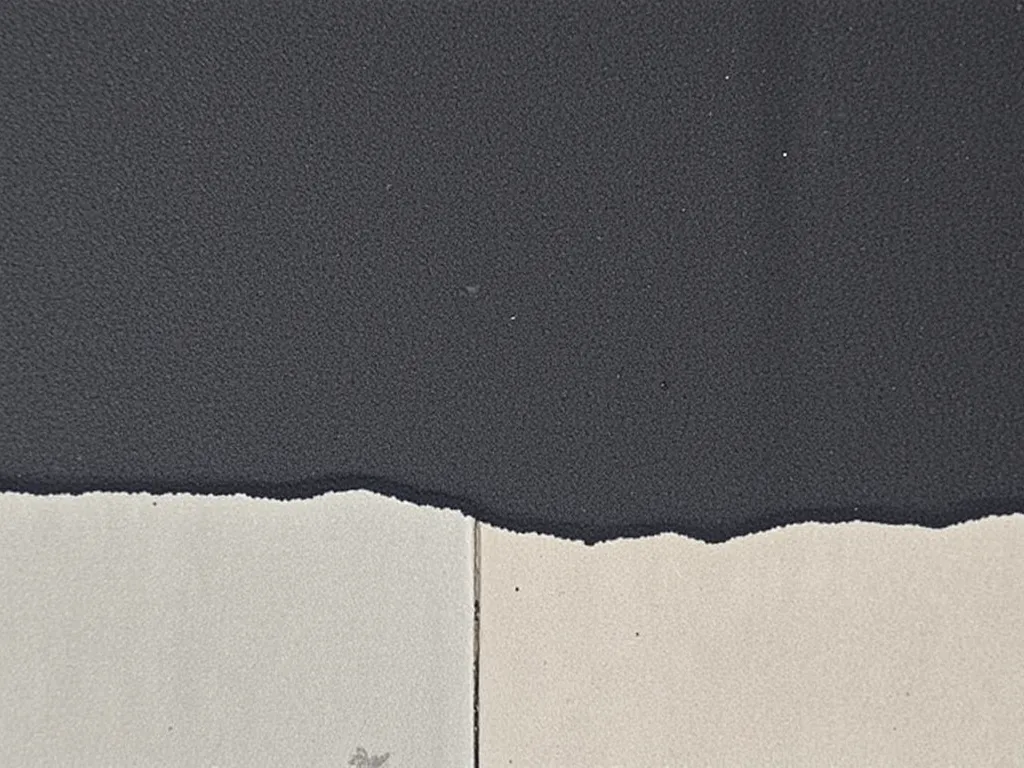
Step 5: Seal Edges and Apply Sealant
Brush asphalt bonding agent on patch borders. Spread coal-tar emulsion sealant over the entire repair after 48 hours. This blocks water intrusion – the #1 cause of asphalt failure. Allow 24-36 hours drying before driving on it.
With small cracks now fixed, larger splits demand different tactics. Up next: tools and tricks for gaps wider than 1 inch.
Repairing Large Cracks in Asphalt Driveways
Large cracks (1/4″ or wider) demand targeted repair methods to prevent structural damage. Ignoring these gaps invites water penetration, base erosion, and costly asphalt driveway repair bills. Address them promptly using industry-tested techniques.
Specialized Crack Filling Techniques
For cracks exceeding 1/2″, use routing and sealing. Cut a 1″ wide channel along the crack with a masonry blade (angle grinders work). Fill with PG 64-22 polymer-modified asphalt emulsion ($18-$25/gallon). Compact in 2″ layers using a hand tamper. For zigzag cracks, apply fiber-reinforced crack tape ($4/linear foot) before sealing. Always overfill by 1/4″ to account for settling.
Preventing Water Infiltration
Waterproof repairs start with proper prep. Install rubberized backer rods ($0.50/ft) in deep cracks before sealing. Slope filler material 45° toward drainage areas (1/8″ per foot minimum). Finish with coal-tar emulsion sealant (10-15 mil thickness) across the entire repair zone. This asphalt driveway coating blocks 98% of moisture intrusion when applied at 50°F-85°F.
Effective crack repair sets the stage for cost analysis. Up next: comparing material prices versus contractor rates for asphalt driveway patch repair.
Cost Considerations for Asphalt Repairs
Budget planning separates successful asphalt driveway patch repairs from temporary fixes. Material choices, labor expenses, and project scope dictate total costs.
DIY Vs Professional Repair Costs
Opting for DIY asphalt driveway repair cuts labor fees but demands time and skill. Cold patch asphalt costs $15-$40 per 50-lb bag, covering 5-10 square feet at 2-inch depth. Professional services average $3-$7 per square foot for pothole repairs or $1-$3 per linear foot for crack filling. Extensive damage exceeding 30% of the driveway surface often warrants full replacement ($8-$15 per sq ft).
Material Cost Breakdown
Key supplies for patching asphalt driveway:
- Cold patch asphalt: $0.30-$0.80 per pound (Jetcoat Blacktop Patch or EZ Street Cold Asphalt)
- Latex-based crack filler: $15-$25 per gallon (Latex-ite or Red Devil)
- Driveway sealant: $20-$40 per 5-gallon pail (Sakrete or Rust-Oleum)
- Crushed stone aggregate: $40-$60 per ton for base repairs
Add $200-$600 for equipment rentals: plate compactors ($75/day), asphalt saws ($90/day), or infrared heaters ($150/day).
Evaluating damage severity and repair complexity guides decisions about tackling projects independently or hiring specialists. Up next: determining when self-repairs make sense versus requiring pro-level solutions.
DIY Asphalt Patching Vs Hiring Professionals
Choosing between self-repair and hiring contractors depends on damage severity, budget, and skill level. Homeowners save up to 75% on labor costs with DIY methods but face limitations with structural issues.
When to Handle Repairs Yourself
Tackle DIY asphalt driveway patch repair for cracks under 1/4″ wide or potholes less than 2″ deep. Cold mix asphalt (sold in 50 lb bags at $5-$8 each) works for small-scale fixes. Use squeegee-applied sealants for hairline cracks or pre-mixed filler for gaps up to 1″. Projects requiring basic tools – stiff broom, steel tamper, handheld infrared thermometer – typically take 2-4 hours.
| DIY-Friendly Repairs | Materials Needed | Average Cost |
|---|---|---|
| Hairline cracks | Liquid crack filler | $12-$20 per 1 qt |
| Small potholes | Cold patch + aggregate | $35-$60 per hole |
| Surface weathering | Driveway sealant | $25-$40 per 5 gal |
Signs You Need Expert Help
Call professionals for alligator cracking (interconnected web-like fractures), potholes deeper than 4″, or sinking areas indicating base failures. Contractors use hot mix asphalt heated to 300°F for seamless repairs – a process requiring dump trucks and steel drum rollers. Projects needing drainage regrading or full-depth patches (6″+) often exceed $500 due to equipment and material demands.
Persistent water pooling after DIY fixes signals subsurface issues. Professionals perform core tests to check base integrity, using geotextile fabrics or lime stabilization if needed. Thermal imaging tools detect hidden voids – a critical step missed in most DIY asphalt driveway repair attempts.
Mastering repair techniques matters, but material selection determines longevity. Next, we’ll break down optimal layering strategies for permanent fixes.
Proven Techniques for Long-lasting Repairs
Make your asphalt driveway patch repair stick with methods used by road crews. These tips stop repeat fixes and save money over time.
Proper Compaction Methods
Pack every layer tight with a hand tamper (for small jobs) or plate compactor (large areas). Poor packing causes dips – 90% of failed patches sink due to loose base. Hit cold mix 4-6 times per spot. Check with a straight edge: gaps over 1/4″ need more work.
Layering Strategies for Deep Repairs
Fix holes deeper than 2″ in three steps: base, binder, top. Use crushed stone for the base, coarse asphalt mix mid-layer, fine-grade mix on top. Tack coat between layers boosts bond strength by 40%.
| Layer | Material | Thickness |
|---|---|---|
| Base | Crushed stone | 3-4″ |
| Binder | Coarse asphalt mix | 2-3″ |
| Top | Fine asphalt mix | 1-1.5″ |
Weather Considerations for Patching
Patch only when ground temps hit 50°F+. Cold mix needs 24 dry hours before rain. Hot mix (300°F) sets fast but requires pros. Fall/spring repairs last longest – summer heat softens new patches, winter cold cracks them.
Ready to lock in your repair work? The next step keeps your whole drive strong for years.
Maintaining Your Patched Asphalt Driveway
Keep repairs functional for years with consistent care. Maintenance stops small issues from becoming costly rebuilds.
Regular Cleaning and Inspection
Sweep debris weekly using a stiff-bristle broom. Pressure wash biannually at 2,500-3,000 PSI to remove embedded dirt. Inspect every 3 months for:
- New cracks wider than 1/4″
- Pooling water near repaired areas
- Loose edges around patches
Address hairline cracks quickly with rubberized crack filler ($12-$18 per 10-ounce tube) before water seeps into the base layer.
Sealcoating Schedule
Apply fresh sealant every 24-36 months. Latex-emulsion coatings last longer than coal-tar options. Ideal conditions: 70°F+ with 48 hours dry weather. Costs $0.15-$0.25 per square foot for DIY.
- Clean surface thoroughly before application
- Use squeegee for even coverage
- Apply two thin coats instead of one thick layer
Sealcoating blocks UV damage and reduces asphalt driveway repair needs by up to 50%.
Preventing Future Damage
Stop cracks and potholes before they start. Avoid parking heavy vehicles like RVs for extended periods. Use these strategies:
- Install edge restraints to prevent crumbling
- Redirect downspouts 5+ feet from pavement
- Remove snow with plastic shovels, not metal blades
Treat oil stains immediately with degreaser. Spread sand on icy patches instead of rock salt, which erodes asphalt binder.
Solid maintenance preserves patches, but some situations need expert eyes. Let’s review common questions about asphalt driveway repair challenges.
Frequently Asked Questions (FAQ)
Can You Patch an Asphalt Driveway?
Yes, patching an asphalt driveway is a common and effective way to repair cracks, potholes, and surface deterioration. With the right materials and techniques, homeowners can restore the integrity of their driveways.
Can I Put New Asphalt Over Old Asphalt?
Yes, you can put new asphalt over old asphalt, but proper preparation is critical to ensure a successful bond. The old surface should be cleaned, any loose material removed, and any significant flaws repaired before applying a new layer.
How Do I Use Quick Patch Asphalt?
To use quick patch asphalt, start by cleaning the damaged area thoroughly. Apply the quick patch product according to package instructions, typically by spreading and leveling it with a trowel or squeegee. Allow the patch to cure as directed, usually a few hours before driving on it.
What Should I Do if My Asphalt Repairs Don’t Hold Up?
If your asphalt repairs do not hold up, it may indicate deeper issues, such as a failing subbase or improper installation. It’s advisable to consult a professional to assess the underlying problems and determine appropriate solutions.
How Can I Prevent Future Cracks and Potholes in My Driveway?
To prevent future cracks and potholes, consider regular maintenance such as sealcoating, cleaning debris, and addressing small cracks promptly. Additionally, ensure proper drainage away from the driveway and avoid parking heavy vehicles in the same spot for extended periods.
Is It Necessary to Seal My Asphalt Driveway After Patching?
Yes, sealing your asphalt driveway after patching is highly recommended. Sealcoating protects the repaired areas from water penetration and UV damage, extending the life of both the patch and the entire driveway.
What Are the Signs That Indicate My Asphalt Driveway Needs Patching?
Signs that your asphalt driveway may need patching include visible cracks (especially larger ones), potholes, surface wear, and pooling water. Addressing these issues early can help prevent more extensive damage and costly repairs in the future.
Closing Thoughts
Patching your asphalt driveway can extend its life and enhance your property’s curb appeal. With the proper materials, tools, and techniques, you can effectively address cracks, potholes, and other damage. Regular maintenance, such as sealcoating and inspections, will also help keep your repairs intact and prevent future issues.
The investment in asphalt repairs pays off by avoiding costly replacements down the line. Whether you choose to undertake these repairs yourself or hire a professional, being informed will help you make the best decision.
For more information and resources on asphalt, visit Asphalt Calculator USA.

