How to Install Asphalt Speed Bumps: Step-by-step Guide
Published on: February 3, 2026 | Last Updated: April 14, 2025
Written By: George Voss
Installing asphalt speed bumps requires six key steps: planning site placement, preparing the base, building forms, layering hot mix asphalt (HMA), compacting with a roller, and adding safety markings. These 3-6 inch high structures use the same PG 64-22 binder as roads but require thicker compaction (95% density) for vehicle weight. You’ll need an asphalt cutter, vibratory plate compactor, temperature gauge (HMA works best at 275-325°F), and reflective tape. Budget $50-$150 per linear foot, including materials and equipment rental. Always check local codes for height limits (typically 3-4 inches) and required setbacks from intersections.
This guide walks through asphalt speed bump installation from legal prep to final rollover test. Learn how to navigate permits, choose between modular polymer-enhanced designs or permanent HMA bumps, and avoid drainage issues. We’ll compare DIY costs ($200-$500 per unit) versus professional installation ($600-$1,200) and share pro tips for slope gradients (1:10 front-to-back ratio) that meet ADA standards. Get ready to transform roads with durable, skid-resistant traffic control that lasts 7-15 years.
Contents
- Introduction to Asphalt Speed Bumps
- Legal Considerations for Installation
- Types Of Asphalt Speed Bumps
- Tools and Materials Required
- Cost Estimation for Asphalt Speed Bumps
- Step-by-step Installation Process
- Maintaining Asphalt Speed Bumps
- Environmental Impact Of Asphalt Speed Bumps
- Common Installation Mistakes to Avoid
- Alternative Traffic-calming Solutions
- Frequently Asked Questions (FAQ)
- Final Summary and Recommendations
- Useful References for You:
Introduction to Asphalt Speed Bumps
Asphalt speed bumps slow cars in zones where safety matters most. Made from hot mix asphalt (HMA), these raised strips last 7-10 years with care. They blend stone, sand, and bitumen for a tough, smooth finish.
What Are Asphalt Speed Bumps?
Speed bumps are 3-4 inch high ridges built across roads. Most span 12-14 feet long to force cars to slow to 10-15 mph. HMA binds the mix at 300°F, making it stick when cooled. Proper asphalt speed bump installation needs precise slope (1:10 grade) to avoid car damage.
Why Install Asphalt Speed Bumps?
They cut crash risks by 40% near schools, parks, or lots. Studies show speed drops by 5-10 mph in 30 ft zones. Asphalt costs 30% less than concrete per bump ($1,500-$3,000 each). Built-in runoff gaps (1-2 inch gaps every 6 ft) stop floods. Use recycled HMA to save 20% on material costs.
Ready to start? Check local laws first. Rules vary for public vs. private roads.
Legal Considerations for Installation
Navigating legal requirements proves critical before breaking ground on any asphalt speed bump project. Skipping this step risks fines, removal orders, or liability claims.
Permits and Local Regulations
Most municipalities mandate permits for asphalt speed bump installation. Check local zoning codes for height limits (typically 3-6 inches), spacing rules, and ADA compliance. Cities like Phoenix require traffic studies for public road bumps, while Houston enforces fire department approval for emergency access routes. Always verify ASTM D6433 standards for proper reflectivity and slope grades under 1:12.
Can You Install Speed Bumps on Public or Private Roads?
Public road installations demand written authorization from city/county engineers – DIY efforts here often violate traffic control laws. Private roads (e.g., parking lots, HOA communities) allow more flexibility, but still require adherence to local safety codes. Texas property owners must post 30-day notices before altering shared driveways, while Florida HOAs need 75% resident approval for new traffic calming features.
With legal boxes checked, explore design options that balance compliance and effectiveness.
Types Of Asphalt Speed Bumps
Selecting the right design affects both effectiveness and longevity. Asphalt speed bumps vary by shape, height, and installation method. Each type serves specific traffic conditions and load requirements.
Traditional Raised Bumps
Standard raised bumps measure 3-6 feet long with a 3-4 inch height. Constructed directly on existing pavement, these use hot mix asphalt (HMA) compacted at 300°F for optimal density. Common specs include 12:1 slope gradients to balance vehicle speed reduction with driver comfort. These require saw-cut edges for clean transitions and last 7-12 years with proper maintenance.
- Pros: High durability, custom sizing, seamless integration with roads
- Cons: Permanent removal needs milling, longer cure time (24-48 hours)
Modular Vs. Permanent Designs
Modular units bolt together on-site using recycled plastic or pre-cast concrete. They install over asphalt surfaces with anchor kits, requiring no hot mix. Permanent designs involve full-depth construction: excavate 6-8 inches, add aggregate base, then layer HMA. Modular options cost $150-$300 per unit; permanent builds run $1,200-$2,500 per 12-foot bump.
- Modular: Portable, minimal labor, ideal for temporary zones
- Permanent: Higher load tolerance (suited for fire lanes or truck routes), lower lifetime costs
With your design chosen, the next phase involves gathering tools and materials tailored to the project’s scale.
Also See: Community Responses to Asphalt Noise Initiatives
Tools and Materials Required
Installing asphalt speed bumps demands precise tools and quality materials. Proper selection ensures durability and compliance with traffic safety standards.
Essential Equipment for Asphalt Speed Bump Installation
Start with a gas-powered asphalt saw for cutting clean edges. A steel tamper compacts layers by hand, while a vibratory roller achieves 95% density for long-term stability. Use thermoplastic striping kits for reflective markings. Stakes, string lines, and chalk guide placement. Safety gear—gloves, goggles, and high-visibility vests—protects crews during installation.
Choosing the Right Asphalt Mix
Select PG 64-22 binder (performance-graded for temperatures up to 64°C) mixed with ¾-inch crushed stone aggregate. This blend withstands heavy vehicles while maintaining flexibility. Hot-mix asphalt (HMA) is standard, heated to 300°F during application. Cold mixes work for temporary fixes but lack longevity. Expect material costs between $80-$120 per ton, depending on regional availability.
With your tools ready and materials selected, let’s break down budget factors for your project.
Cost Estimation for Asphalt Speed Bumps
Budgeting for asphalt speed bumps requires balancing material expenses, labor rates, and site-specific challenges. Costs typically range from $1,200 to $4,500 per bump depending on design complexity and local pricing.
Factors Affecting Installation Costs
Material quality drives 40-60% of total costs. Hot-mix asphalt (HMA) with PG 64-22 binder – a weather-resistant asphalt grade – runs $80-$130 per ton. Modular rubber alternatives cost less upfront ($50-$90 per linear foot) but degrade faster. Permits add $150-$500 depending on municipality requirements. Sites needing drainage modifications or base repairs incur extra $25-$45/sq.ft. Labor rates vary from $45/hr for small crews to $120/hr for full-service contractors using infrared heaters for seamless transitions.
DIY Vs. Professional Installation Costs
DIY installations average $25-$40 per linear foot using cold-patch asphalt bags ($8-$12 each). However, renting a 1-ton vibratory roller ($175/day) and plate compactor ($95/day) eats into savings. Professional crews charge $65-$150 per linear foot but include 5-10 year warranties. A 12-foot asphalt speed bump with reflective striping costs $1,800 professionally vs. $900 DIY, but improper DIY compaction leads to 70% faster deterioration according to NAPA studies.
With cost variables mapped, let’s break down the hands-on process of shaping asphalt into effective traffic-calming tools.
Step-by-step Installation Process
Proper asphalt speed bump installation requires precise execution. Follow these steps for durable traffic-calming structures.
Step 1: Planning and Site Preparation
Begin by evaluating traffic patterns and road dimensions. Measure vehicle speeds (typically 10-15 mph zones) to determine optimal spacing between bumps.
Surveying the Area
Check for underground utilities using ground-penetrating radar or local utility maps. Confirm drainage slope (1-2% grade) to prevent water pooling. Measure road width to align bumps perpendicular to traffic flow.
Marking Placement with Guidelines
Use chalk lines or spray paint to outline bump dimensions. Standard specs: 6-14 ft length, 2-6 inch height. Mark taper zones (3-5 ft) on both ends for smooth transitions.
Step 2: Preparing the Asphalt Base
A stable base ensures longevity. Remove debris with brooms or air compressors. Repair potholes using cold patch asphalt if surface damage exceeds 1/2 inch depth.
Cleaning and Leveling the Surface
Pressure-wash oil stains with degreasers. Apply tack coat (asphalt emulsion) at 0.05-0.15 gal/sq yd to improve adhesion. Verify flatness with a 6-ft straightedge – gaps should not exceed 1/4 inch.
Step 3: Building the Speed Bump Structure
Use PG 64-22 binder asphalt mix heated to 300°F for workability. Layer thickness depends on design: 3 inches minimum for permanent bumps.
Setting Up Forms or Molds
Install steel or plywood forms along marked lines. Secure with rebar stakes every 18 inches. For modular designs, position pre-cast asphalt blocks with 1/8 inch gaps for expansion.
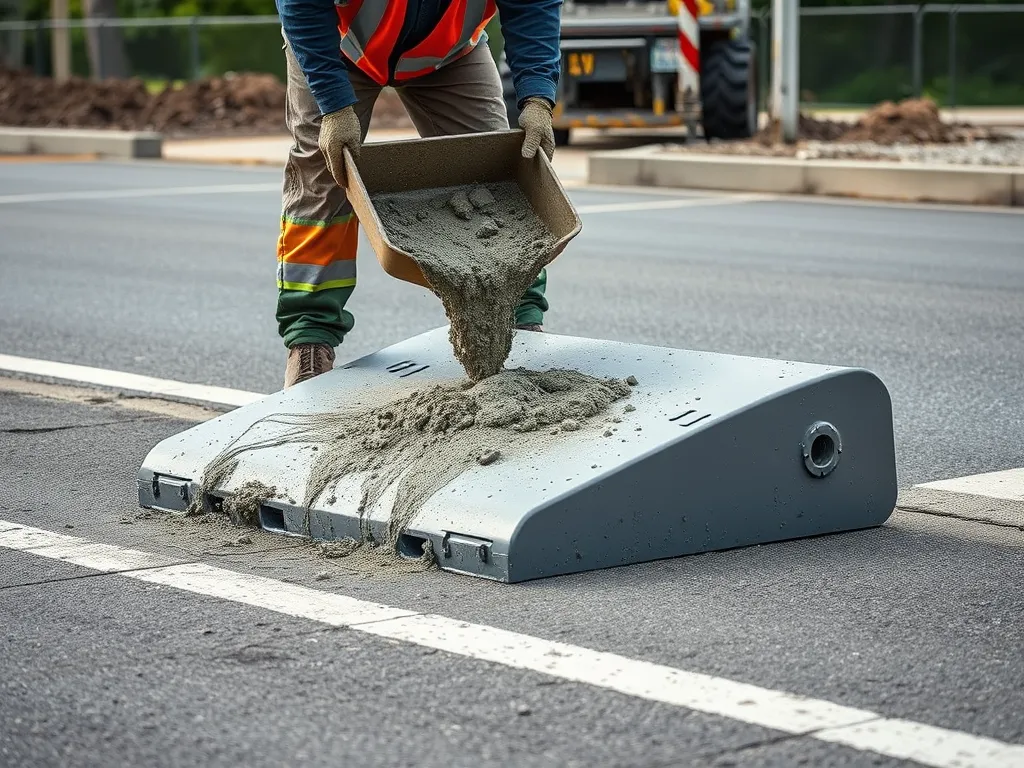
Applying the First Layer of Asphalt
Pour hot mix into forms using asphalt spreaders. Rake material to create gradual slopes (1:10 ratio). Maintain 275-300°F mix temperature to prevent premature cooling.
Step 4: Compaction and Finishing
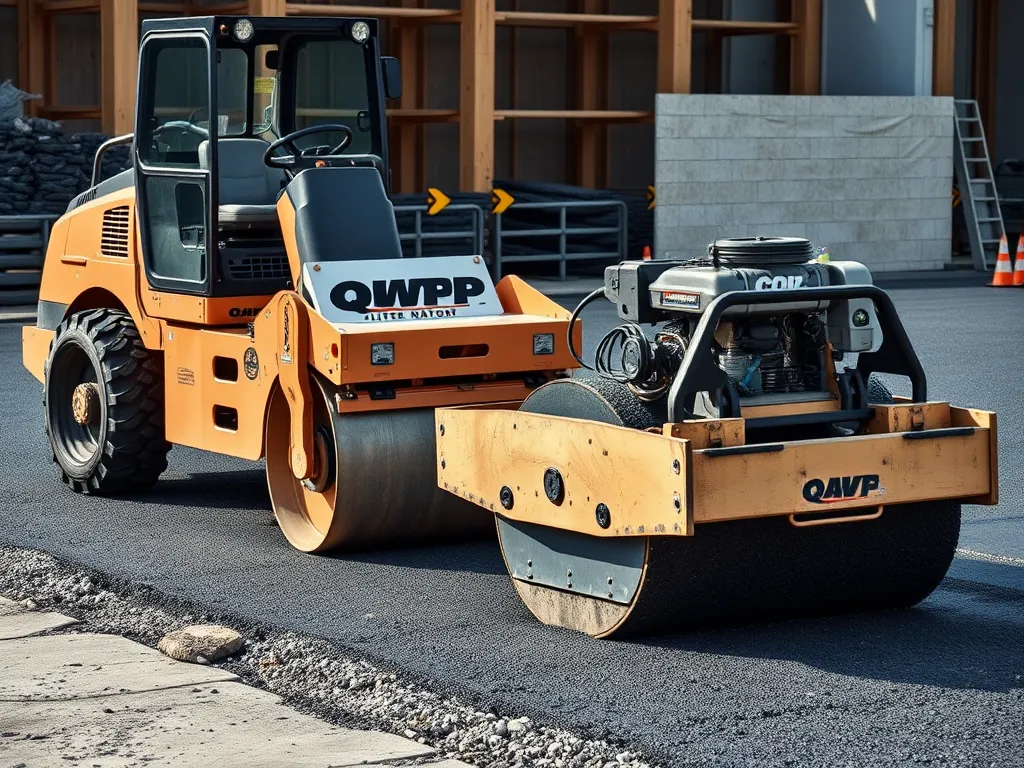
Proper density prevents cracking under vehicle loads. Use a 2-ton dual-drum roller for small projects or plate compactors for edges.
Using a Roller for Proper Density
Compact in 2-inch lifts at 3-5 mph. Target 95% Proctor density (ASTM D698 standard). Check with nuclear density gauges – readings above 92% ensure structural integrity.
Adding Reflective Strips or Markings
Apply thermoplastic tape or methyl methacrylate (MMA) paint within 24 hours. Standard patterns: 2-inch wide strips spaced 6 inches apart. Cure markings with propane torches for 30 seconds.
With the speed bump installed, regular maintenance becomes key to preserving its shape and effectiveness against speeding vehicles.
Maintaining Asphalt Speed Bumps
Proper upkeep ensures asphalt speed bumps remain effective and safe. Neglect leads to cracks, uneven surfaces, and reduced traffic-calming performance.
Routine Inspection and Repairs
Inspect speed bumps every 3-6 months. Look for:
- Cracks wider than 1/4 inch
- Potholes or surface depressions
- Drainage issues causing water pooling
Address minor damage immediately. Use cold mix asphalt patching for small cracks under 2 inches. For larger repairs (>6 inches), remove damaged sections and recompact fresh asphalt. Check edges for erosion—uneven bases cause vehicle scraping.
Sealing Cracks and Preventing Erosion
Apply asphalt emulsion sealant annually to hairline cracks. For deeper fissures:
- Clean debris with air compressor or stiff brush
- Fill with hot rubberized crack filler (up to 1” depth)
- Compact with hand tamper
Prevent edge erosion by maintaining 2-3% slope for water runoff. Install French drains or permeable pavers near bases in high-rainfall areas. Use polymer-modified tack coats if resealing entire bump surfaces.
Regular maintenance preserves your asphalt speed bump installation’s integrity. Next, we’ll examine how material choices impact surrounding ecosystems and stormwater systems.
Environmental Impact Of Asphalt Speed Bumps
Speed bumps made with asphalt affect both nature and site health. Let’s break down key eco factors tied to their build and use.
Material Sustainability Considerations
Asphalt ranks high for green builds. Most mixes use 30-50% recycled content like milled roads or roof shingles. PG binders (asphalt glue) now meet strict eco rules. Warm-mix tech cuts heat needs by 50°F during install. This slashes fuel use and fumes. Opt for local plants to trim truck trips – each mile saved stops 0.92 lbs of CO2.
| Eco Factor | Data |
|---|---|
| Recycled Content | 30-50% |
| Warm-Mix Temp Drop | 50°F |
| CO2 Saved per Mile | 0.92 lbs |
Runoff and Drainage Effects
Bad drains near bumps cause floods. Use porous asphalt grades that handle 5-7 gal/min water flow. Slope sides at 3-5° to steer flow to drains or soil. Add catch basins if local codes demand it. EPA notes 65% of street gunk (oil, metals) washes off in storms – proper design traps this muck.
Pick install spots wisely. Avoid low zones where puddles form. Pair bumps with French drains or swales if soil drains slow (less than 2 in/hr). Check local rain maps to size drains right.
Solid base work keeps bumps intact for 8-12 years, cutting repair waste. Now let’s fix common errors that hurt both bumps and the earth.
Common Installation Mistakes to Avoid
Avoiding errors during asphalt speed bump installation saves time, money, and safety risks. Two frequent issues lead to failures: poor compaction and wrong dimensions. Let’s break these down.
Improper Compaction
Weak compaction causes cracks or sinking within months. Use a vibratory roller to hit 95% density on the asphalt mix. Skip this step, and gaps form between particles. These gaps let water seep in, freeze, and break the bump apart. For small jobs, a hand tamper works but needs 5-6 passes per layer. Check specs: most codes require 2-4 inches of compacted depth.
Incorrect Height or Slope
Speed bumps must balance driver comfort and effectiveness. Aim for 3-4 inches tall with a 1:10 slope (1 inch rise per 10 inches length). Too steep? Cars bottom out. Too flat? Drivers ignore them. Use a laser level to verify angles. Drainage matters too: slopes over 1:8 trap water, causing erosion. Mark edges with chalk lines before laying asphalt to keep shapes uniform.
Proper technique ensures your asphalt speed bumps last 7-12 years. Next, let’s explore how regular care extends their lifespan even further.
Alternative Traffic-calming Solutions
While asphalt speed bumps work for many situations, property owners might weigh options like rubber or concrete. Each material brings distinct pros and cons tied to budget, traffic volume, and long-term goals.
Comparing Asphalt Bumps to Rubber or Concrete Options
Rubber speed bumps cost $100-$300 per unit, making them a low-cost fix for temporary needs. Installation takes hours—no hot mix or heavy machinery. But rubber degrades faster in harsh sun or frost, lasting 3-7 years. Heavy trucks may warp or dislodge units, requiring frequent re-anchoring.
Concrete bumps run $400-$800 due to labor-intensive forming and curing. A 6-inch-thick pour lasts 15+ years with minimal upkeep. Still, solid slabs block stormwater flow, worsening runoff. Modifying or removing slabs demands jackhammering, adding costs over time.
Asphalt strikes a mid-range balance at $200-$500 per bump. Hot-mix surfaces bind tightly to roads, lasting 5-10 years with crack sealing. Properly graded slopes let water drain, cutting flood risks. For public roads, crews can mill old bumps and repave without major disruptions.
Choosing between materials? Prioritize quick fixes on private lots with rubber. Opt for concrete in high-traffic industrial zones. Asphalt fits public roads, residential areas, or sites needing future adjustments.
Material choice impacts traffic flow, safety, and budgets—now let’s break down tools and steps for asphalt projects.
Frequently Asked Questions (FAQ)
Is It Legal to Install Your Own Speed Bump?
Legalities depend on local regulations. Generally, installing speed bumps on public roads requires permits and authorization from local authorities, while private road installations may have more flexibility but still must comply with safety codes.
How Do You Have a Speed Bump Installed?
You can have a speed bump installed either through a DIY approach or by hiring professional services. If you opt for professionals, they will take care of permits, materials, and construction, ensuring compliance with regulations and quality standards.
How Long Do Asphalt Speed Bumps Last?
Asphalt speed bumps typically last between 7 to 12 years, depending on traffic conditions, maintenance practices, and the quality of the installation.
How Much Do Asphalt Speed Bumps Cost?
The cost of asphalt speed bumps varies, but generally you can expect to pay between $200 and $500 per bump for DIY projects, and $600 to $1,200 for professional installations. Factors affecting cost include materials, labor, and local regulations.
How Do I Make a Speed Bump on a Gravel Road?
To create a speed bump on a gravel road, mound the gravel into a ridge, shaping it to about 3-4 inches in height. Compact the material thoroughly and ensure it is graded to facilitate water runoff. Regular maintenance is crucial to keep it intact.
How Do I Make a Concrete Speed Bump?
To construct a concrete speed bump, form a mold at the desired height and length, mix the concrete to the right consistency, and pour it into the mold. Allow the concrete to cure fully before opening the area to traffic.
Where Can I Find Speed Bump Installation Services Near Me?
You can find speed bump installation services through local asphalt or paving companies, online service directories, or by asking for recommendations from local homeowners associations or community boards. Always check reviews and credentials before hiring.
Final Summary and Recommendations
Installing asphalt speed bumps can effectively enhance safety in residential and commercial areas. Proper planning and execution are vital for successful installation. Ensure you follow local regulations and obtain any necessary permits before beginning.
Choose the right type of speed bump that fits your specific needs. Traditional raised bumps or modular designs offer various benefits. Pay attention to the tools and materials required, especially when selecting the appropriate asphalt mix. If installing yourself, keep track of costs to ensure budget compliance.
Regular maintenance will prolong the life of your speed bumps. Routine inspections and timely repairs are essential for ensuring safety and effectiveness. Be mindful of common mistakes, such as improper compaction or incorrect height.
For more information and additional resources on asphalt speed bumps, visit Asphalt Calculator USA. Equip yourself with the knowledge to install durable and effective speed bumps today!
Useful References for You:
- Huang, Y. H. (2004). Pavement Analysis and Design (2nd ed.). Upper Saddle River, NJ: Pearson/Prentice Hall.
- ⇒ Installing Speed Bumps: A Step-by-Step Guide
- Can individual property owners legally install speed bumps on public roads? – Quora
- Speed Hump – Car Stop Installation Instructions
- What to Know Before Installing Speed Bumps and Humps –

