How to Install Asphalt Pathways
Published on: February 3, 2026 | Last Updated: April 14, 2025
Written By: George Voss
Installing asphalt pathways creates durable walkways using hot mix asphalt (HMA) – a combination of 95% stone/sand and 5% liquid asphalt binder. The process differs from road paving by using thinner layers (2-3″ vs 4-6″) and smaller equipment. Six key steps ensure success: clear the site, excavate 6-8″ deep, install 4″ crushed stone base, lay HMA at 300°F, compact with a 1-ton roller, and add plastic or steel edging. Required tools include plate compactors ($100/day rental), asphalt lutes for smoothing, and infrared thermometers to monitor mix temperature. Material costs range $3-$7 per square foot, with DIY projects cutting expenses by 30-40%.
This article breaks down pathway installation from planning to compaction. Learn about base materials like 3/4″ crushed aggregate, proper slope gradients (2% minimum), and HMA types including PG 58-28 binders for freeze-thaw resistance. Get cost comparisons between hot mix and cold patch asphalt, maintenance schedules for sealcoating every 3-5 years, and solutions for common errors like insufficient compaction (target 95% Proctor density). Environmental tips include using recycled asphalt pavement (RAP) mixes containing 30% reclaimed material.
Contents
Benefits Of Asphalt Pathways
Asphalt paths deliver functional advantages that last for years. Let’s break down why they’re a top pick for walkways.
Durability and Longevity
Properly installed asphalt pathways handle heavy foot traffic and weather extremes. High-quality mixes with PG 64-22 binder (a performance-graded asphalt cement) resist cracking in temperatures from -22°F to 158°F. With annual sealcoating, these paths can last 15-20 years before needing major repairs.
Cost-effectiveness Over Time
While initial installation runs $8-$12 per square foot, long-term savings stack up. Recycled asphalt pavement (RAP) cuts material costs by 25% and performs like new. Maintenance is minimal: sealcoating every 3-5 years costs $0.15-$0.25 per square foot, far cheaper than replacing pavers or concrete.
Smooth Surface for Accessibility
Asphalt’s seamless finish meets ADA standards for wheelchair access and walker stability. Proper compaction during installation creates a 1/8-inch slope per foot for drainage without tripping risks. Hot-mix asphalt laid at 300°F bonds tightly, eliminating gaps that cause uneven surfaces over time.
With these benefits in mind, let’s review the tools and materials needed to start building.
Tools and Materials Required
Installing asphalt pathways demands precise tools and quality materials. Proper selection ensures structural integrity and reduces long-term maintenance needs.
Essential Tools for Installation
Start with a sturdy steel rake for spreading asphalt, a plate compactor (rentable at $75/day), and infrared thermometers to check mix temperatures. Heavy-duty shovels, wheelbarrows, and a laser level guarantee accurate grading. Safety gear like gloves, steel-toe boots, and respirators protect against burns and fumes.
Types Of Asphalt Mixes for Pathways
Choose between three common mixes:
- Hot Mix Asphalt (HMA): Best for permanent paths; requires 275°F application temps
- Cold Mix: Temporary fixes; sets at ambient temperatures
- Polymer-Modified PG 64-22: High-traffic areas with 2-3 inch thickness
HMA lasts 15-20 years with proper care, while cold mix lasts 1-3 years.
Base Materials and Edging Options
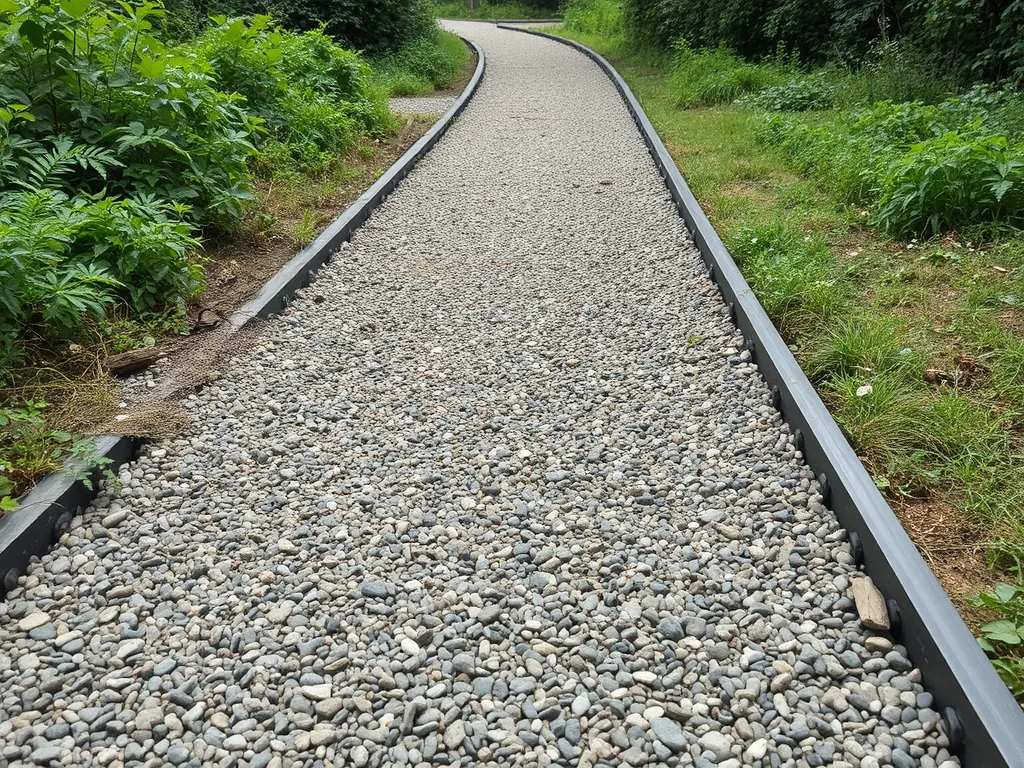
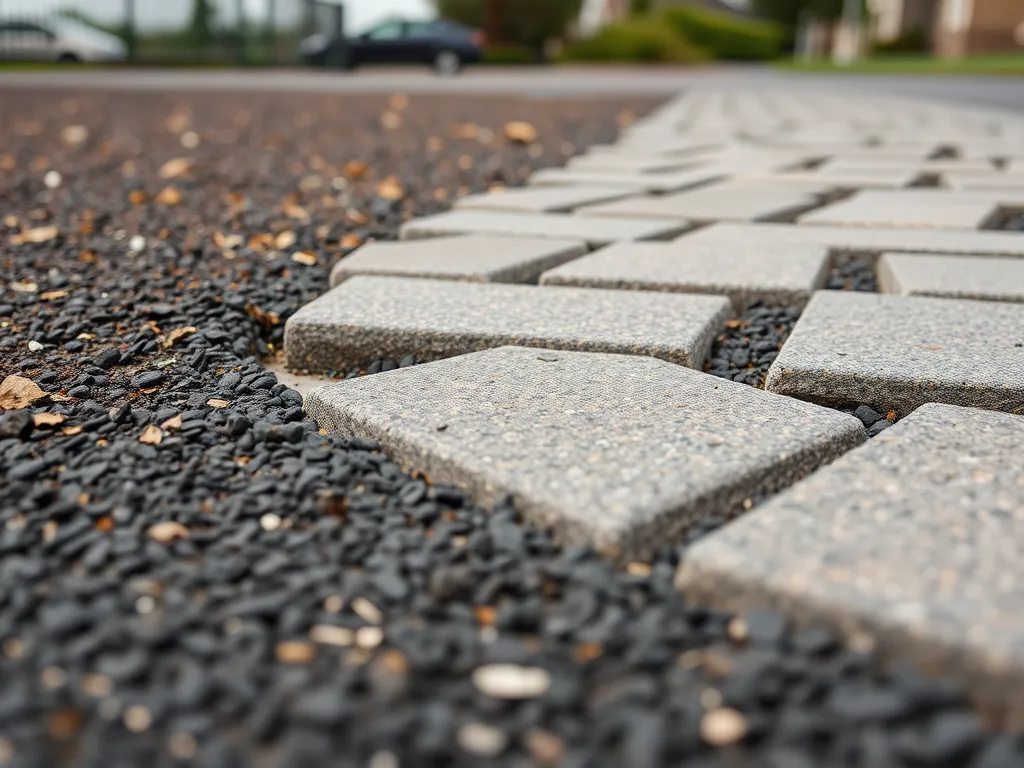
Crushed stone (3/4″ aggregate) forms the base layer, compacted to 95% density. Pair with geotextile fabric to prevent weed growth. Edge restraints like steel barriers ($12/linear foot) or concrete curbs maintain shape. Plastic edging ($3/linear foot) works for curved designs.
Equipped with these resources? Next, we’ll break down the step-by-step process to transform your site into a lasting asphalt path.

Step-by-step Installation Process
Installing asphalt pathways demands precise execution for lasting results. Follow these steps to create a stable, smooth surface suited for foot traffic or light vehicles.
Site Preparation and Layout Planning
Begin by defining the pathway’s purpose and dimensions. Measure twice to avoid costly adjustments later.
Marking the Pathway Dimensions
Use stakes and string or spray paint to outline the path. Standard residential walkways span 3-4 feet wide, while shared paths require 5-6 feet. Allow 1-2 feet of clearance on both sides for drainage.
Clearing Vegetation and Debris
Remove grass, roots, rocks, or organic matter from the marked area. Excavate at least 6 inches beyond the planned edges to accommodate base materials. A clean subgrade prevents uneven settling.
Excavation and Subgrade Preparation
Dig down to accommodate the base and asphalt layers. Proper depth ensures structural integrity under load.
Depth Requirements for Stability
Excavate 8-12 inches below the finished pathway height. For driveways or heavy-use areas, increase depth to 18 inches. Compact the exposed soil with a plate compactor (90% Proctor density) and slope it 2% away from structures for drainage.
Installing the Base Layer
A robust base prevents cracks and extends the pathway’s lifespan. Use angular, crushed materials for optimal interlock.
Choosing the Right Aggregate
Crushed stone (¾-inch minus) or recycled concrete (RCA) works best. Avoid rounded gravel—its poor compaction leads to shifting. Layer 4-6 inches at a time, moistening lightly to reduce dust.
Compacting the Base Material
Compact each layer with a vibratory roller, achieving 95% density. Test with a nuclear gauge or sand cone. A firm base should show no footprints when walked on.
Adding Edge Restraints (Optional)
Steel, concrete, or plastic edging contains the asphalt and base. Install restraints ½ inch below the pathway surface to allow for expansion. Secure with 12-inch spikes every 3 feet.
Applying the Asphalt Layer
Hot mix asphalt (HMA) at 275-300°F offers optimal workability. Cold mix suits small repairs but lacks longevity.
Spreading and Leveling Techniques
Pour asphalt in 2-3 inch lifts. Use a lute or asphalt rake to spread evenly. Maintain a slight crown (¼ inch per foot) for water runoff. Check grade with a laser level or string line.
Compaction and Smoothing
Compact while the mix remains above 185°F. Delay causes poor bonding and surface defects.
Using a Roller or Hand Tamper
Start with a 2-ton steel roller, making 3-5 passes. Overlap each pass by ½ the roller width. For tight corners, switch to a hand tamper. Target 92-95% air voids for a dense surface.
Final Adjustments and Cooling
Fill low spots with fresh mix and recompact. Seal edges with asphalt emulsion to prevent raveling. Allow 24-48 hours for curing before use. In temperatures below 50°F, extend curing time by 50%.
With the pathway now shaped and cooled, the next step involves evaluating expenses—from material choices to labor rates—to stay on budget.
Also See: Importance Of Aggregate Shape and Texture
Cost Factors for Asphalt Pathway Installation
Building long-lasting paths requires upfront investment. Three primary elements influence your budget: materials, labor, plus edging or base needs. Let’s break down each component.
Material Costs Per Square Foot
Expect to spend $2-$5 per square foot for new hot mix. Recycled mixes (RAP) cost 25% less but work best for paths under 3 inches thick. PG 64-22 binders—performance-graded for temperature resistance—are common in residential projects. Superpave mixes, engineered for precise climate specs, might add $0.30-$0.50 per square foot.
Labor and Equipment Expenses
Professional crews charge $50-$80 hourly for compacting, grading, plus laying. Rentals like vibratory rollers ($200/day) or plate compactors ($75/day) suit DIY projects. Urban regions often see 15% higher rates than rural zones due to transport fees. Full-depth repairs or slope corrections? Budget 20% extra for unplanned labor.
Budgeting for Edging and Base Materials
Steel or concrete edging runs $3-$5 per linear foot. Crushed stone bases (6-inch depth) need 1.5 tons per 100 sq ft—costing $15-$30 per ton. Skip proper edging? You risk edge raveling within 2-3 years. Compacted limestone screenings under $20/ton offer cheaper subgrade options but require geotextile fabric ($0.10/sq ft) to prevent weed growth.
With these costs mapped out, let’s explore keeping your path in top shape once built. Proper care starts with…
Maintenance Tips for Longevity
Keep your asphalt path strong for years with smart care. Fix small issues fast to stop big problems later.
Sealcoating and Crack Repair
Sealcoat every 2-3 years. Use coal tar or asphalt-based sealers to block water, sun damage, and oil spills. Fill cracks 1/8″ or wider with rubberized crack filler. Clean debris first with a wire brush or air blower.
| Sealcoat Type | Cost per Sq Ft | Dry Time |
|---|---|---|
| Coal Tar | $0.15-$0.25 | 24-48 hrs |
| Asphalt Emulsion | $0.10-$0.20 | 12-24 hrs |
Seasonal Care Guidelines
Winter: Avoid metal shovels. Use sand or calcium chloride for ice. Spring: Clear dirt with a push broom. Check for puddles. Summer: Shift heavy pots or grills to dents. Fall: Rake leaves fast – they trap moisture.
- Fix edge cracks by October to stop frost heave
- Spray weeds with glyphosate in early growth stages
- Check slope grade yearly (2% min for drainage)
Even with good care, some errors can ruin your path. Let’s spot common slip-ups before they hit your project.
Common Installation Mistakes to Avoid
Avoiding errors during asphalt pathway construction saves time and money while ensuring lasting performance. Focus on these critical areas to prevent costly rework.
Inadequate Base Compaction
Skimping on base layer compaction causes uneven surfaces and cracks within months. Use a vibratory plate compactor to achieve 95% density for the aggregate base. Test with a nuclear density gauge or sand cone test – loose material settles up to 1/2″ annually, creating potholes. For pathways supporting light foot traffic, compact crushed stone to 4″ depth minimum.
Poor Drainage Planning
Water pooling accelerates asphalt degradation. Design pathways with a 2% cross-slope toward edges or add catch basins every 20-30 feet. Pair permeable edging materials like gravel strips with French drains in high-moisture zones. One study showed proper drainage extends pathway lifespan by 3-5 years compared to flat installations.
Improper Asphalt Thickness
Thin layers crack under stress; excessive thickness wastes materials. Residential pathways need 2-3″ compacted depth using Type F asphalt mix (3/8″ aggregate). For wheelchair-accessible routes, increase to 3″ with PG 64-22 binder. Measure thickness during placement – a 1/2″ deviation across 10 feet creates weak spots.
Mastering these elements creates pathways built to last. Next, explore eco-friendly practices that align durability with environmental responsibility.
Environmental Considerations
Asphalt pathway installation balances functionality with eco-friendly practices. Modern techniques minimize environmental impact while maintaining structural integrity. Let’s explore two key sustainability factors.
Recyclability Of Asphalt Materials
Asphalt ranks as America’s most recycled material, with 95% of RAP (Recycled Asphalt Pavement) reused in new projects. Crushed old pathways become base layers or get blended into fresh hot-mix asphalt. This circular process cuts material costs by 20-30% per ton and reduces mining of virgin aggregates.
| RAP Percentage | Cost Savings | Common Uses |
|---|---|---|
| 15-30% | $8-$12/ton | Residential paths, bike trails |
| 30-50% | $12-$18/ton | Park walkways, service roads |
Contractors use PG 64-22 binders to rejuvenate aged asphalt during recycling. This maintains the 300-400 PSI compressive strength needed for pedestrian pathways.
Reducing Runoff With Proper Design
Permeable asphalt mixes with 16-20% void spaces allow 5-7 gallons of water per square foot to infiltrate hourly. Pair this with a 2% cross slope to direct excess flow toward bioswales or retention basins. For standard pathways, a 0.5-inch per foot crown prevents pooling.
| Design Feature | Runoff Reduction | Installation Tip |
|---|---|---|
| Permeable asphalt | 70-90% | Use 6-inch open-graded base |
| Bioswale edges | 40-60% | Slope edges at 6:1 ratio |
Edge drains with 4-inch perforated PVC pipes beneath the base layer further manage water. These systems meet EPA stormwater regulations while protecting your asphalt path’s 15-20 year lifespan.
With eco-friendly practices covered, let’s address common questions about asphalt walkway installation techniques.
Asphalt Pathway FAQs
How Thick Should an Asphalt Walkway Be?
An asphalt walkway typically should have a compacted thickness of 2-3 inches for residential pathways, while areas with heavier traffic may require an increase to 3-4 inches. It is important to ensure that the asphalt is adequately compacted to avoid cracking and deterioration.
How Much Does an Asphalt Walkway Cost?
The cost of an asphalt walkway can range from $3 to $7 per square foot, depending on materials and labor. Recycled asphalt options can offer savings but may have different durability characteristics. Additional costs may arise from preparation, edging, and base material requirements.
How Do You Install Asphalt Pathways on a Driveway?
To install asphalt pathways on a driveway, you should first ensure that the driveway surface is clean and free of debris. Then, you would typically excavate the area for your pathway and create a suitable base. Follow by laying the asphalt in layers, ensuring proper compaction as you go, and finishing with any necessary edging for a clean look. It’s crucial to maintain proper thickness and drainage.
How Do You Install Asphalt Pathways on Concrete?
When installing asphalt pathways over concrete, ensure the concrete surface is sound, clean, and free of oils or sealers that may prevent proper adhesion. You can overlay asphalt directly onto the concrete but it’s advisable to create a rough texture on the concrete surface to improve bonding. Additionally, ensure that the asphalt layer complies with the recommended thickness and drainage requirements.
What is the Asphalt Paving Process?
The asphalt paving process includes site preparation, excavation of the existing surface, installation of a suitable base layer, followed by the application of hot mix asphalt. The asphalt is then compacted using heavy equipment to ensure even thickness and durability. Proper drainage and final adjustments are also critical steps in this process.
How Do You Lay Asphalt by Hand?
Laying asphalt by hand involves several key steps: preparing the site by clearing and leveling the area, spreading the asphalt mix using rakes, and then compacting the asphalt with a hand tamper or small roller. This method is suitable for small projects but usually requires significant physical effort and attention to detail for a smooth finish.
How Do You Lay an Asphalt Patch?
To lay an asphalt patch, first, prepare the area by cutting around the damaged section to create a clean edge. Remove any loose material and debris, then fill the hole with new asphalt mix, compacting it firmly to ensure a tight bond. Finally, smooth the surface to be level with the surrounding area and allow it to cure according to product specifications.
Closing Thoughts
Installing asphalt pathways offers a blend of durability, ease of maintenance, and cost-effectiveness. By following a structured installation process, using the right materials, and avoiding common mistakes, you can create a long-lasting pathway that enhances both functionality and aesthetics. Remember to consider environmental factors, such as recyclability and drainage, for a sustainable approach.
For comprehensive guidance on asphalt installation and to explore valuable tools like calculators to aid your planning, check out Asphalt Calculator USA. Equip yourself with information that supports your project, ensuring a successful and efficient installation.
Additional Resources for You:
- Huang, Y. H. (2004). Pavement Analysis and Design (2nd ed.). Upper Saddle River, NJ: Pearson/Prentice Hall.
- How to Repair an Asphalt Walkway – This Old House
- 5 Steps to a Handsome Asphalt Walkway – JR Paving & Construction Co., Inc.
- How to Install Asphalt: 10 Steps (with Pictures) – wikiHow
- The Complete 7-Step Process for Asphalt Pavement Installation

