DIY Vs Professional Asphalt Installation: What You Need to Know
Published on: November 17, 2025 | Last Updated: April 14, 2025
Written By: George Voss
Choosing between DIY and professional asphalt installation involves balancing upfront savings ($2-$4 per sq. ft. for DIY vs $7-$15 for pros) against long-term durability, equipment needs, and required skills. DIY projects demand hands-on work with tools like plate compactors (machines that compress asphalt) and temperature-controlled mix application, while professionals use infrared heaters and commercial rollers for precise installations backed by warranties. Time investment varies drastically: a 500 sq. ft. DIY driveway may take 3-5 days versus 1-2 days for crews.
This guide breaks down key factors: cost differences per square foot, skill requirements like proper base preparation (grading soil and adding gravel layers), and equipment access. We’ll compare DIY risks like uneven compaction (leading to cracks) against pro benefits like PG binder selection (performance-graded asphalt cement). Learn installation steps, sealcoating options, and safety protocols for handling 300°F hot-mix asphalt. Get data-driven insights to pick the right approach for your project.
Contents
- Understanding DIY Vs Professional Asphalt Installation
- Pros and Cons Of DIY Asphalt Installation
- Pros and Cons Of Professional Asphalt Installation
- Cost Comparison: DIY Vs Professional Asphalt Installation
- Essential Tools and Equipment for Asphalt Installation
- Step-by-step Processes for Asphalt Installation
- Sealcoating Considerations: DIY Vs Professional
- Environmental and Safety Factors
- Frequently Asked Questions (FAQ)
- Closing Thoughts
- Additional Resources for You:
Understanding DIY Vs Professional Asphalt Installation
Choosing between tackling pavement projects yourself or hiring experts requires knowing what each method involves. Let’s break down the core components of both approaches.
What Defines DIY Asphalt Installation?
DIY asphalt installation means handling projects without licensed contractors. Homeowners typically use basic tools like hand tampers, steel rakes, or rented compactors. Tasks include site preparation, compacting crushed stone bases, and applying cold mix or hot mix (if accessible). Most DIYers focus on small repairs like filling cracks or patching potholes using bagged asphalt sold at $3-$7 per 50 lb bag. Larger jobs, like paving driveways, demand renting equipment such as plate compactors ($75-$150 daily) and managing hot mix delivery from local plants. Success hinges on precise grading, achieving 95% compaction density, and timely finishing before the mix cools below 275°F.
What Defines Professional Asphalt Installation?
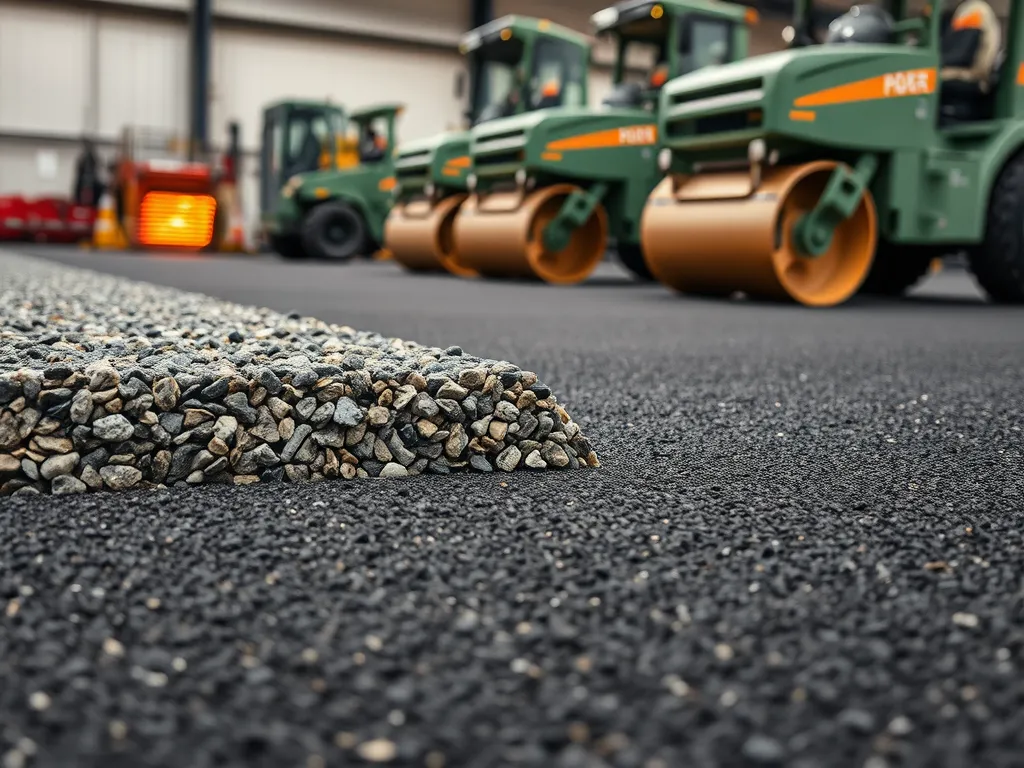
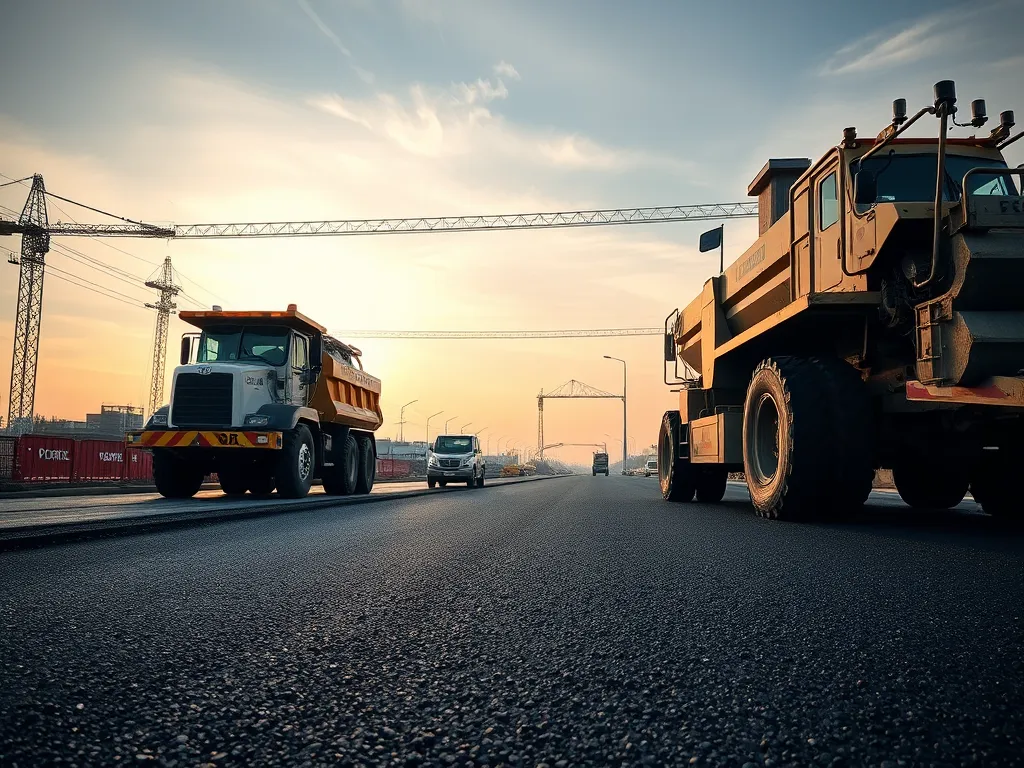
Professional asphalt installation relies on crews with specialized training and machinery. Contractors use vibratory rollers ($500-$800 daily), infrared heaters for seamless repairs, and pavers that lay mix at 300°F. They follow Superpave mix designs—performance-based formulas matching local climates—and PG binders (performance-graded asphalt cement) for durability. Workflows include soil stabilization, installing 6-8” compacted gravel bases, and applying 2-3” lifts of hot mix. Warranties often cover 5-15 years, backed by density tests ensuring 92-96% compaction. Pros also handle permits, drainage planning, and meeting ASTM standards for load-bearing surfaces.
Weighing these differences helps determine which method suits your project best. Next, we’ll break down the benefits and drawbacks of tackling asphalt work yourself versus hiring experts.
Pros and Cons Of DIY Asphalt Installation
Homeowners often weigh DIY asphalt projects against hiring pros. Both paths have clear wins and risks.
Advantages Of DIY Asphalt Installation
DIY work lets you control the project from start to finish. Two key perks stand out.
Lower Upfront Costs for Asphalt Driveways
DIY asphalt paving cuts labor fees. Material costs run $2-$4 per square foot, versus $7-$15 for pros. Rent tools like plate compactors for $50-$100 daily. Skip markup charges from contractors.
Flexibility in Scheduling Repairs
Fix cracks or potholes on your timeline. No waiting for crew slots. Tackle small patches in evenings or weekends. Ideal for urgent fixes after storms.
Disadvantages Of DIY Asphalt Installation
Mistakes in DIY jobs can lead to costly re-dos. Two risks dominate.
Risk of Improper Compaction and Base Preparation
Weak bases cause cracks in 6-12 months. DIYers often skip layered gravel or use wrong grades. Poor compaction leaves air gaps. Hot mix cools too fast without proper gear, weakening bonds.
Limited Access to Professional-Grade Equipment
Pros use infrared heaters, steam rollers, and grade lasers. Homeowners rely on hand tampers and rented gear. Heavy pavers cost $200+/day to rent. Uneven spreads create drainage issues.
While DIY offers savings, the next section explores when expert help makes sense.
Pros and Cons Of Professional Asphalt Installation
Weighing contractor services against DIY methods requires evaluating technical demands, material needs, and budget limits. Let’s break down key factors for hiring asphalt paving installation professionals.
Advantages Of Hiring Asphalt Installation Professionals
Contractors bring specialized skills that directly impact pavement lifespan. Their work meets commercial standards, critical for high-traffic areas or complex projects.
Expertise in Asphalt Mix Selection and Application
Pros choose PG (Performance Grade) binders tailored to local climates – PG 64-22 for colder regions or PG 76-16 for hotter zones. They apply Superpave mixes (stone matrix asphalt) that resist rutting. This prevents premature cracks in freeze-thaw cycles.
Guaranteed Durability with Proper Installation Techniques
Steel-wheel rollers achieve 95% compaction rates, eliminating air pockets. Infrared thermography ensures 275°F-325°F mix temps during layering. Such precision extends driveways to 20+ years versus DIY’s 8-12 year average.
Disadvantages Of Professional Asphalt Installation
While superior in quality, contractor services demand careful financial planning. Some homeowners find trade-offs between upfront spending and long-term gains challenging.
Higher Initial Cost for Asphalt Paving Projects
Professional asphalt paving installation costs run $7-$15 per sq.ft. versus DIY’s $2-$5. A 600 sq.ft. driveway averages $4,200-$9,000 with contractors but $1,200-$3,000 self-installed. Labor (40%-60% of total) drives this gap.
These financial factors set the stage for comparing short-term savings against lasting performance. Next, we’ll analyze exact price points for both approaches.
Also See: Impact Of Asphalt on Groundwater Quality: Key Impacts
Cost Comparison: DIY Vs Professional Asphalt Installation
Budget plays a big role in picking between DIY and pro asphalt work. Breaking down costs shows why options vary so much.
Typical Costs for Asphalt Paving Installation DIY
DIY asphalt installation runs $2-$5 per square foot for materials. A 600 sq. ft. driveway costs $1,200-$3,000. This covers hot mix asphalt (HMA) at $100-$150 per ton, plus tools like hand tampers ($50-$120) or plate compactors ($100/day rental). Add $200-$500 for base materials—crushed stone or gravel—if fixing subgrade issues. Missing pro tools? Renting a steamroller adds $400-$800 daily. Mistakes in mixing or compaction may push costs up 15-20% from material waste.
| Item | DIY Cost Range |
|---|---|
| HMA (2″ layer) | $1,000-$2,500 |
| Base Materials | $200-$500 |
| Tool Rentals | $150-$900 |
| Safety Gear | $50-$150 |
Average Costs for Professional Asphalt Driveway Installation
Pro asphalt installation averages $4-$8 per square foot. A 600 sq. ft. job hits $2,400-$4,800. Contractors bring PG 64-22 binder mixes for optimal flexibility and 150+ mm compaction with vibratory rollers. Costs include site grading ($500-$1,500), drainage setup ($300-$1,000), and 2-3″ thick layers. Warranties (3-10 years) add value, cutting long-term repair bills by 30-40%. Regional shifts apply: labor runs $45-$75 hourly in cities, less in rural zones.
| Service | Pro Cost Range |
|---|---|
| Full Installation | $2,400-$4,800 |
| Sealcoating | $0.15-$0.25/sq. ft. |
| Base Repair | $1,000-$3,000 |
| Long-Term Maintenance | $200-$500/year |
Factoring in both cost and skill requirements helps in planning, but tools also play a big role in what’s doable. Up next: gear that splits DIY ambitions from pro results.
Essential Tools and Equipment for Asphalt Installation
Your choice between DIY or pro work hinges on gear. Home projects rely on basic tools, while contractors deploy industrial machinery. Let’s break down what each side uses.
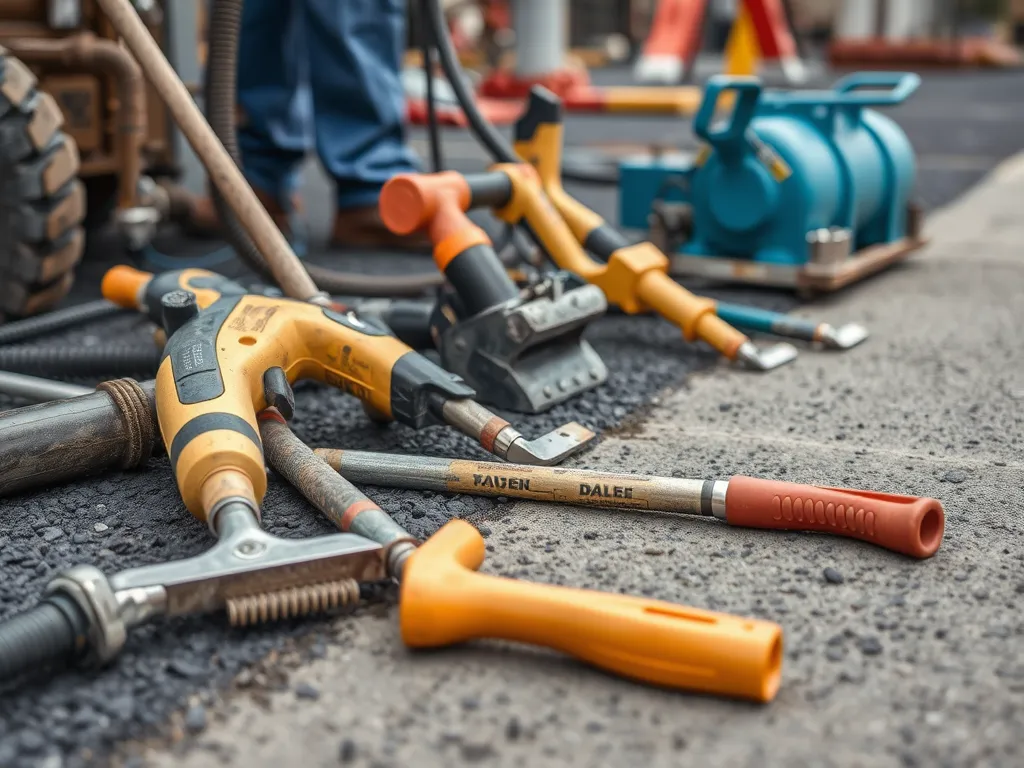
Tools Required for DIY Asphalt Paving
Small-scale jobs need compact tools. Start with these:
- Hand tamper or plate compactor (rented): Compacts base layers to 95% density – critical for stability
- Steel rake: Spreads hot mix evenly over surfaces
- Wheelbarrow: Moves 150°F+ asphalt mix from delivery truck to work zone
- Work gloves/heat-resistant gear: Shields skin from 300°F binder temperatures
- Lute: Levels fresh asphalt before rolling
Budget $500-$1,200 for rentals. Note: Most DIYers skip infrared heaters for seamless patch repairs, risking weak joints.
Professional-grade Equipment Used by Contractors
Pros invest in heavy machinery for speed and precision:
- Paving sleds: Lay 12-foot-wide strips at 25 feet per minute
- 10-ton vibratory rollers: Achieve 98% compaction for roads needing 8-10 year lifespans
- Infrared recyclers: Heat existing pavement to 325°F for bond-friendly repairs
- Material transfer vehicles: Keep mix at 275-300°F during placement
- Milling machines: Remove 2-3 inches of old pavement per pass
This gear costs $150k+ per unit. Contractors offset this through bulk material pricing – typically 15-20% below retail.
With tools covered, let’s examine how these resources shape installation methods. Next, we’ll outline step-by-step processes for both approaches.
Step-by-step Processes for Asphalt Installation
Comparing DIY and pro methods shows distinct gaps in complexity, tools, and finish quality. Both paths start with sub-base work but split at execution depth.
DIY Asphalt Driveway Installation: Key Steps
DIY asphalt paving suits small patches or thin overlays. Missing critical phases risks cracks within months. Common steps:
- Mark work zones with spray paint or stakes
- Dig out 6-8 inches for sub-base (gravel or crushed stone)
- Compact soil with a hand tamper or rental plate compactor (80% density)
- Apply tack coat (asphalt binder spray) using garden sprayer
- Spread hot mix asphalt (HMA) at 275°F with shovels/rakes
- Compact surface with rented roller (2-3 passes)
DIY jobs typically skip crown shaping for drainage or infrared bonding for layers. Improper HMA cooling can cut lifespan by half.
Professional Asphalt Paving Workflow
Pro crews follow ASTM D3515 specs for lasting results. A 10-person team completes a 1,000 sq.ft. driveway in 8 hours. Standard phases:
- Laser grading to 2% slope for runoff
- Excavation to 12-inch depth with skid-steer loaders
- Installing 8-inch crushed aggregate base (95% compaction via vibratory rollers)
- Spraying PG 64-22 polymer-modified tack coat at 0.05 gal/sq.yd
- Laying HMA in lifts using Volvo ABG paver (150°F minimum mat temp)
- Final compaction to 92% density with 10-ton dual-drum rollers
Pro workflows include infrared thermography to spot cold joints and nuclear density gauges for quality checks. Most firms offer 3-5 year warranties.
Surface protection impacts longevity. Up next: how sealcoating choices shape costs and durability.
Sealcoating Considerations: DIY Vs Professional
Sealcoating serves as the final armor for asphalt surfaces. This step determines whether your pavement withstands years of wear or requires frequent repairs. Let’s break down what homeowners need to weigh.
What Does Sealcoating an Asphalt Driveway Do?
Sealcoating shields asphalt from UV rays, water intrusion, and chemical spills. The process applies a protective layer of bitumen-based emulsion, slowing surface erosion and preventing cracks. Untreated asphalt loses flexibility over time, leading to raveling and potholes. Proper sealing adds 3-5 years to a driveway’s lifespan while maintaining its jet-black appearance.
Equipment and Materials Needed to Seal a Driveway
DIY kits require a squeegee, brush, or spray system plus sealant. Most store-bought options cover 50-75 sq ft per gallon. You’ll need crack filler for gaps wider than 1/4″ and a stiff broom for cleaning. Professional-grade coal-tar or asphalt-based sealants offer better durability but require specialized spray rigs. Costs range from $0.15-$0.25 per sq ft for materials alone.
When to Hire Professionals for Sealcoating
Consider contractors for driveways larger than 1,000 sq ft or with extensive cracking. Pros use heated sealant tanks for consistent viscosity and commercial spray systems that apply 2x faster than DIY methods. They also handle slope drainage adjustments – critical for preventing water pooling. Expect to pay $0.30-$0.60 per sq ft, including labor and high-performance materials like polymer-modified sealants.
Sealcoating choices directly impact pavement longevity – but temperature and application errors can negate benefits. Up next: how weather patterns and material handling affect both DIY and pro approaches.
Environmental and Safety Factors
Both DIY and pro asphalt jobs affect nature and worker safety. Let’s break down key risks and fixes.
Impact Of DIY Asphalt Projects on Local Ecosystems
DIY asphalt work can harm nearby plants and streams. Hot asphalt mixes release fumes with VOCs (volatile organic compounds) at 150-300°F. These fumes may pollute air and seep into soil. Stormwater runoff from fresh pavement can carry oil-based binders into drains, hurting fish and bugs. Pros use silt fences and polymer-modified binders to cut runoff by 40-60%.
Homeowners might skip steps like soil tests or slope checks. This can cause erosion or let toxins leak into groundwater. Old asphalt chunks dumped in woods disrupt habitats. Contractors recycle 95% of old pavement, while DIYers often lack access to RAP (reclaimed asphalt pavement) programs.
Safety Precautions for Handling Hot Asphalt Mixes
Hot asphalt hits temps over 300°F. DIYers risk burns without gear like thermal gloves or face shields. Pro crews wear OSHA-approved PPE (personal protective equipment) and use infrared thermometers to track heat levels. Fumes from fresh mix need respirators rated for organic vapors—a step many DIYers skip.
Improper storage of leftover mix can start fires. Pros cool waste in sealed bins, while home projects might leave piles to ignite dry grass. Spills on skin need fast treatment with cool water, but amateurs may not know this. Contractors train teams in first aid and spill control, cutting injury rates by half vs DIY jobs.
Thinking about tools or costs? Up next, we’ll tackle common questions on asphalt projects.

Frequently Asked Questions (FAQ)
Is It Better to Seal Your Driveway DIY or Hire a Professional?
Choosing between DIY and hiring a professional for sealcoating depends on the size of your driveway, your experience, and the extent of any damage. DIY can be cost-effective for small driveways without significant repairs, while professionals can ensure a consistent finish and address complex issues like drainage.
Can You Successfully Seal an Asphalt Driveway Yourself?
Yes, many homeowners successfully seal their asphalt driveways themselves, especially with the proper tools and sealant. However, it requires careful preparation and application to achieve optimal results and longevity.
How Much Does a 20×20 Asphalt Driveway Cost to Install?
A typical 20×20 (400 sq. ft.) asphalt driveway can range from approximately $800 to $1,200 for DIY installation, considering material costs. Professional installation rates can run between $2,800 and $6,000, depending on the contractor and project specifics.
What Tools Are Essential for DIY Asphalt Repairs?
Essential tools for DIY asphalt repairs include a hand tamper or plate compactor for proper base compaction, a steel rake for spreading asphalt, a wheelbarrow for moving materials, and safety gear like gloves and heat-resistant clothing. A lute can also help level the asphalt before rolling.
Closing Thoughts
Deciding between DIY and professional asphalt installation hinges on various factors, including your skill level, budget, and project specifications. DIY projects offer cost savings and flexibility, but they come with risks related to execution and equipment access. Conversely, hiring professionals brings expertise and durability, though at a higher initial investment.
Consider your specific project needs. If you possess the skills and tools, DIY can be rewarding. For extensive or critical projects, professional services often ensure the best outcome. Weighing these considerations will help you make an informed choice that aligns with your goals.
For more information on asphalt installation and related topics, visit Asphalt Calculator USA.

