DIY Sealcoating Vs Professional Services: Cost, Process, and Key Considerations
Published on: November 16, 2025 | Last Updated: April 14, 2025
Written By: George Voss
DIY sealcoating lets homeowners apply asphalt protection using store-bought materials like coal-tar emulsions or asphalt-based sealants, while professionals use truck-mounted spray systems and polymer-modified blends. DIY costs $70-$150 for a standard driveway (500 sq ft) versus $250-$500 for pro services, with results lasting 1-2 years compared to 3-5 years from contractors. Critical differences include equipment (brush vs 100+ gallon spray tanks), drying time (24-48 hours vs 4-12 hours), and surface prep requirements like crack filling and degreasing.
This guide compares squeegee techniques vs pressure-spray applications, material durability tests from the Asphalt Institute, and environmental impacts of sealant types. We analyze rental costs for crack fillers ($40/day) and spray rigs ($120/day), plus safety gear like respirators. You’ll learn how temperature thresholds (50°F minimum) and humidity levels affect curing times, and why contractor-grade sealants contain 25-35% solids versus 15-20% in consumer products.
Contents
- Understanding Sealcoating for Asphalt Driveways
- Cost Analysis Of DIY Vs Professional Sealcoating
- Sealcoating Application Processes Compared
- Pros and Cons: DIY Vs Professional Driveway Sealcoating
- Equipment and Material Requirements
- Environmental Considerations in Driveway Sealcoating
- Frequently Asked Questions (FAQ)
- Closing Thoughts
- Additional Resources for You:
Understanding Sealcoating for Asphalt Driveways
Sealcoating protects asphalt surfaces by forming a protective shield against weather, chemicals, and daily wear. This thin layer acts as sunscreen and raincoat for your driveway, blocking UV rays and repelling water infiltration.
Why Sealcoating Extends Asphalt Driveway Lifespan
Asphalt binder (bitumen) degrades at 3-5% annually without protection. Sealcoating slows oxidation, the primary cause of brittleness and cracking. Properly applied sealants add 3-5 years to driveway life by:
- Blocking 95% of UV radiation that breaks down binder elasticity
- Reducing water penetration by 80% compared to unsealed surfaces
- Preventing fuel/oil spills from dissolving asphalt bonds
Professional-grade applications typically outperform DIY results due to industrial-grade materials and pressurized spray systems.
The Role Of Sealants in Preventing Asphalt Degradation
Quality sealcoating mixes contain three key components:
| Material | Purpose | DIY vs Pro Differences |
|---|---|---|
| Refined coal tar | Chemical resistance | Pro blends use 35-45% solids vs DIY 20-30% |
| Polymer additives | Flexibility | Contractor formulas include acrylics for 300% stretch capacity |
| Sand filler | Skid resistance | Pro mixes contain graded quartz aggregates |
Professional sealcoating services often incorporate temperature-specific additives (like Gilsonite for hot climates) that DIY kits lack. These specialized formulations prevent premature cracking in freeze-thaw cycles and resist tire marks better than store-bought products.
With the protective science of sealcoating clear, let’s examine the financial tradeoffs between DIY and professional approaches.
Cost Analysis Of DIY Vs Professional Sealcoating
Breaking down costs reveals key differences between DIY and pro approaches. Let’s examine material expenses, equipment investments, and contractor pricing models.
DIY Sealcoating Costs: Materials, Tools, and Hidden Expenses
Homeowners spend $0.15-$0.35 per sq.ft. on DIY projects. Budgets hinge on driveway size, sealant type, and equipment access.
Price Breakdown for Driveway Sealcoating Supplies
| Item | Average Cost |
|---|---|
| Coal-tar emulsion (5 gal) | $20-$35 |
| Asphalt emulsion (5 gal) | $18-$30 |
| Crack filler (1 gal) | $8-$15 |
| Driveway cleaner (1 gal) | $10-$20 |
| Brush/squeegee kit | $25-$50 |
Most driveways need 2 sealcoat layers. A 1,000 sq.ft. surface requires 10-12 gallons total.
Equipment Rental vs Purchase Considerations
Spray systems rent for $75-$150/day. Buying costs $400-$1,200. Squeegee kits cost less but take 30% longer. Factor in fuel for mixers – $5-$10 per project.
Professional Sealcoating Pricing: What Determines Driveway Sealing Costs?
Contractors charge $0.25-$0.65 per sq.ft. Prices vary based on regional labor rates, material quality, and job complexity.
Comparing Driveway Sealcoating Prices Per Square Foot
| Service Level | Price Range | Inclusions |
|---|---|---|
| Basic | $0.25-$0.40 | 1 coat, standard sealant |
| Premium | $0.45-$0.65 | 2 coats, commercial-grade materials |
Pros often include crack filling ($0.10-$0.30/linear foot) and edge sealing in quotes. Ask about curing time guarantees.
With cost factors clarified, let’s explore how application methods impact results and longevity.
Sealcoating Application Processes Compared
Proper technique makes the difference between lasting protection versus wasted effort. Let’s examine how DIY methods stack up against pro systems.
DIY Sealcoating Step-by-step: How to Seal Coat Driveways
Homeowners typically spend 6-8 hours sealing standard driveways. Success hinges on two phases: prep work and material handling.
Surface Preparation for Effective Driveway Sealing
Remove debris with stiff push brooms or gas-powered blowers. Treat oil spots using trisodium phosphate (TSP) solutions. Fill cracks wider than 1/4″ with rubberized filler. Professionals often use 3,000-4,000 PSI pressure washers – rentable for $75-$150 daily.
Mixing and Applying Driveway Sealing Agents
Stir sealant vigorously for 5+ minutes to prevent sand settling. Most products require no water dilution. Apply using squeegees ($15-$35) or handheld sprayers ($90-$220). Work in sections of 10’x10’, maintaining wet edges. Coverage rates: 55-75 sq ft per gallon for two coats.
Professional Sealcoating Techniques: Equipment and Methods
Contractors complete jobs 3x faster than DIYers through mechanized processes. The International Pavement Expo reports 92% of pros use truck-mounted systems.
Commercial-Grade Application Systems Used by Contractors
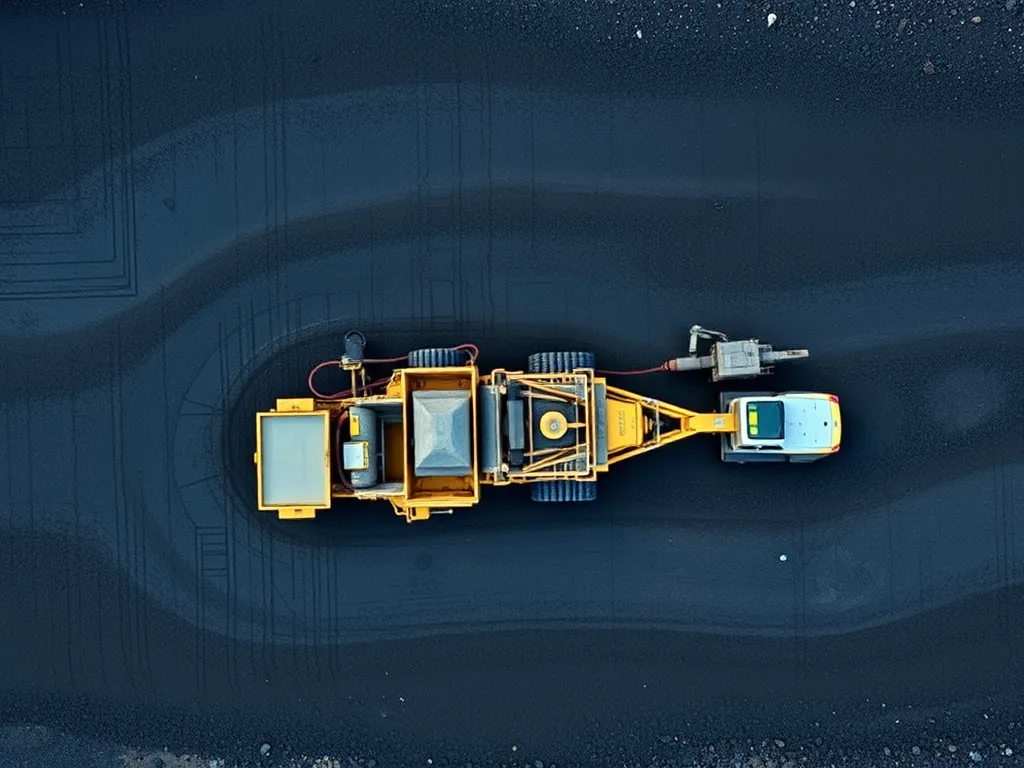
Pro rigs feature dual-agitator tanks keeping mixtures homogenous. Spray systems with 60” wands apply precise 0.25-0.35 gal/sq yd rates. Heated delivery lines maintain 140°F optimal viscosity. These $25,000-$80,000 units produce smoother finishes than manual methods.
While application methods differ, performance outcomes depend on material quality. Next, we’ll evaluate how cost versus longevity impacts your choice.
Also See: Advanced Asphalt Technologies: The Future Of Pavement
Pros and Cons: DIY Vs Professional Driveway Sealcoating
Homeowners face critical choices when maintaining asphalt surfaces. Below, we analyze the trade-offs between self-applied and pro-grade solutions.
Advantages Of DIY Sealcoating Your Driveway
Self-applied projects cost $0.15-$0.25 per square foot for materials alone. You control timing and select specific sealants like asphalt-based or acrylic blends. Basic tools—stiff broom, squeegee, or handheld sprayer—require minimal upfront investment. Weekend warriors enjoy flexible scheduling between weather windows.
Limitations Of Do-it-yourself Sealcoating Projects
Improper mixing creates weak spots. Hand tools struggle to achieve commercial-grade thickness (3-5 mils). Rental equipment adds $75-$150 daily. Temperature misjudgments cause premature curing or poor adhesion. Most DIY jobs last 12-18 months versus 24-36 months for pro work.
Benefits Of Professional Driveway Sealing Services
Contractors deploy 500-gallon spray rigs and mechanical squeegees for even coverage. Proper crack filling and cleaning precede application. Commercial sealants like coal-tar emulsions or polymer-modified asphalt resist oil stains better than store-bought options. Warranties often cover 2-3 years against flaking or erosion.
Potential Drawbacks Of Hiring Sealcoating Contractors
Pro services average $0.30-$0.60 per square foot—double DIY costs. Fly-by-night operators sometimes dilute sealants or skip surface prep. Scheduling conflicts arise during peak seasons (May-September). Always verify contractor licensing, insurance, and material safety data sheets before hiring.
Both approaches demand careful evaluation of materials and methods. Next, we’ll examine the specialized tools that separate amateur efforts from pro results.
Equipment and Material Requirements
Selecting the right tools makes or breaks sealcoating results. DIY projects need basic gear, while pros rely on advanced systems built for speed and precision.
Essential Tools for Driveway Sealcoating DIY Projects
A standard DIY setup includes a squeegee ($15-$30), stiff broom, 5-gallon bucket, and paddle mixer ($20-$40). Add safety gear: gloves, goggles, and respirators. Most kits require 1-2 gallons of sealant per 100 sq ft, priced $18-$35 per pail. Rent spray rigs for $60-$120 daily if skipping manual application.
Squeegees vs Spray Systems: Application Options
Squeegees work best for small areas under 500 sq ft, allowing precise control but slower coverage. Spray systems coat 1,000+ sq ft driveways faster but demand skill to avoid streaks. Drying times vary: spray-applied sealants set in 4-6 hours versus 8-12 hours with squeegees.
Professional-grade Sealcoating Machinery Features
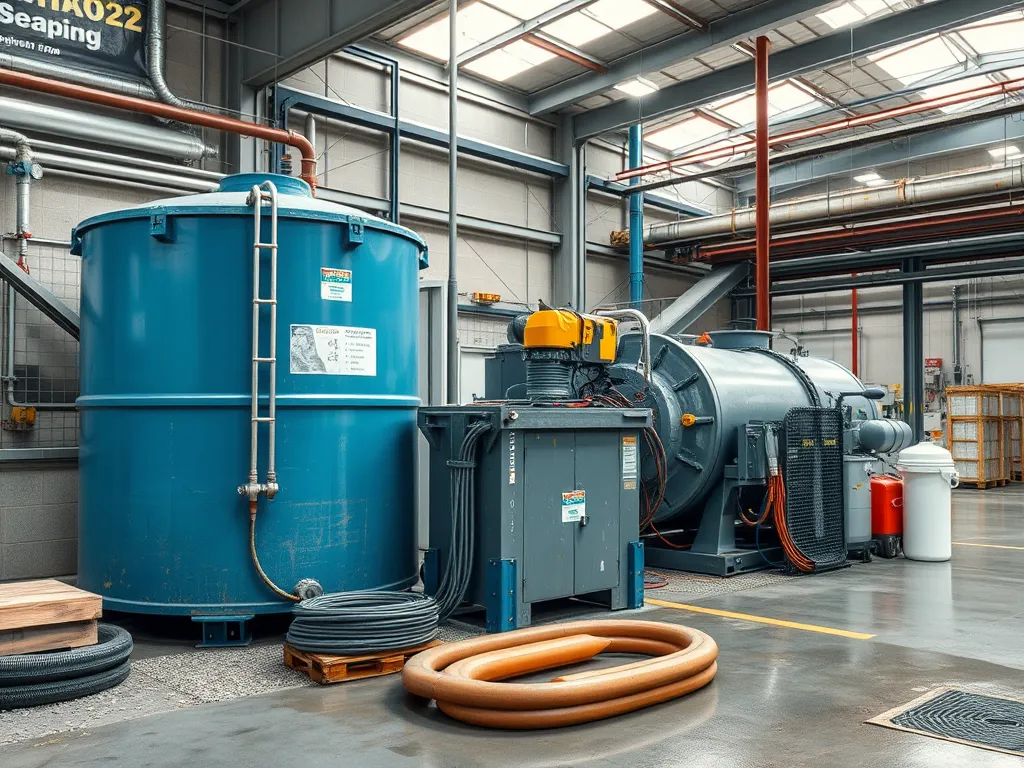
Contractors use truck-mounted spray rigs ($8,000-$25,000) that apply 200+ gallons per hour with 200-300 PSI pumps. These systems mix sealants automatically, eliminating clumps. Add infrared patching units ($15,000-$40,000) for repairing cracks pre-sealing. Pro gear achieves 3-5 mil thickness consistently—double typical DIY results.
Next, let’s examine how equipment choices tie into environmental impacts during driveway maintenance.
Environmental Considerations in Driveway Sealcoating
Sealcoating choices impact both your pavement and the planet. Homeowners and pros face key eco choices when picking sealants and handling waste.
Eco-friendly Sealant Options for Asphalt Surfaces
New green sealants cut harm to soil and streams. Water-based mixes with 250g/L or less VOCs (air pollutants) meet EPA rules. Soy-based sealers break down faster than coal tar, which 24 states now limit due to cancer risks. Pros often use these earth-friendly options, while DIY stores mainly sell standard mixes.
Coal tar-free sealants cost 15-20% more but last 2-3 years – matching traditional grades. For drive sealcoating projects, check labels for “low-VOC” or “bio-based” claims. Some cities ban coal tar entirely, so verify local codes first.
Proper Disposal Of Sealcoating Materials
Leftover sealcoating DIY materials need careful handling. Wet sealer harms fish and plants if dumped in drains. Let unused mix dry fully in the can before trash pickup. Never rinse tools in yards – wash over gravel pits away from water sources.
Pro teams follow strict EPA waste rules. They pump leftover sealer into sealed tanks and use sand to soak spills. Contractors pay $75-$150 per barrel for toxic waste drops. DIY errors can bring $500+ fines in eco-sensitive zones.
These green choices and safe waste steps shape long-term costs – a key factor we’ll explore next in common sealcoating questions.

Frequently Asked Questions (FAQ)
Is DIY Sealcoating Cost-effective Compared to Professional Services?
While DIY sealcoating can save money on labor costs, hidden expenses such as equipment rentals, materials, and potential mistakes can affect overall cost efficiency. Comparing actual results over time shows that professionals often provide longer-lasting solutions, which can offset their higher initial costs.
Can I Properly Sealcoat My Driveway Without Professional Equipment?
Yes, you can sealcoat your driveway with basic tools like a squeegee or handheld sprayer. However, professional-grade equipment allows for more efficient and higher-quality application. Lacking the right equipment may lead to uneven coverage and a shorter lifespan for the sealant.
Why Do Some Consider Driveway Sealing Pointless?
Some skeptics believe that driveway sealing is unnecessary due to varying climate effects, the quality of asphalt, or the belief that it doesn’t provide significant long-term benefits. Furthermore, if not done correctly, sealing can potentially trap moisture or lead to peeling, causing homeowners to question its effectiveness.
What Materials Do Professionals Use for Asphalt Sealcoating?
Professionals often use high-quality sealants that contain higher solids content, such as polymer-modified blends or commercial-grade coal-tar emulsions. These materials contribute to better durability and resistance to environmental factors compared to typical DIY sealants.
How Long Does DIY Driveway Sealcoating Typically Last?
DIY driveway sealcoating generally lasts about 1-2 years, depending on application quality and environmental conditions. In contrast, professional applications can last up to 3-5 years due to superior materials and techniques.
What Are the Critical Steps for Effective DIY Sealcoating?
Key steps for successful DIY sealcoating include proper surface preparation, ensuring the driveway is clean and free from debris, filling in any cracks properly, mixing the sealant thoroughly, and applying it evenly without puddling. Following the manufacturer’s instructions regarding drying times and conditions is also crucial for effective results.
Closing Thoughts
Deciding between DIY sealcoating and professional services hinges on factors like cost, skill level, and desired results. DIY allows for cost savings, but may lack the finesse and durability of professional applications. Conversely, hiring experts guarantees a high-quality finish and long-lasting protection for your asphalt driveway.
Consider your budget, time, and the size of the project. If you possess the right tools and knowledge, DIY can be rewarding. For those seeking assurance and efficiency, professional sealcoating may be a better fit. Whichever route you choose, maintain your asphalt for the best lifespan and performance.
For more information and resources on sealcoating, visit Asphalt Calculator USA.


