Asphalt Vs. Concrete Installation: Key Process Differences Explained
Published on: November 3, 2025 | Last Updated: April 14, 2025
Written By: George Voss
The installation processes for asphalt and concrete differ in method, timing, and equipment needs while sharing basic site preparation steps. Asphalt requires heating to 275-325°F during installation, uses specialized pavers and rollers, and becomes traffic-ready in 24-48 hours at $2-$5 per square foot. Concrete demands wooden forms and steel reinforcements, takes 5-7 days to cure fully, and costs $4-$10 per square foot. Both need compacted soil bases but vary in labor intensity – asphalt crews typically finish projects 30% faster than concrete teams.
This guide analyzes both materials from subgrade preparation to final surfacing. We compare installation timelines, equipment requirements (like asphalt rollers vs. concrete trowels), and curing protocols. Explore cost breakdowns for residential driveways versus commercial parking lots, learn why highways favor asphalt while airports choose concrete, and review environmental factors like asphalt’s 95% recyclability rate versus concrete’s higher carbon emissions during cement production.
Contents
- Introduction to Asphalt and Concrete Installation
- Overview Of Asphalt and Concrete Materials
- Asphalt Installation Process Step-by-step
- Concrete Installation Process Overview
- Critical Differences in Installation Processes
- Cost Comparison: Asphalt Vs. Concrete
- Project Suitability and Durability
- Environmental Impact Considerations
- Frequently Asked Questions
- Closing Thoughts
- Useful References for You:
Introduction to Asphalt and Concrete Installation
Asphalt and concrete installation follow distinct pathways that impact project timelines, budgets, and long-term performance. Asphalt paving involves heating a mix of bitumen (a sticky black binder) and aggregates to roughly 300°F, laying it over a compacted base, and rolling it smooth. Concrete requires mixing Portland cement with water, sand, and stone, pouring it into forms, and allowing it to cure for days. Both methods demand skill but differ in speed, tools, and adaptability to weather.
Key Takeaways for Asphalt Installation
Asphalt installation typically takes 24-48 hours from start to finish, making it faster than concrete. Hot mix asphalt must stay above 50°F during placement to avoid premature cooling. Proper compaction with steel-drum or pneumatic rollers achieves stability. Roads can handle traffic within hours once cooled. Asphalt’s flexibility suits regions with frost cycles, as it resists cracking under shifting soils. Recycling old asphalt (RAP) cuts material costs by 20-30% in many projects.
Looking at how materials act during installation clarifies why choices vary for roads, driveways, or lots.
Overview Of Asphalt and Concrete Materials
Both asphalt and concrete serve as top choices for paving, but their installation demands stem from unique material properties. Knowing these differences helps plan projects effectively.
What is Asphalt?
Asphalt combines aggregates (crushed stone, sand) with bitumen, a sticky petroleum binder. The mix heats to 300°F during production, creating a pliable material that sets as it cools. This thermal-dependent nature defines the asphalt installation process: crews must work quickly before temperatures drop below 185°F. Modern mixes often use PG (Performance Graded) binders tailored to local climates, ensuring stability under traffic loads. Asphalt’s flexibility makes it less prone to cracking from ground shifts compared to rigid materials.
What is Concrete?
Concrete blends cement, water, and aggregates that chemically harden through hydration. Unlike asphalt, no heat is needed during mixing, but precise water ratios (0.40–0.60 by weight of cement) are critical. Installation requires formwork to shape slabs and control joints to manage shrinkage as the material cures. Concrete gains strength over 7–28 days, demanding longer site closures. Additives like fly ash or silica fume boost durability but extend setting times. Rigidity provides load-bearing strength but risks cracking without proper subgrade support.
With material basics covered, let’s break down how these properties shape each paving method step by step.
Asphalt Installation Process Step-by-step
Installing pavement requires precise methods to ensure longevity. Let’s break down how crews build asphalt surfaces compared to concrete.
Step 1: Subgrade Preparation for Asphalt
Workers start by testing soil stability. They compact the subgrade to 95% density using vibratory rollers. Proper drainage slopes (1-2% grade) prevent water pooling. Unlike concrete, asphalt relies less on thick subbases—saving time during prep.
Step 2: Base Layer Construction
Next, crushed stone or recycled aggregates form the base. This layer typically measures 6-8 inches thick. Gradation must meet Superpave specs for particle size distribution. Compacting this layer creates load-bearing capacity up to 12,000 PSI, reducing cracks over time.
Step 3: Asphalt Mix Placement and Spreading
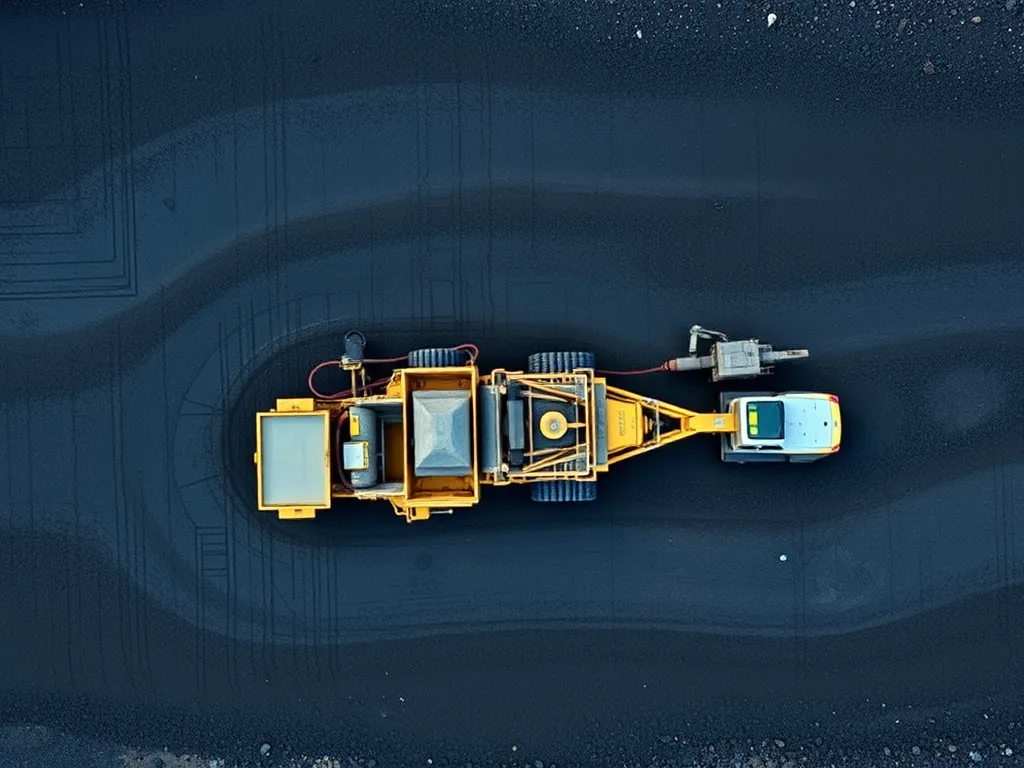
Hot mix asphalt (HMA) arrives at 275-300°F. Crews use tracked pavers to lay material 2-4 inches thick. PG (Performance Grade) binders in the mix boost flexibility in freezing temps. Spreading occurs rapidly—up to 100 tons per hour—due to faster cooling rates versus concrete.
Step 4: Compaction and Smoothing
Steel-wheel rollers compress the mat to 92-95% density. Pneumatic rollers then eliminate minor voids. Final smoothing produces surface friction levels between 35-50 BPN, meeting skid-resistance standards. Traffic can resume within 24 hours, unlike weeks for concrete curing.
This streamlined process explains why 94% of U.S. roads use asphalt. Up next: how concrete’s installation differs in timing, labor, and finishing techniques.
Also See: Common Causes Of Asphalt Cracks Explained
Concrete Installation Process Overview
Concrete installation demands precise execution with distinct steps compared to asphalt. While asphalt relies on hot-mix placement and rapid compaction, concrete requires formwork, controlled pouring, and extended curing. These factors affect project timelines, labor needs, and long-term performance.
Step 1: Subbase Preparation and Formwork
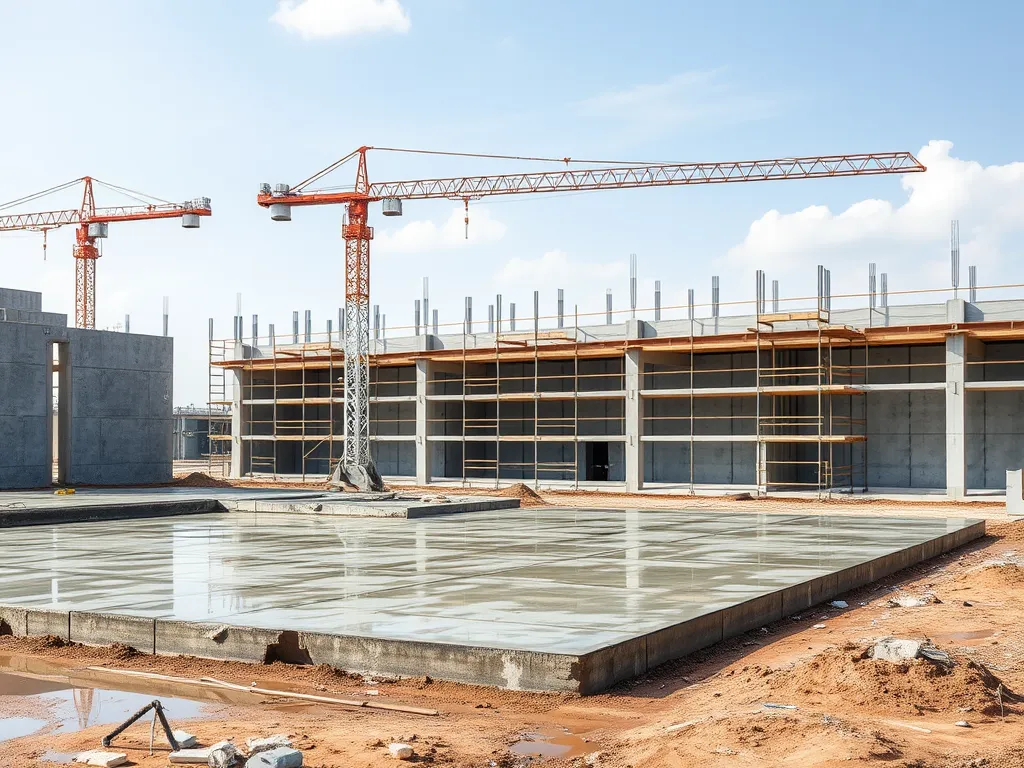
Concrete projects start with a 4-6 inch compacted aggregate subbase for stability. Workers then build wooden or metal forms to contain the wet concrete mix. These forms define the slab’s shape and elevation, requiring precise alignment. Steel rebar or wire mesh is added for tensile strength, unlike asphalt’s flexible base layers.
Step 2: Pouring and Leveling Concrete
Ready-mix concrete arrives at 3,000-4,000 PSI strength. Crews pour it into forms at 65-75°F to prevent cracking. Screeding (dragging a straight edge across the surface) removes excess material. A bull float embeds aggregates while creating a smooth texture. This contrasts with asphalt’s 275-325°F hot-mix placement using pavers.
Step 3: Curing and Surface Finishing
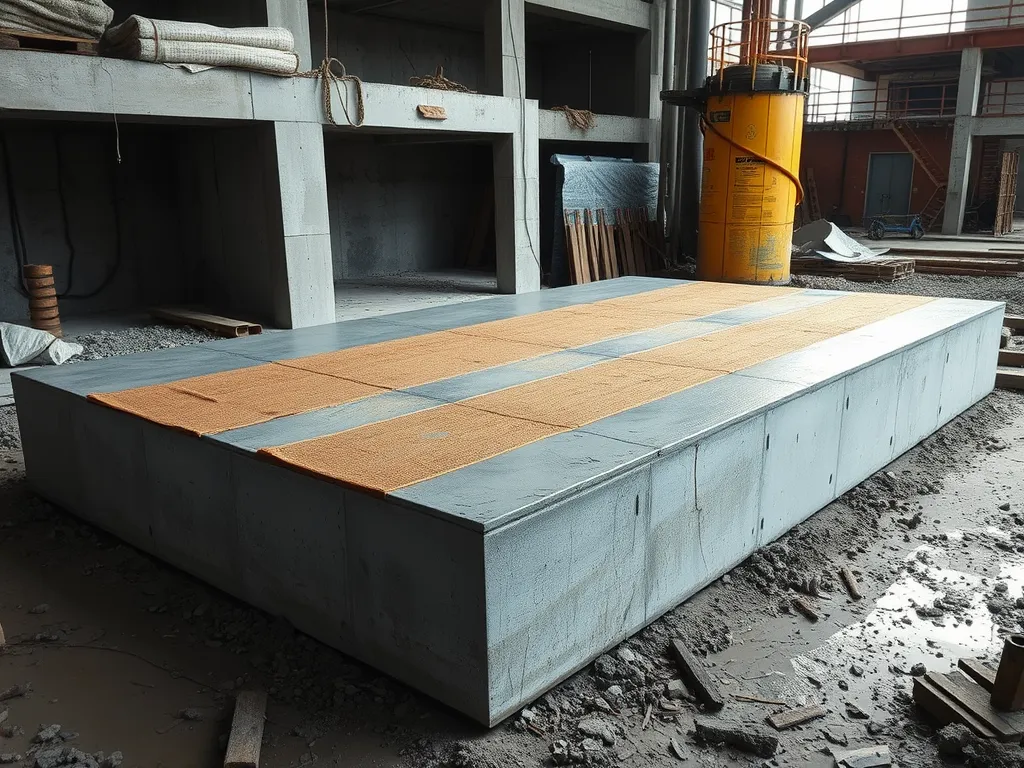
Concrete needs 7-28 days to cure at 70% humidity. Curing compounds or wet burlap retain moisture for proper hydration. Broom finishing adds slip-resistant texture. Joints are cut every 10-15 feet to control cracking. Unlike asphalt’s 24-hour readiness, concrete reaches full strength after 28 days.
These steps highlight key contrasts with asphalt paving. Next, we’ll break down how curing times, labor demands, and equipment shape project outcomes.
Critical Differences in Installation Processes
How asphalt and concrete go down affects project speed, crew needs, and when you can drive on it. Let’s break down the key gaps.
Time Requirements: Asphalt Vs. Concrete
Asphalt wins on speed. Hot mix asphalt (HMA) gets laid at 300°F, rolled smooth, and cools fast. Most jobs take 1-2 days. Crews pave driveways in 4-6 hours. Concrete moves slower. Forms need building. Mix pours take 3-6 hours. Then it sits for 24-48 hours before curing starts. Full curing takes 7 days.
Labor and Equipment Comparison
Asphalt teams use heavy gear: dump trucks, pavers, steel drum rollers. Three workers can pave a road lane. Concrete needs more hands. Crews set forms, pour mix, screed, trowel, and cut joints. Gear includes mixers, vibrators, and floats. A basic slab pour needs 5-6 workers.
- Asphalt gear: Paver, roller, tack coat sprayer
- Concrete gear: Formwork, bull float, trowel, joint cutter
Curing Time and Usability
Asphalt hardens as it cools. Drive on it in 24 hours. Concrete cures through hydration. Wait 7 days for full strength. Wet covers or sealants slow traffic access. A 6-inch concrete slab needs 600 PSI strength before cars roll – about 3 days. Asphalt hits 90% strength in 1 day.
These process gaps shape costs and project plans. Next, we’ll break down dollars per square foot for both materials.
Cost Comparison: Asphalt Vs. Concrete
Material and labor expenses vary significantly between asphalt and concrete installations. These differences impact both short-term budgets and lifetime project costs.
Initial Installation Costs
Asphalt installation processes average $2–$5 per square foot, while concrete installation processes range from $4–$10. Bitumen (asphalt’s binder) costs 20–35% less than Portland cement. Labor efficiency also plays a role: crews can lay 500–800 sq ft of asphalt hourly using pavers, versus 200–400 sq ft for concrete. Site prep like grading and compacting subgrades adds $0.50–$1.50/sq ft for both materials. However, asphalt’s faster curing (24 hours vs. 7 days for concrete) reduces labor downtime by up to 30%.
Long-term Maintenance Costs for Asphalt
Asphalt paving installation procedures require resealing every 3–5 years ($0.15–$0.25/sq ft) to prevent oxidation and cracking. Pothole repairs cost $50–$200 per occurrence, while full-depth patching runs $1–$3/sq ft. Resurfacing asphalt every 15–20 years adds $1.50–$3/sq ft. In contrast, concrete slabs typically last 25–40 years with minimal upkeep but cost 60–80% more upfront. Modern Superpave mixes with PG 64-22 binders extend asphalt lifespan by 15–20% compared to older formulations.
While costs shape budget planning, durability often dictates material choice. Let’s explore how performance varies across applications.
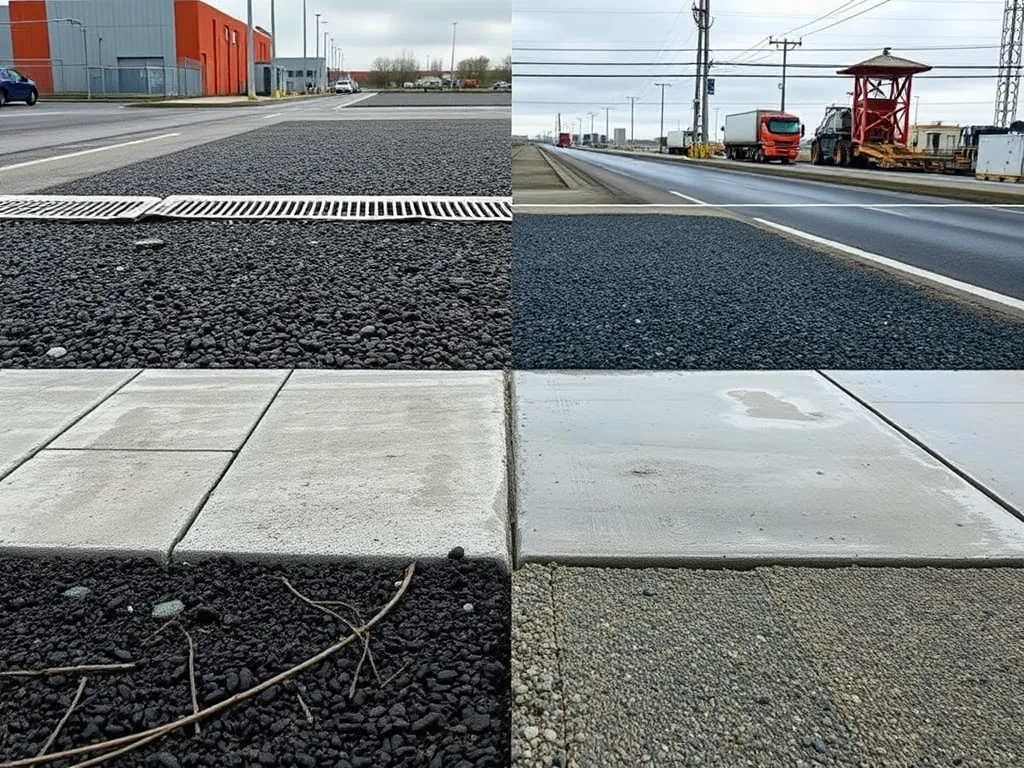
Project Suitability and Durability
Picking asphalt or concrete depends on project needs. Each has strong points based on use, weather, and load demands.
Best Applications for Asphalt Pavement
Asphalt works best for roads, driveways, and lots. It bends more in cold weather, resisting cracks. The mix uses performance-graded (PG) binders to stay soft in freeze-thaw cycles. Install takes 1-2 days once the base is ready. Costs range $2-$5 per square foot. It handles heavy trucks but may rut over time. Repair is fast—patch potholes or add a top layer.
Use asphalt for quick fixes or tight budgets. Cold regions favor it due to freeze tolerance. Recycled asphalt (RAP) cuts costs by 20-30%. RAP mixes reuse old pavement, saving landfill space.
When Concrete is Preferable
Concrete suits hot climates and heavy loads. It resists heat warping and holds shape under 18-wheelers. Install needs 3-7 days for curing. Costs run $4-$8 per square foot. Steps include pouring slabs, adding steel bars, and joint cuts to control cracks. Dowel bars boost joint strength. Proper curing stops surface flakes.
Pick concrete for long-term projects. It lasts 30+ years with less upkeep. Ideal for ports, airports, or high-traffic zones. Slabs need precise base work to avoid sinking. Joint sealing every 2-3 years prevents water damage.
Beyond project fit, green factors play a key role in paving choices.
Environmental Impact Considerations
Selecting between asphalt and concrete often hinges on environmental factors tied to their installation methods. Both materials affect ecosystems differently during production, application, and post-use phases.
Recyclability Of Asphalt Materials
Asphalt leads in recyclability during installation processes. Over 99% of reclaimed asphalt pavement (RAP) gets reused in new mixes. Contractors integrate RAP at 30-50% rates into fresh asphalt concrete installation processes, lowering demand for virgin aggregates and bitumen. This closed-loop system cuts project costs by $2-$5 per ton while diverting 100 million tons of asphalt from landfills yearly. Hot in-place recycling methods even allow crews to repair roads without full-depth removal, slashing energy use by 20%.
Concrete’s Carbon Footprint
Concrete installation processes carry a heavier carbon burden. Cement production alone accounts for 8% of global CO2 emissions – nearly 1 ton per ton of cement made. While concrete lasts 30+ years, its initial pour demands 1500°F kiln temps versus asphalt’s 300°F mixing range. Newer pervious concrete mixes reduce stormwater runoff but still emit 12% more CO2 than standard asphalt paving installation procedures. Some plants now blend fly ash or slag cement, trimming emissions by 15-40%, yet these alternatives aren’t universally adopted.
With both materials presenting trade-offs between recyclability and emissions, project planners must weigh site-specific priorities. Next, let’s address common queries about cost and practicality in the FAQs section.
Frequently Asked Questions
How Does Concrete Compare to Asphalt in Installation Complexity?
The installation complexity differs primarily due to the unique steps involved. Asphalt installation is generally less complex with fewer steps: it requires heating, compacting, and rolling the material. In contrast, concrete installation involves building forms, pouring the mix, and allowing it to cure, which adds to the complexity of the process.
Is Asphalt Installation Cheaper Than Concrete?
Yes, asphalt installation is typically cheaper than concrete. The initial costs for asphalt range from $2 to $5 per square foot, whereas concrete installation costs between $4 and $10. This cost difference is influenced by the materials used, labor requirements, and installation times.
Can Asphalt Be Installed Over Existing Concrete Surfaces?
Yes, asphalt can be installed over existing concrete surfaces as long as the concrete is in good condition without significant cracks or damage. Proper surface preparation is essential to ensure good adhesion and prevent future issues.
Do Expansion Joints Require Special Handling Between Asphalt and Concrete?
Yes, expansion joints need special handling when installing asphalt over concrete. These joints must be managed carefully to accommodate potential movement differences between the two materials. Proper sealing and joint placement are important to prevent cracks and water intrusion.
Closing Thoughts
Choosing between asphalt and concrete involves various factors, from installation processes to long-term maintenance. Asphalt installation tends to be quicker, often allowing for faster usability, while concrete provides lasting durability with a more complex curing process.
Understanding the unique attributes of each material will help determine the best solution for your project needs. For further insights into asphalt and concrete, along with handy tools for your paving projects, check out Asphalt Calculator USA.
Useful References for You:
- The Asphalt Institute. (2007). MS-4: The Asphalt Handbook. Lexington, KY: Asphalt Institute.
- Concrete vs. Asphalt
- Asphalt vs. Concrete: Which Is Best for Michigan?
- Asphalt vs. Concrete: Understanding the Differences in Pavement Maintenance | McConnell & Associates
- Concrete vs. Asphalt Driveway: Cost Comparison

