Best Practices for Joint Placement in Asphalt: Building Roads That Last
Published on: September 3, 2025 | Last Updated: April 14, 2025
Written By: George Voss
Proper joint placement in asphalt pavement ensures smooth transitions between sections, prevents cracks, and extends road lifespan. Joints – including longitudinal (parallel to traffic), transverse (perpendicular), expansion, and construction joints – act as controlled weak points to manage stress from temperature changes, traffic loads, and material shrinkage. Correct installation requires precise planning, compaction at 275°F to 300°F asphalt temperatures, and alignment with industry standards like AASHTO M 323.
This article breaks down how to place asphalt joints for maximum durability. We’ll explore joint types, design strategies, and step-by-step construction methods. You’ll learn why longitudinal joints need 12-inch overlaps, how to avoid midpoint stretching with staggered roller passes, and when to use tack coats between layers. The guide also covers material choices, equipment setups, and solutions for common issues like raveling or cold joint separation. Master these techniques to create pavement that withstands freeze-thaw cycles, heavy trucks, and decades of use.
Contents
- Fundamentals Of Asphalt Joints
- Types Of Asphalt Joints
- Planning and Design for Joint Placement
- Asphalt Joint Construction Techniques
- Ensuring Joint Durability and Performance
- Materials and Equipment for Optimal Joints
- Regulatory Compliance and Industry Standards
- Environmental Considerations in Joint Placement
- Frequently Asked Questions (FAQ)
- Closing Thoughts
- Additional Resources for You:
Fundamentals Of Asphalt Joints
Joints form gaps between asphalt slabs or paving sections. Built with planning, they allow slabs to shift without harm from thermal shifts or structural forces.
Definition and Purpose Of Joints in Asphalt Pavement
Asphalt joints act as intentional splits in pavement. Two main forms exist: longitudinal (parallel to traffic flow) and transverse (crossing traffic paths). Their job? Absorb slab shifts from temperature swings or load impacts. Without joints, roads might crack randomly, inviting water harm or surface breaks. Using PG 64-22 binders boosts joint flexibility in cold zones.
Importance Of Proper Joint Placement for Longevity
Skillful joint placement adds years to pavement. Poorly built joints crack within 24 months, costing up to $18 per sq.yd. for fixes. Aligning joints with traffic patterns cuts rutting by 40%. Compaction hitting 92% density at joint margins stops water from washing off binder. Hot-mix asphalt placed at 290°F bonds tightly, avoiding gaps that split under truck weights.
Up next: A look at joint variations – from highway expansion gaps to multi-lane splits – and how to build each right.
Types Of Asphalt Joints
Joints form weak spots in asphalt roads if not built right. Learn key types and how to place them for long life.
Longitudinal Joints: Placement and Best Practices
Long joints run with the road’s length, often at lane lines. Overlap fresh mats by 25-50mm for tight seals. Heat both edges to 275-300°F before rolling. Use a 9-12 ton roller, moving from cold to hot mix. Missed steps cause gaps, letting water seep in.
Transverse Joints: Design and Execution
Cross joints sit at road ends or breaks in paving. Cut clean edges with a blade or plate. Apply tack coat (PG 64-22 works best) to old surfaces. Match mix temps within 25°F when tying new mats. Roll perpendic-ular to the joint first, then shift to diagonal passes.
Expansion Joints Between Asphalt and Concrete
Use these where asphalt meets slabs or bridges. Leave 20-25mm gaps filled with pre-formed strips (rubber or foam). Seal tops with silicone or hot-pour. Skip these, and summer heat pushes asphalt into cracks.
Construction Joints for Multi-lane Paving
When paving lanes one by one, align joints within 6mm height difference. Compact both sides with a 4:1 slope. For night work, use infrared heaters to warm cold edges. Test joints with a 3m straightedge—gaps over 5mm need repair.
Solid joints start with smart planning. Next, we break down how to map joints before the first truck rolls in.

Planning and Design for Joint Placement
Effective joint placement begins long before crews hit the site. Integrating joint design into pavement plans prevents costly rework while boosting structural performance.
Incorporating Joints in the Asphalt Design Phase
Designers must map joint locations using traffic flow data, load projections, and thermal movement patterns. Tools like PG binder selection charts guide material choices based on regional temperature extremes. Agencies like AASHTO recommend limiting transverse joint spacing to 15 times the pavement thickness to control cracking. For longitudinal joints, align with lane markings or curb lines to minimize visibility.
Strategic Placement Of Longitudinal and Transverse Joints
Longitudinal joints run parallel to traffic direction, typically placed between travel lanes. Position them 6-12 inches from pavement edges to prevent edge raveling. Transverse joints perpendicular to traffic require precise timing – install during paving breaks exceeding 30 minutes. Key locations include bridge approaches, intersections, and material change points. Use expansion joints when connecting to rigid surfaces like concrete, maintaining 0.5-1 inch gaps filled with compressible foam.
Temperature Considerations During Joint Installation
Mix temperature directly impacts joint density. Lay fresh asphalt between 275-325°F for proper bonding with existing mats. Infrared thermometers verify surface temps before joining. Cold weather demands faster operations – joints cooled below 175°F develop weak bonds. Thermal contraction creates gaps if temps drop over 30°F within 24 hours post-installation.
Impact Of Asphalt Mix Type on Joint Performance
Stone Matrix Asphalt (SMA) with cellulose fibers resists joint deformation under heavy truck traffic. Polymer-modified binders improve flexibility at low temps, reducing cold-climate cracking. For high-stress joints, specify mixes with 30% RAP content – recycled material lowers thermal shrinkage by 15% versus virgin mixes. Open-graded friction courses require specialized tack coats to prevent seam separation.
With joints strategically mapped and materials optimized, focus shifts to field execution. Proper construction techniques turn theoretical designs into durable pavement systems.
Also See: 5 Surprising Benefits Of Porous Asphalt
Asphalt Joint Construction Techniques
Mastering construction methods ensures joints withstand traffic loads and weather extremes. Follow these field-tested approaches for optimal results.
Proper Preparation Of Joint Surfaces
Clean vertical faces with brooms or air compressors to remove loose debris. Apply tack coats at 0.05 gal/sq yd using spray systems for uniform adhesion. Maintain surface temps above 275°F for hot-mix asphalt bonding. Use PG 64-22 binders in colder climates to prevent thermal cracking.
Rolling and Compaction Methods for Smooth Transitions
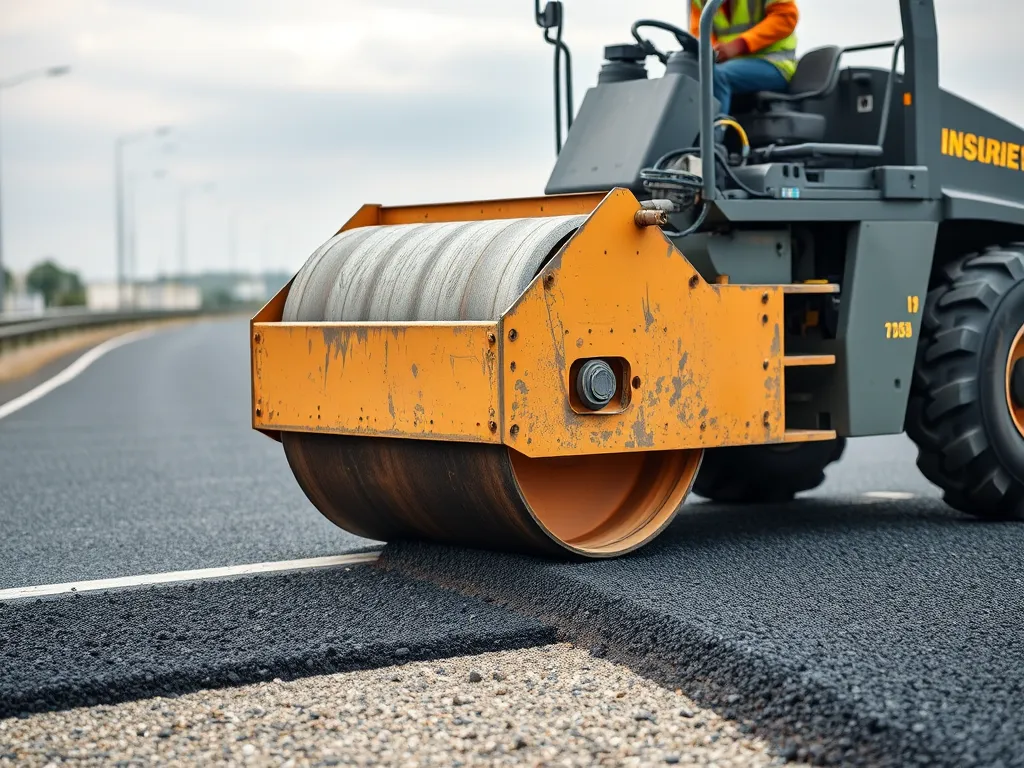
Start with vibratory steel-wheeled rollers at 3-5 mph along joint edges. Overlap passes by 6-12 inches into existing pavement. Achieve 92% density on longitudinal joints using asphalt joint placement techniques like wedge-and-level systems. For transverse joints, compact thin lifts (1.5-inch max) with 8-ton rollers.
Techniques for Seam Filling and Overlaying Joints
- Install backer rods in expansion joints before pouring rubberized asphalt sealant
- Use joint heaters to maintain 250°F+ temps during overlay work
- Cut vertical faces with 4:1 slope for better material interlock
Infrared thermal cameras help monitor temperature differentials under 25°F across seams.
Equipment Recommendations: Jackhammers and Compactors
Choose 60-lb jackhammers with moil points for precise edge trimming. For compaction:
| Project Size | Equipment | PSI Range |
|---|---|---|
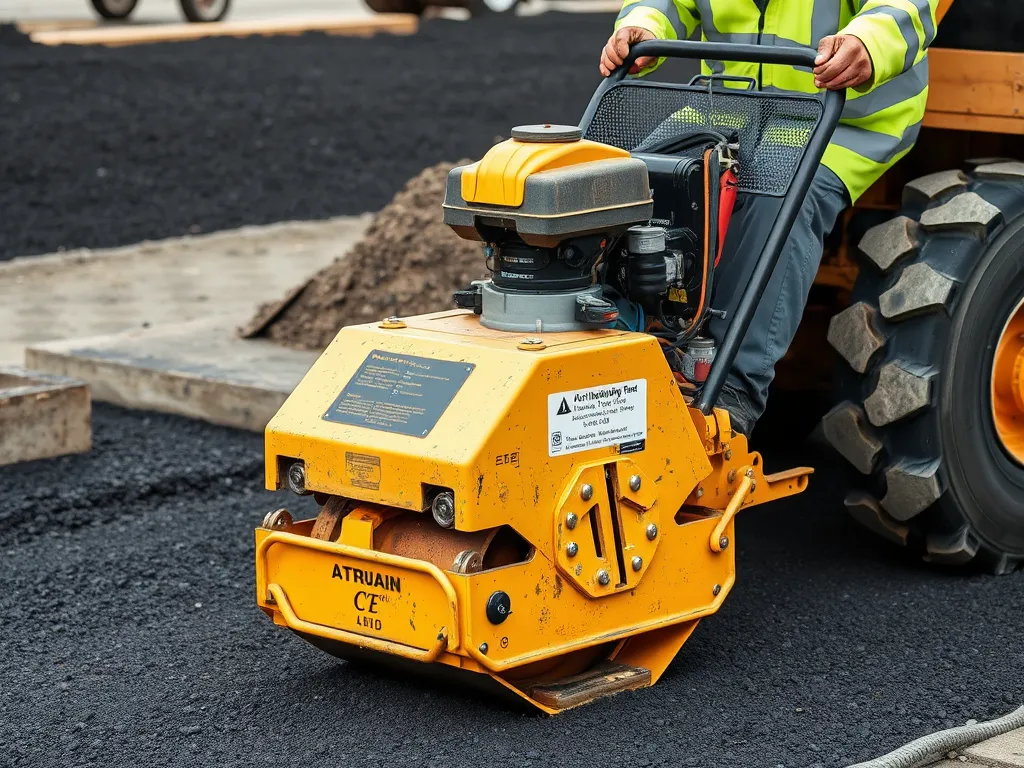
| Small repairs | Plate compactors | 3,500-4,500 |
| Highway joints | 10-ton tandem rollers | 6,000-8,000 |
Double-drum rollers reduce cold joint lines by 40% compared to static models.
Proper execution of these asphalt paving joint best practices sets the foundation for durable surfaces. Next, explore strategies to maintain joint integrity against environmental stressors and heavy traffic demands.

Ensuring Joint Durability and Performance
Well-constructed asphalt joints prevent premature pavement failure. Proper techniques minimize water infiltration, thermal stress, and load-related damage. Let’s examine common challenges, solutions, and maintenance approaches.
Common Challenges in Asphalt Joint Placement
Poor compaction ranks as a top issue. Cold weather accelerates asphalt cooling, leading to weak bonds. Material segregation at longitudinal joints creates uneven density. Transverse joints face midpoint stretching when pavers stop and restart. Raveling occurs when aggregates detach due to inadequate tack coats or low mix temperatures below 275°F.
Solutions for Midpoint Stretching and Cracking
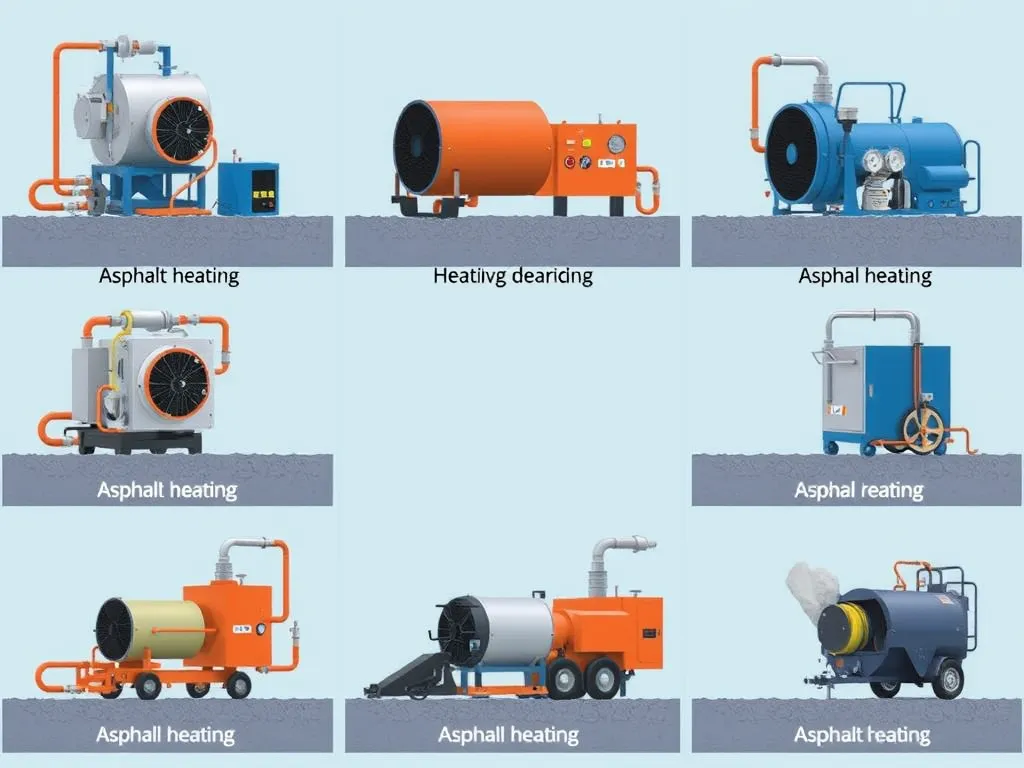
Infrared heaters reheat joint edges to 300°F before adding fresh mix, restoring bond strength. Staggered rolling patterns with 8-10-ton steel-wheel rollers improve density gradients. For transverse joints, overlapping the mat by 6 inches reduces voids. PG 64-22 binders enhance flexibility in cold climates, resisting thermal cracks. Applying CRF-2 emulsion tack coats at 0.05 gal/sy boosts adhesion.
| Issue | Solution | Technical Spec |
|---|---|---|
| Midpoint Stretching | Infrared Heating | 300°F Edge Temp |
| Segregation | Staggered Rolling | 3 Pass Minimum |
| Cracking | PG 64-22 Binders | -22°F Grade |
Maintenance Strategies for Long-term Joint Integrity
Seal cracks wider than ¼ inch using rubberized asphalt emulsion. Annual sealcoating with coal-tar sealer blocks UV rays and moisture. Infrared repairs blend aged and new asphalt seamlessly, costing $15-$25 per sq ft. For longitudinal joints, rout-and-seal methods extend service life by 5-7 years. Inspect joints biannually for raveling or depressions exceeding ½ inch.
Combining proactive repairs with quality materials reduces long-term costs by up to 40%. Up next: how selecting the right tools and mixes elevates joint performance.
Materials and Equipment for Optimal Joints
Strong joints start with the right materials and gear. Proper selection impacts density, adhesion, and long-term performance.
Selecting Hot-mix Asphalt for Joint Applications
Hot-mix asphalt (HMA) remains the top choice for joint construction. Use PG 64-22 or PG 76-22 performance-graded binders for balanced flexibility and stiffness. The National Asphalt Pavement Association recommends mixes with 9.5mm or 12.5mm nominal aggregate sizes for tight interlock. Maintain laydown temperatures between 275°F and 325°F to prevent premature cooling at edges. Costs range from $100 to $200 per ton, depending on polymer modifiers.
Superpave-designed mixes (developed in the 1990s) enhance rut resistance at joint seams. Add 0.5% cellulose fibers to HMA for crack suppression in high-traffic areas. Track thermal expansion rates: quality joints tolerate up to 0.15 inches of movement per 50 feet.
Essential Tools for Precise Joint Placement
Specialized tools reduce voids and improve seam bonding:
- Infrared joint heaters ($2,500-$5,000 per unit) maintain 250°F+ temperatures during repairs
- Wedge attachments for pavers create 30°-45° slope angles on longitudinal joints
- 2-ton vibratory plate compactors achieve 92% density within 6 inches of seams
For cold joints, apply SS-1h emulsion tack coats at 0.05 gal/sy rates using spray bars. Use joint rollers with 18-inch drums to smooth transitions. Infrared thermometers ($150-$300) verify surface temps stay above 200°F during compaction.
Proper tools and materials set the stage for compliance. Next, we’ll examine how specs from ASTM and AASHTO govern joint construction.

Regulatory Compliance and Industry Standards
Following rules keeps joints safe and strong. Groups like AASHTO and ASTM set joint specs. State DOTs add local codes. These rules stop cracks, boost life, and cut repair costs.
Key Guidelines for Asphalt Joint Specs
Best practices for asphalt joint placement need strict rule-following:
- Cut joints clean with sharp blades to stop raveling
- Use tack coats (thin asphalt glue) for layer bonds
- Hit 92-96% density with rollers to block water
- Pick PG binders (asphalt made for heat or cold) for joint life
- Leave 1/4-inch gaps where slabs meet to handle swell
Hot-mix asphalt must hit 275-325°F during joint work. Test tools like nuclear gauges check if joints are sound. Missed steps can cause cracks, adding up to 30% repair costs.
Next, we’ll see how green methods boost joint strength while saving cash.
Environmental Considerations in Joint Placement
Building strong asphalt joints also means caring for the planet. Eco-friendly methods cut waste, save cash, and boost joint life by up to 20%.
Sustainable Practices for Joint Construction
Use warm-mix asphalt (WMA) for joint work. WMA pours at 275°F—50°F cooler than hot-mix—slashing fuel use by 30%. Pair with PG binders (performance-graded asphalt) that handle local temps without cracking. Try bio-based joint sealants from plants like soy. They block water better than oil-based options. For fixes, pick infrared joint heaters. They reuse old asphalt, saving 1 ton of mix per 100 sq ft.
- Track joint temps with laser guns to hit 250-300°F for smooth seams
- Use tack coat sprayers with 95% accuracy rates to bond layers
- Plan joint spots to match traffic flow, cutting repair needs by half
Recycling and Material Efficiency Strategies
Crush old joint material into RAP (recycled asphalt pavement). Mix 30-40% RAP into new joints—saves $15 per ton. For cold joints, apply RAS (reclaimed asphalt shingles) as filler. One ton of RAS saves 1 barrel of oil. Use geogrid mesh from 80% recycled plastic to lock joints in place.
- Grind failed joints to 3/8” bits for reuse
- Sort millings by size with 3-screen decks
- Blend 25% fresh binder with RAP for hot joints
Track material use with GPS paver systems. They cut waste by 15% via real-time joint thickness checks. Opt for joint rollers with 90% recycled steel frames.
Smart eco-choices in joints lead to roads that last. Next, learn how specs and rules shape these methods.

Frequently Asked Questions (FAQ)
Where Should Longitudinal Joints Be Located?
Longitudinal joints should typically be placed between travel lanes, approximately 6-12 inches from the pavement edges to prevent raveling. It’s crucial to align these joints with lane markings or curb lines to enhance visibility and minimize surface issues.
What is the Proper Way to Roll Asphalt at Joints?
The correct technique involves starting with vibratory steel-wheeled rollers operating at 3-5 mph along joint edges. Each pass should overlap by 6-12 inches into the existing pavement to ensure uniform density and effective bonding.
What Temperature Should Asphalt Be During Placement?
Asphalt should be laid down at temperatures ranging from 275°F to 325°F. This range is critical for achieving proper bonding with existing surfaces and avoiding premature cooling that can compromise joint integrity.
Should There Be an Expansion Joint Between Asphalt and Concrete?
Yes, an expansion joint is recommended between asphalt and concrete surfaces to accommodate thermal expansion and contraction. A gap of 20-25mm should be filled with pre-formed strips and sealed to prevent moisture ingress.
What Are Common Challenges Encountered During Asphalt Joint Placement?
Common challenges include poor compaction, which leads to weak bonds, material segregation at longitudinal joints, and midpoint stretching at transverse joints. These issues can cause cracking and affect the overall durability of the pavement.
How Can Midpoint Stretching and Cracking Be Addressed?
To mitigate midpoint stretching, contractors can employ infrared heaters to reheat joint edges to approximately 300°F before applying fresh asphalt. Staggered rolling techniques can also improve density gradients and reduce the likelihood of cracking.
What Maintenance Strategies Should Be Used for Joint Integrity?
Routine maintenance strategies include sealing cracks wider than ¼ inch with rubberized asphalt emulsion, annual sealcoating to protect against UV rays and moisture, and biannual inspections for raveling or depressions exceeding ½ inch.
What Tools Are Essential for Precise Joint Placement?
Key tools for accurate joint placement include infrared joint heaters to maintain optimal temperatures, wedge attachments for creating slope angles, and vibratory plate compactors to achieve necessary density levels near seams.
What is the Role Of Regulatory Compliance in Joint Placement?
Regulatory compliance ensures that asphalt joints meet industry standards for safety and durability. Following specifications from organizations like AASHTO and ASTM helps prevent issues such as cracking and improves the long-term performance of pavement joints.
Closing Thoughts
Effective joint placement in asphalt is vital for enhancing the longevity and performance of pavements. By understanding the fundamentals and types of asphalt joints, you can implement best practices that minimize potential issues such as cracking and water infiltration.
Proper planning and design during the preparation phase ensure that joints are strategically placed. Using high-quality materials and equipment streamlines the construction process and upholds industry standards. Don’t overlook the importance of environmental considerations—sustainable practices can lead to more efficient use of materials while benefiting the planet.
For more details on optimizing asphalt joint placement and other asphalt-related topics, check out Asphalt Calculator USA.
Additional Resources for You:
- Lavin, P. (2003). Asphalt Pavements: A Practical Guide to Design, Production, and Maintenance for Engineers and Architects. London: Taylor & Francis.
- A look at longitudinal joint construction methods – Asphalt magazine
- Longitudinal Joint Construction – Pavement Interactive
- The Complete 7-Step Process for Asphalt Pavement Installation
- Best Practices Placing Mix on Asphalt Joints | For Construction Pros


